This time we will learn together, it is the first time I do this with proper tools.
One of our Christmas gifts was a case of gouges and a plaque of rubber to make stamps and had not time to test them yet. Instead of these plates, sold specifically for this purpose, can be used erasers.
When I was young I made many stamps with erasers, I still have one, with which I signed the letters …
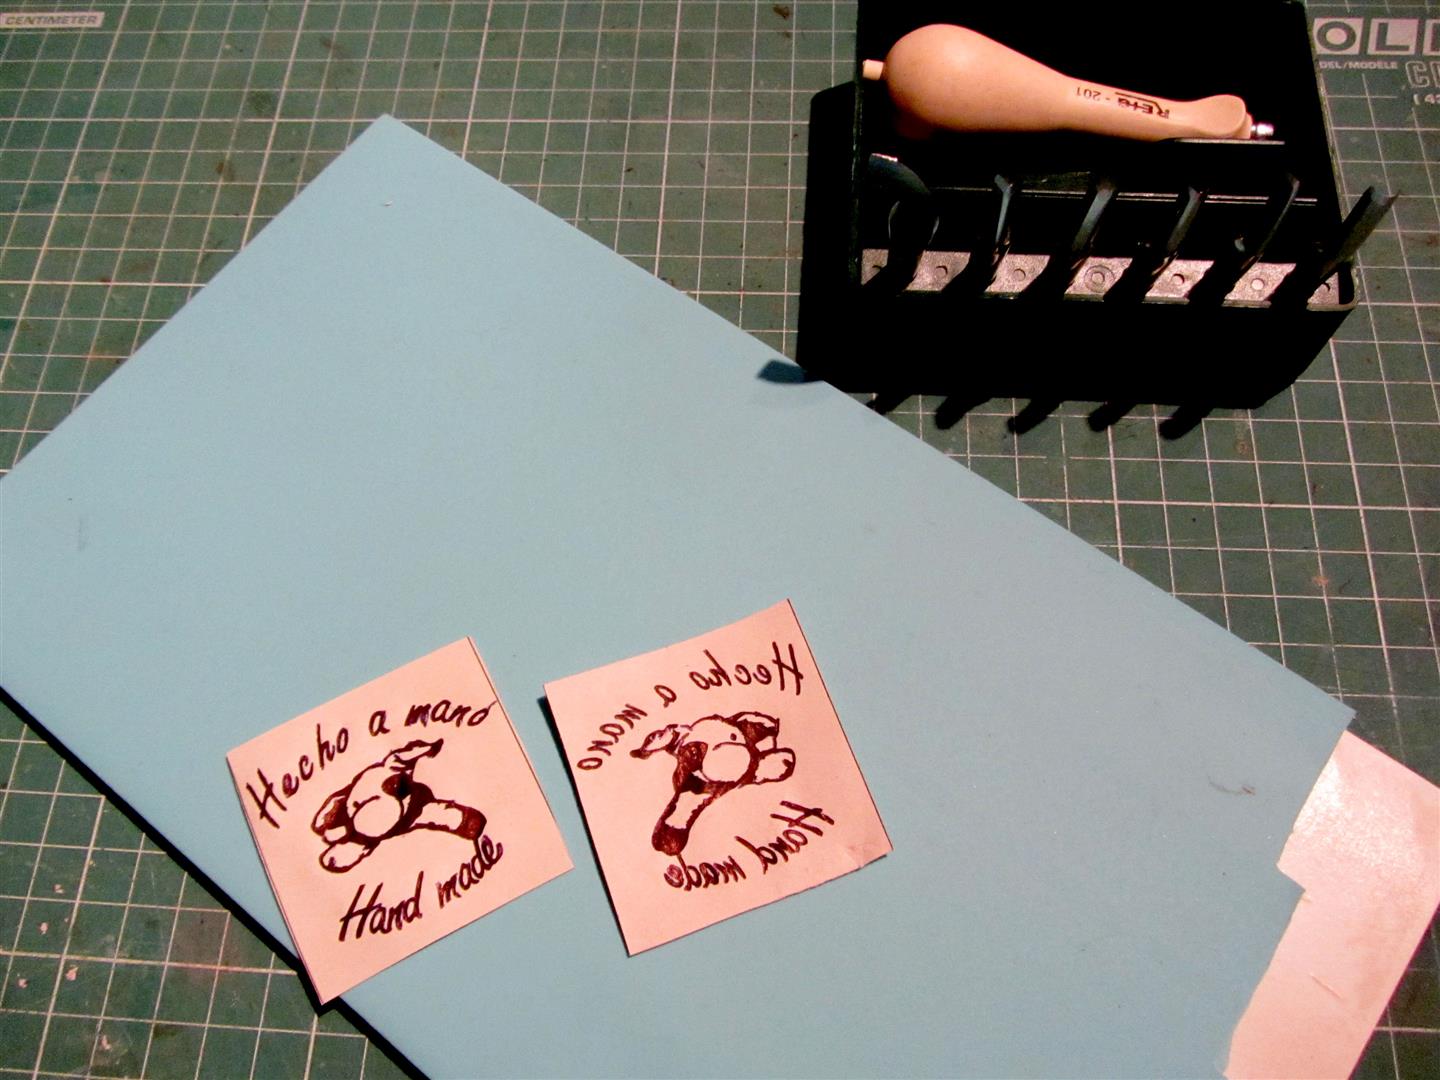
These are the gouges, for sale in many arts and crafts shops.

 For me, the worst of the process has been to define the image I wanted to use. If we make a freehand drawing, no more than paint (I recommend a ballpen) on the rubber, but in my case I wanted to trace an image and letters. My first choice was to print the drawing in “mirror” and try to trace it with coal paper (which was used with typewriters), but it turned out that as much as clench, the drawing dis not went beyond.
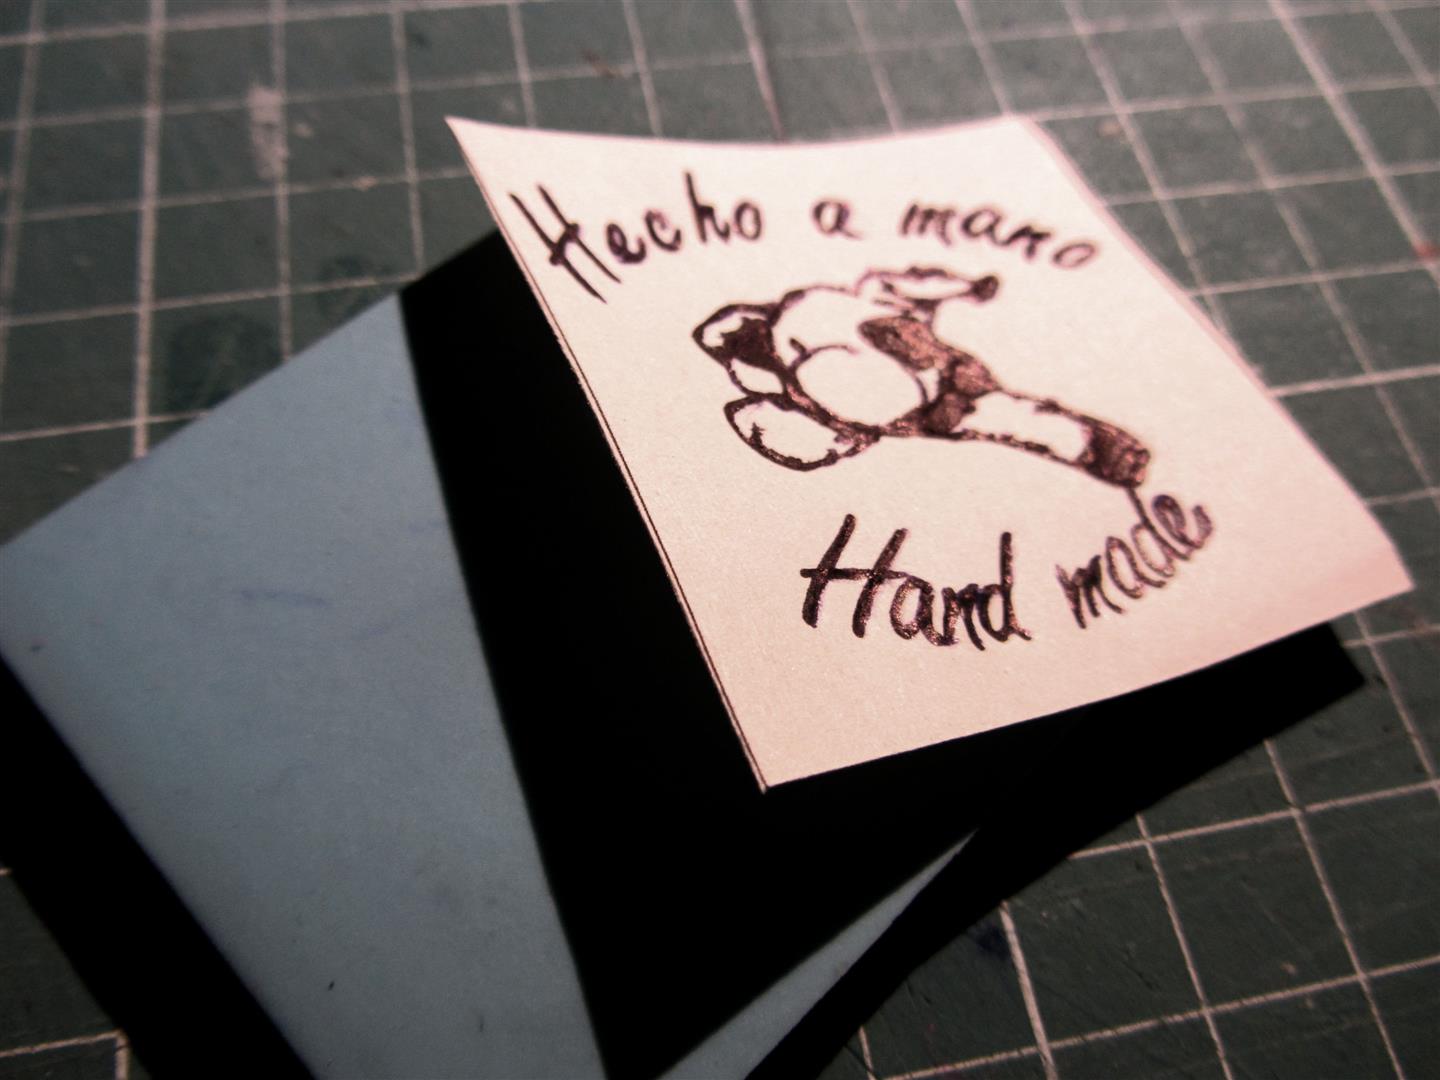
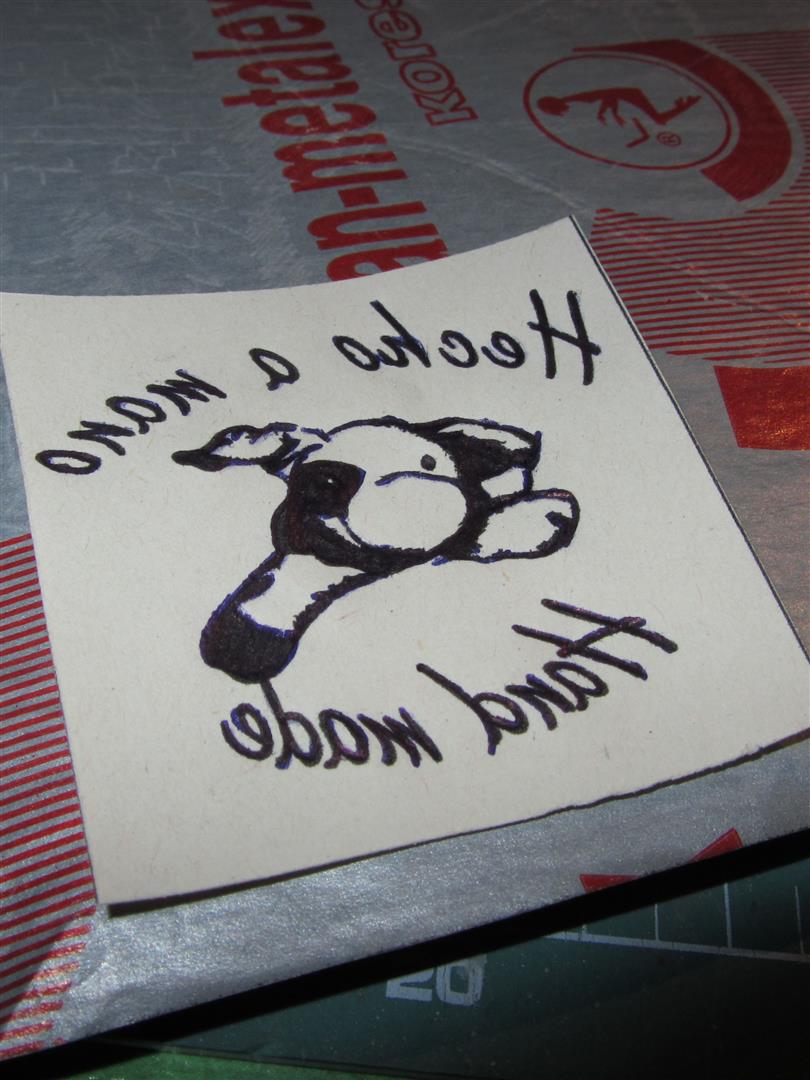
A good option would be to print the image in the right way with an ink-jet printer on glossy paper, so the ink does not dry out, and put the paper on the rubber and the picture remains printed. I chose to go over the drawing (right) repeatedly wit h pen and press it against the gum, going with a pen on the other side. So I got a clear enough picture to be able to redraw.
Of course, we need to have the stamp drawing in “mirror”, and we have to think first the things we will want to stay inked and which not. I opted for the white lettering and ink drawing, because leaving the raised lettering would be much more difficult.
To whom is not very familiar with the gouges, I recommend you to do some tests before starting the stamp to see what results you get with each. Generally, you use V-shaped guoges for greater accuracy, and the rest to remove excess.
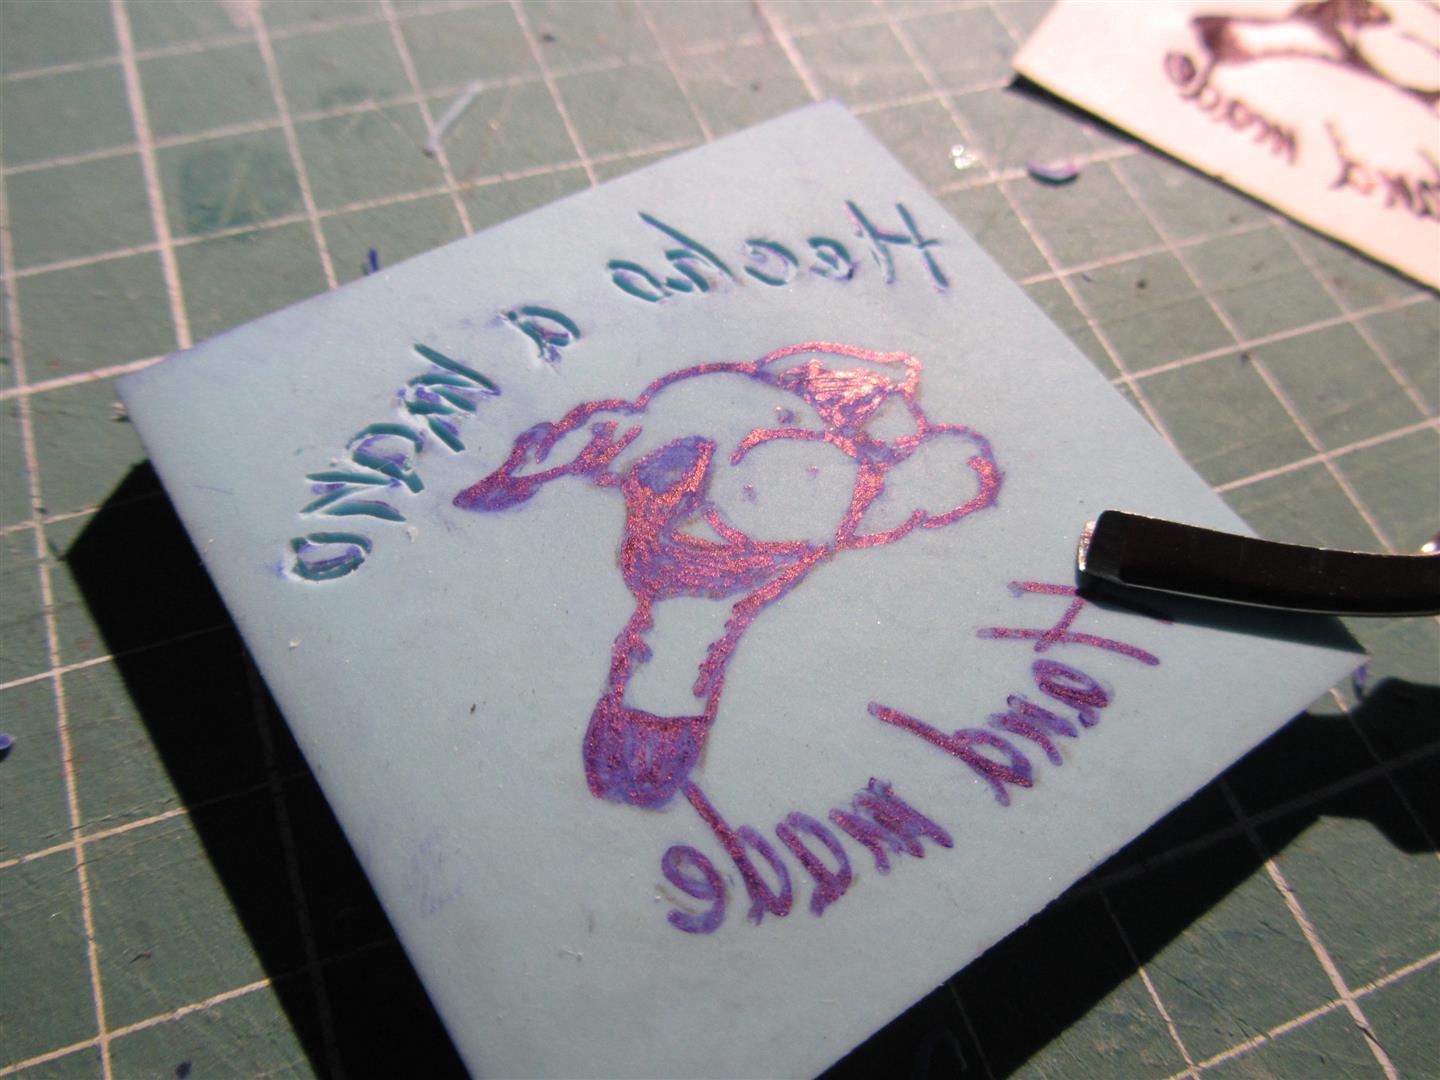
I started with the letters, trying as far as possible to make continuous lines, as we do writing, and I made a frame around that marked the place that would be inked.
As for the drawing, I think it is easier if you first do the outline, also with a gouge with the tip with an acute angle and making the rest of the image we will be more comfortable with flatter gouges.


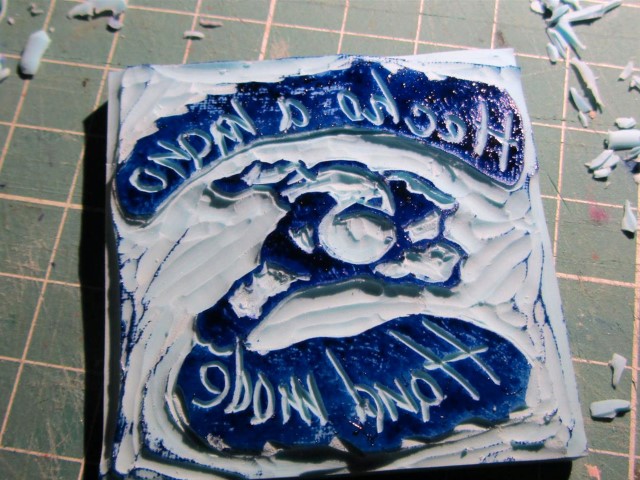
Once the outline done, we can carve all the surplus. I used primarily the point in U, because I like it, I do not know if technically there are better methods.
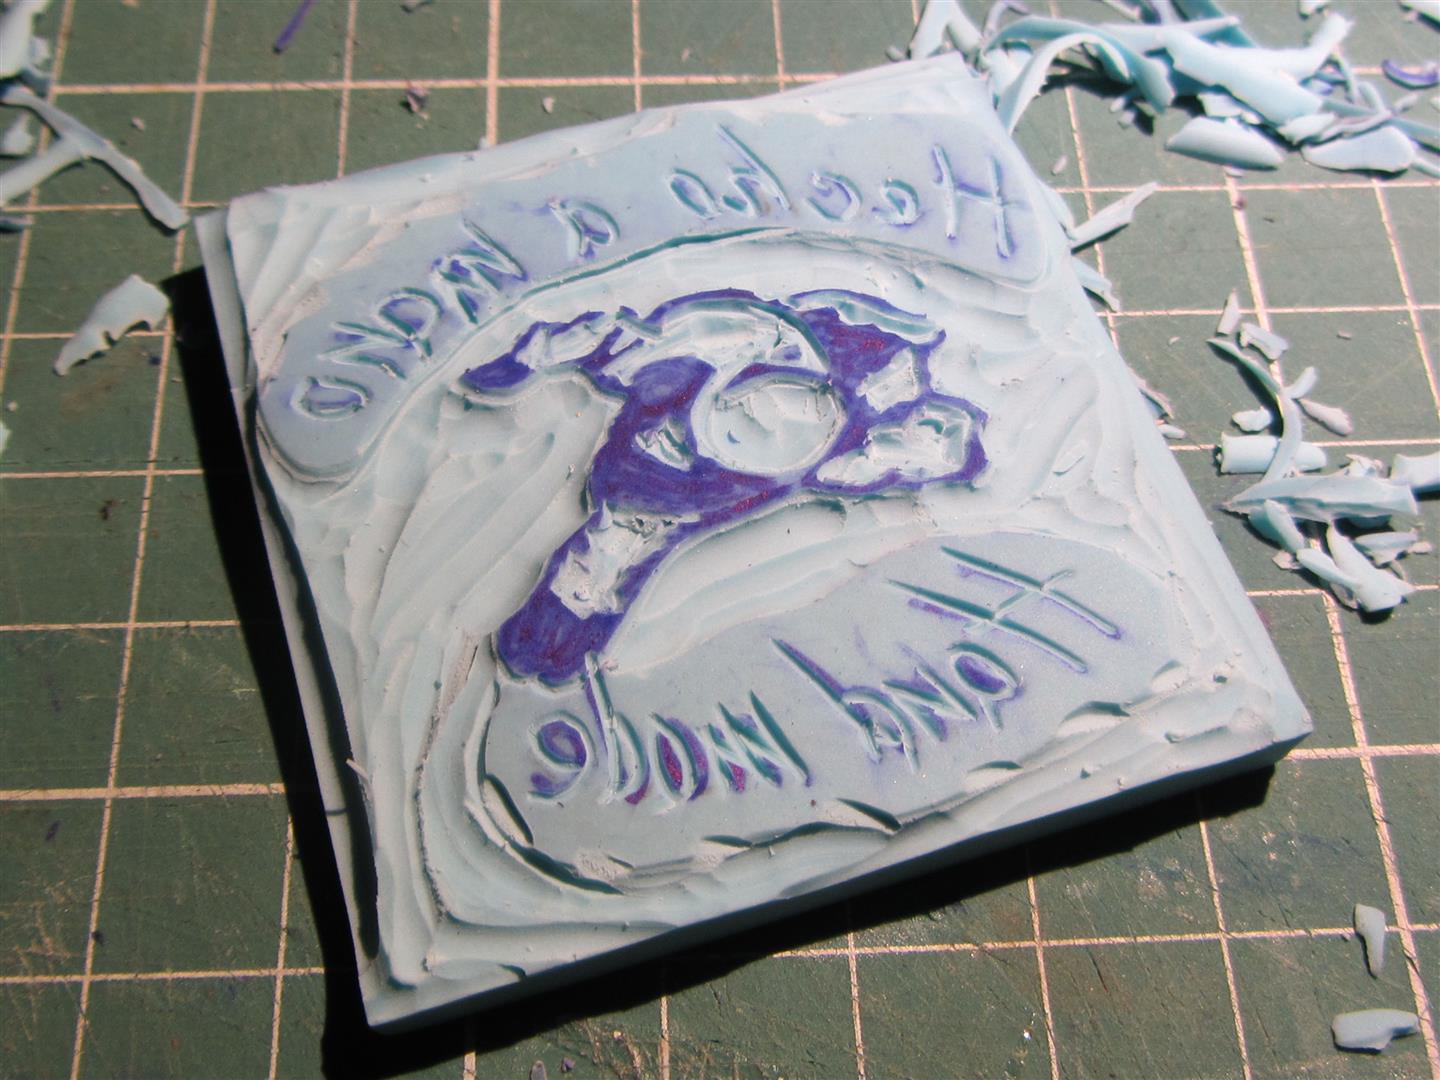
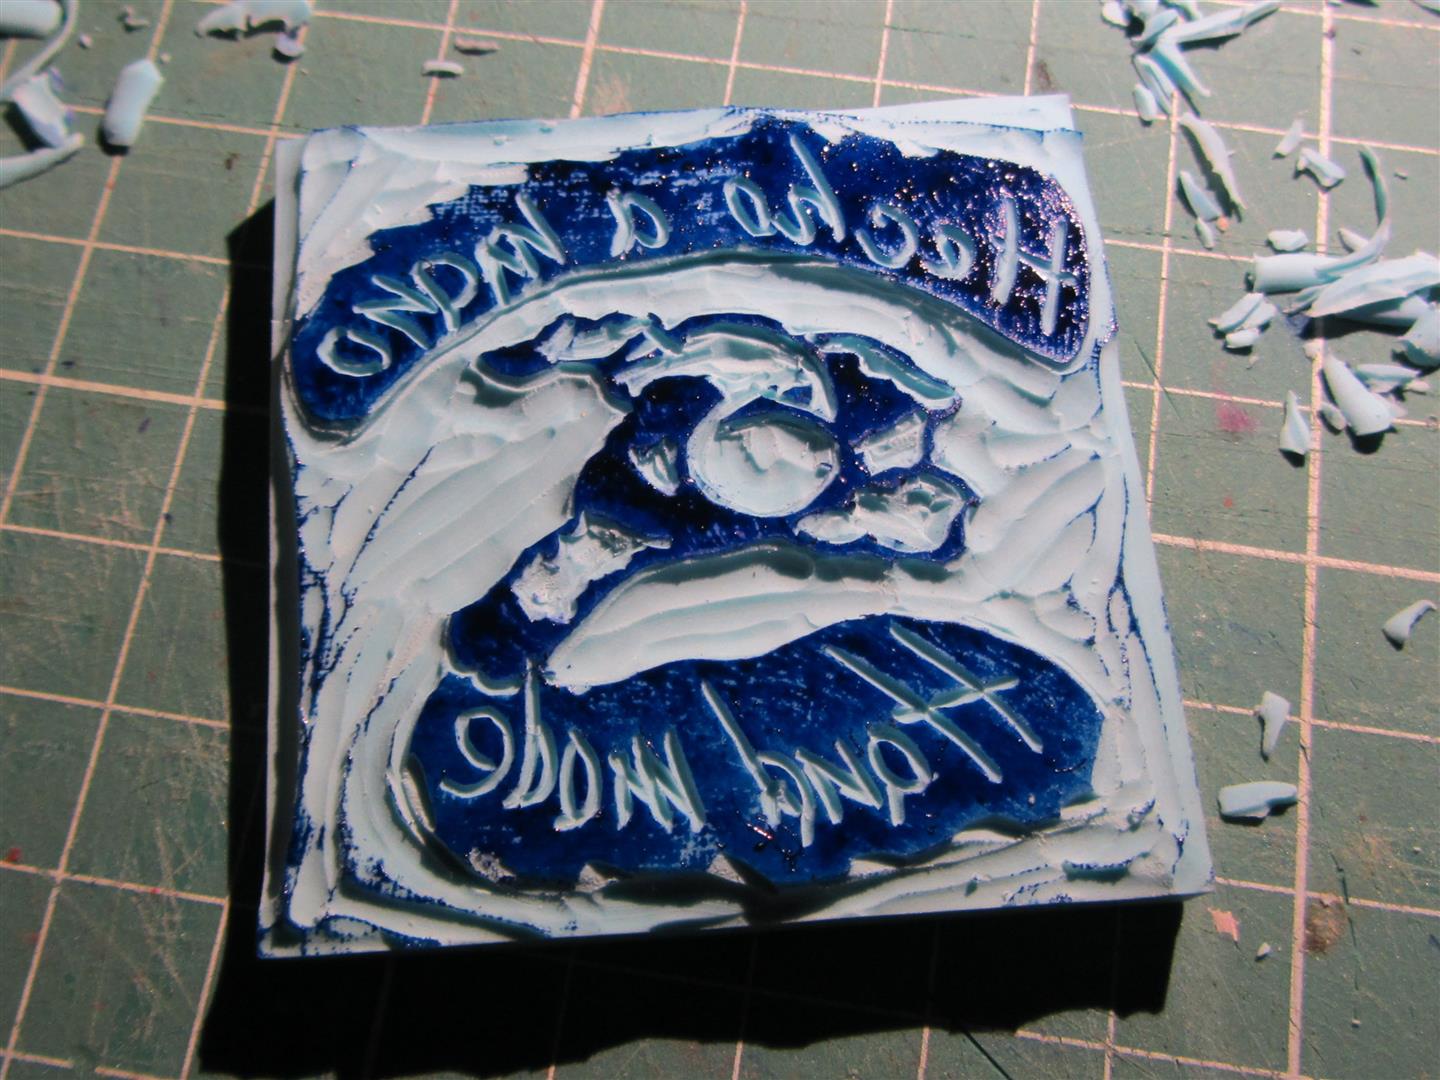
As we ink the stamp for the first time we will see more clearly the flaws in both areas, those that are not well defined, and others that are not deep enough. We see it because ink stains the surplus and it will be easier to see where there are still material to remove.
For regular stamping, we need the rubber stuck on a flat, hard surface. I cut a piece of wood, but surely you find anything else. (If the stamp is tiny you can stick it in a cork).

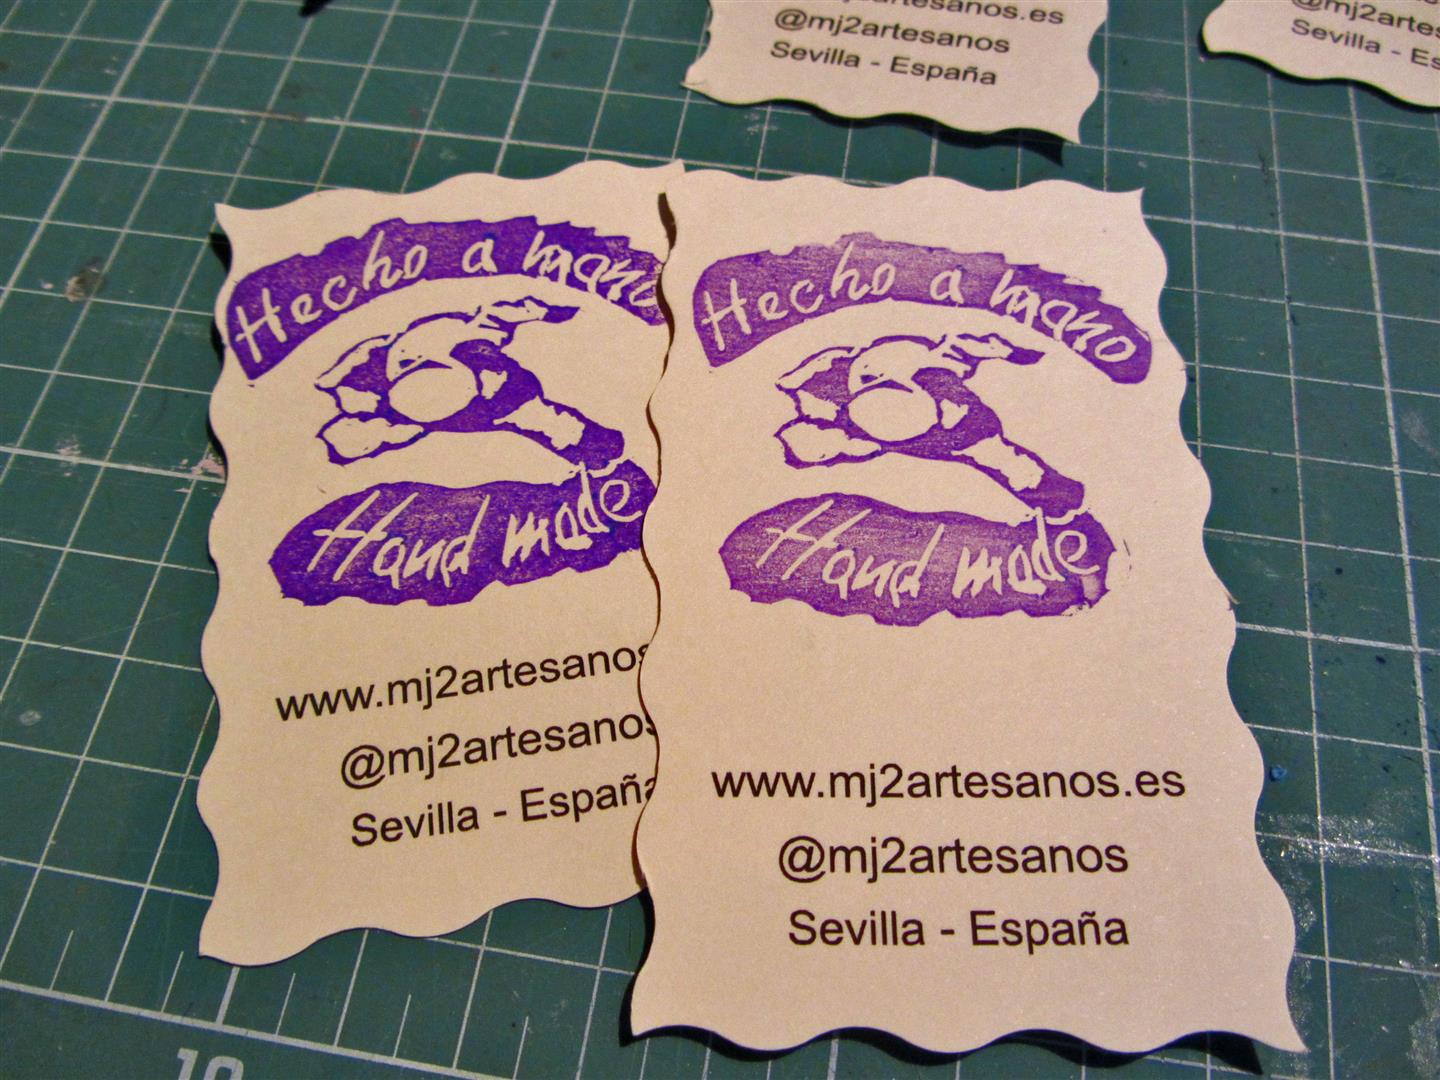
As many of you know, we have a plush pig as a pet that has been with us since the beginning of time, so it is with us even in the journey of MJ2Artesanos. And so, however imperfect, have a stamp indicating that our work is handmade.
It’s a matter of practice, we will see how the second goes out better to all of us.