“The search for it is the search for the divine in all of us.”
Marcus Brody
Walking through the world on the trail of the Holy Grail is very tired, so a few years ago I decided to make my own, of course replica of the one in Indiana Jones and the Last Crusade. It was, as always a way to learn with a thing that I like and enjoy. For more accurate replicas and artwork, my friends Fedora_Smith and Restaurajones do real wonders.
As for almost all the props from the movies there were several grails, and as we select different frames we will see slight differences, but in my case it was not accurate, (only a way to have fun), so I’ll not go into these depths.

 I must admit that of all life on hearing “is the cup of a carpenter”, I thought it was a wooden cup … until I realized it did not have to be this way, only concerned a humble cup.
I wanted to learn to make of plaster with a template.
Using multiple images of the movie I did a plane to cut the negatives I’d need, and since I had it I modeled in 3D to get the idea of how it would be.

The method involves adding plaster axis until it reaches the “template” that will give the shape, so the template is the negative of the piece we want to obtain.
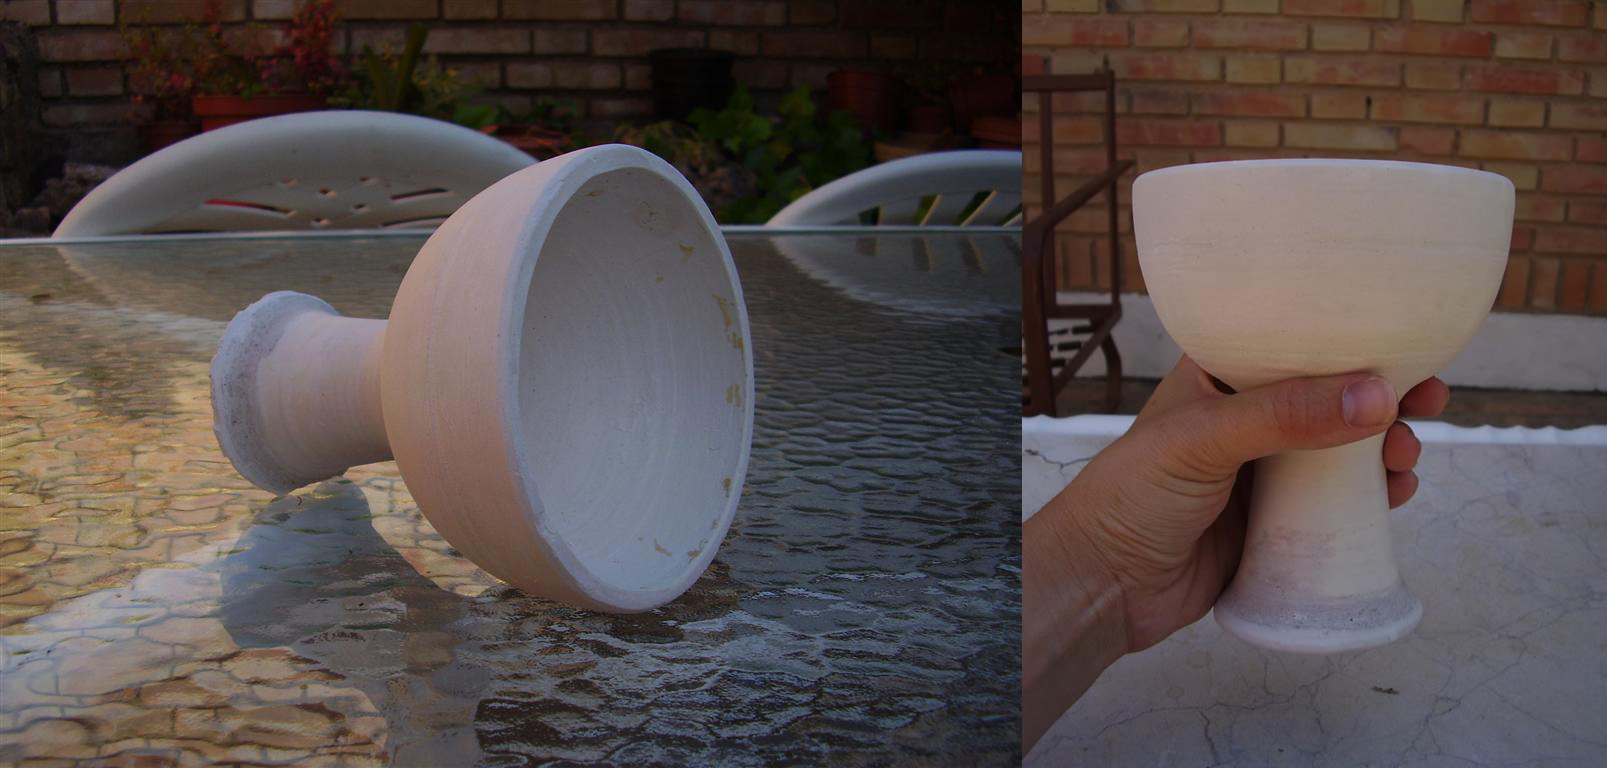
In this case, we will make a preform for the concave (interior) portion. Round and round casting plaster slowly until we get the part. As the shape was cut by hand on a sheet of PVC, it had imperfection s, but I really like seeing those little nicks in the grail over.

On this half sphere, we are going to build the real cup, but to continue pouring plaster, as we don’t want sticking, we first fill the pores and give it some release agent. (In this case I covered the pores with diluted white glue and used wax as mold release agent, as I had no specific products by hand,)
And round, and plaster, little by little .. we approaching the edge of the die … and finally finished cup.


Once out of the shaft and separate the inner part and the cup itself, I covered the hole left by the axis in the center with a little portion of plaster and let it dry.
I used “english red” to paint the background and gold leaf, which I will not explain how its applied (among other things because I’m far from an expert). If anyone is curious there are many websites where its explained by people with more experience than me.
")
And to age it … well, they may not be very orthodox methods, but I gace some layers of what was happening to me. White paint, gray paint, lacquer and talcum powder …and putting it in a bag with sand and shake it a bit.
This was the result.
")
")
I hope you enjoy it as much as us. Occasionally we have a drink on it, so we stay so young.