We love it when someone reads our blog and asks us if we could do
something that we hadn’t thought. When this is the case and its
something within our capabilities, we start to investigate very soon.
It’s more fun the less we know about the technique that we will need. So
whatever the final result is, and regardlsee the potential client likes
it or not, we will learn something new, and this is the case that I’m
writing today.
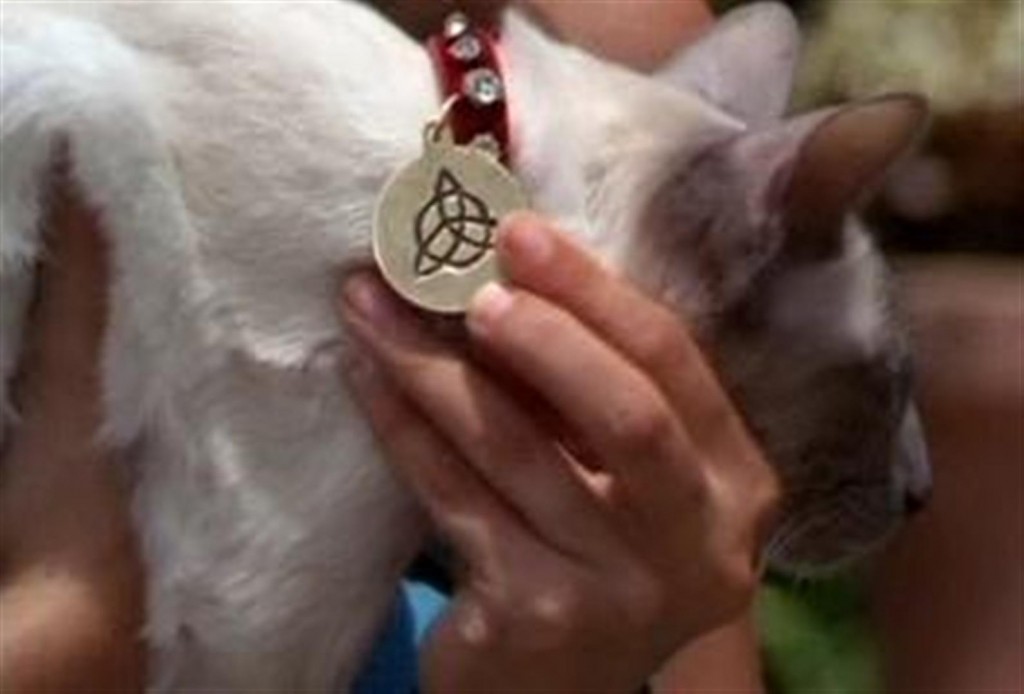
One day we received a request asking us if we could make the pendant of
Kit, the Charmed series cat. After a quick search on google we saw it
was this:
Let’s go on. We got some brass and investigate how we could record it.
It is common for artists to use nitric acid (lowered) but we preferred
to opt for the ferric chloride, because it emits no fumes and is not a
hazardous substance. As I’m not the appropriate person to give chemistry
lessons, this is what Wikipedia tells us about it:
“In industrial application, iron(III) chloride is used in sewage
treatment and drinking water production. In this application, FeCl3 in
slightly basic water reacts with the hydroxide ion to form a floc of
iron(III) hydroxide, or more precisely formulated as FeO(OH)-, that can
remove suspended materials.
It is also used as a leaching agent in chloride hydrometallurgy, for
example in the production of Si from FeSi. (Silgrain process)
Another important application of iron(III) chloride is etching copper in
two-step redox reaction to copper(I) chloride and then to copper(II)
chloride in the production of printed circuit boards. “
Ours comes from an electronics store because, as we have seen, it’s used
to make printed circuit boards.
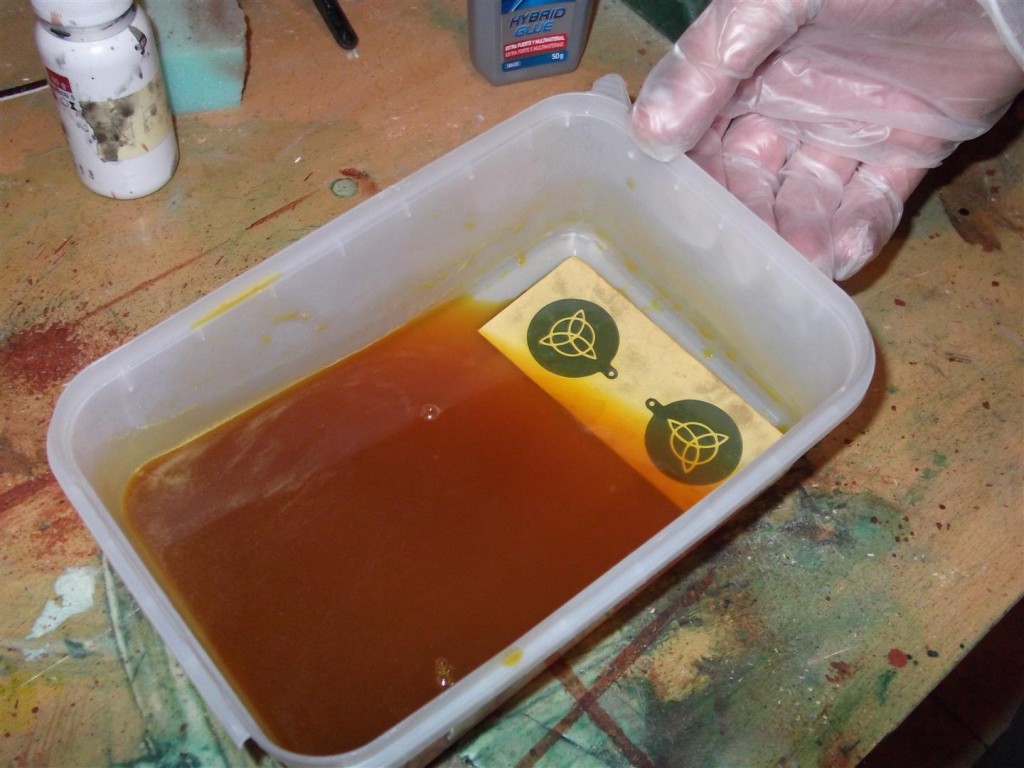
 With no references to the amount, we did it as many times …at a guess. For the amount of water you see in the picture above we use 2 full tablespoons. This post is pending to update with better information if we make further testings.
We recommend using warm water to promote the reaction.
The resulting liquid can be reused, but every time we use it will run worse.
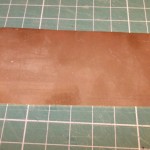 We prepare the brass only cleaning the surface, because it was an old plate, very dirty, and we need a fairly clean one to stick the mask.
As you have read in olther posts,we have a vinyl cutter, so once more we
used it to cut the masks we previously developed (vectorized so that the machine can cut, not just an image).
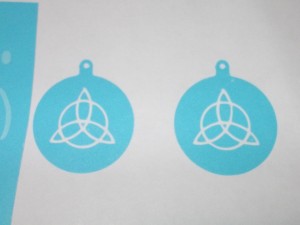 These masks are those that avoid the corrosion it in the covered area.
There are several methods to do this, from the most complex using
photosensitive material, to the simplest one, drawing the part that we do not want to record with a permanent marker.
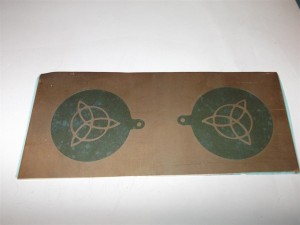 The important thing here is a very good sticking of the mask in brass,without bubbles, which can allow the liquid to enter. Also, the more time is immersed, and deepen the brand, will be easier than vinyl starts to peel. Although the photo does not show it, the plate is also covered on the bottom to avoid corrosion on both sides. It’s up to the piece we’re doing and what you want to achieve.
We submerge the board in the solution that we have prepared with hot water, and if possible, to help the process we will move the container creating “waves” to clean the excess brass. We did this during the first few minutes but then we left it about an hour to continue working by itself.
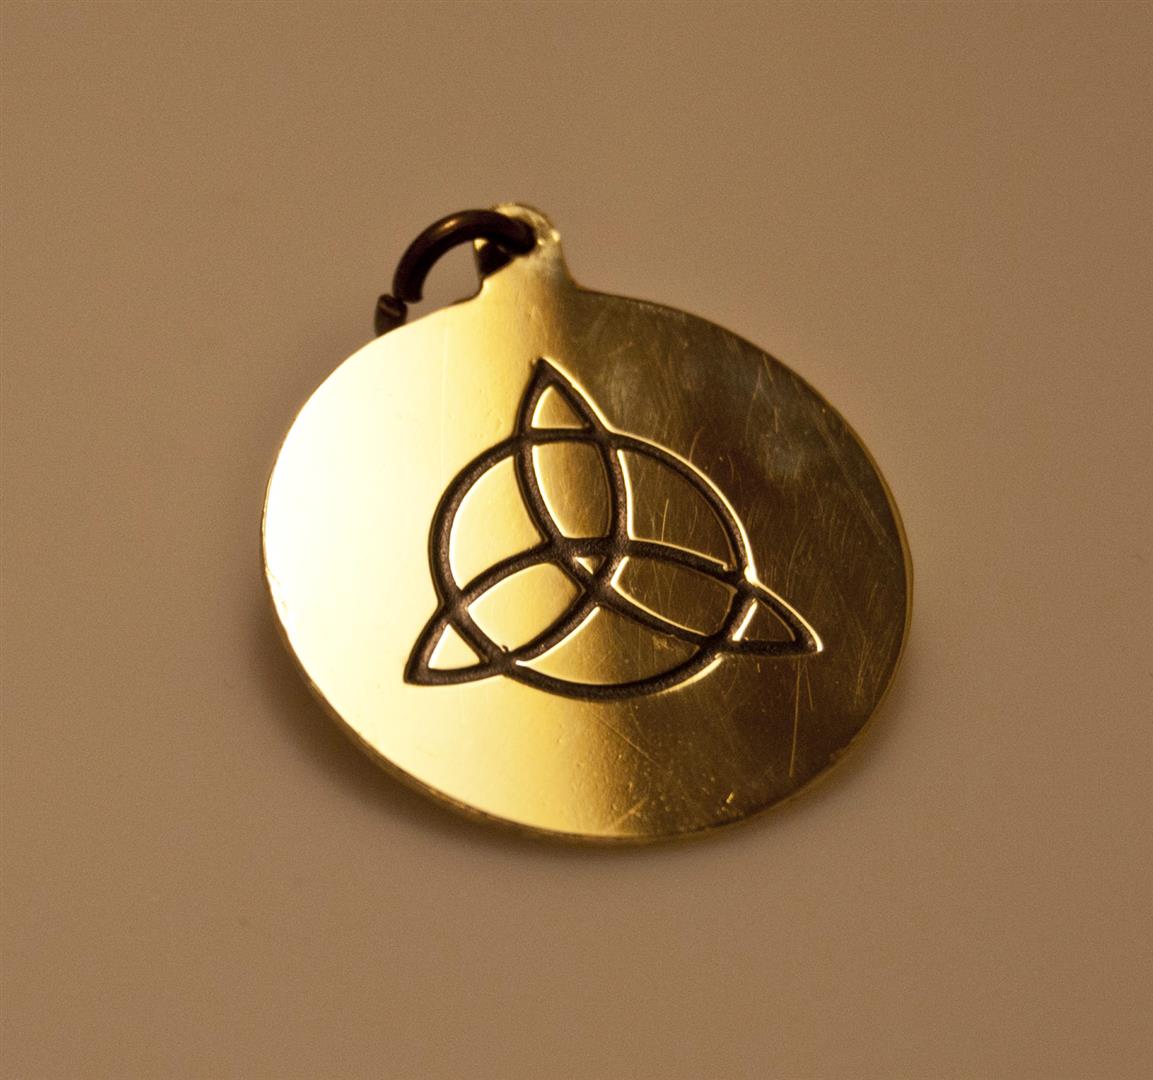
This was the result after removing the mask, and after cleaning with metal polish:
After cutting the silhouette with an adequate metal cutting blade in the drill/multitool, and much patience, polish it with the right accessories for that tool (polish paste and felt tip).
As the drawing is well marked, it’s easy to paint it and remove the excess of paint from the polished surface.
We recommend to varnish the surface, because the brass gets really bad looking with time.
Another option we have, if we only want to shade the previously polished
metal, is doing it by hand with a sponge, here’s a summary:
The next thing we will have to prove is make fretwork drawings. Soon we will let you know.
Meanwhile, if you like this pendant for your cute kitten, you can purchase it here.
