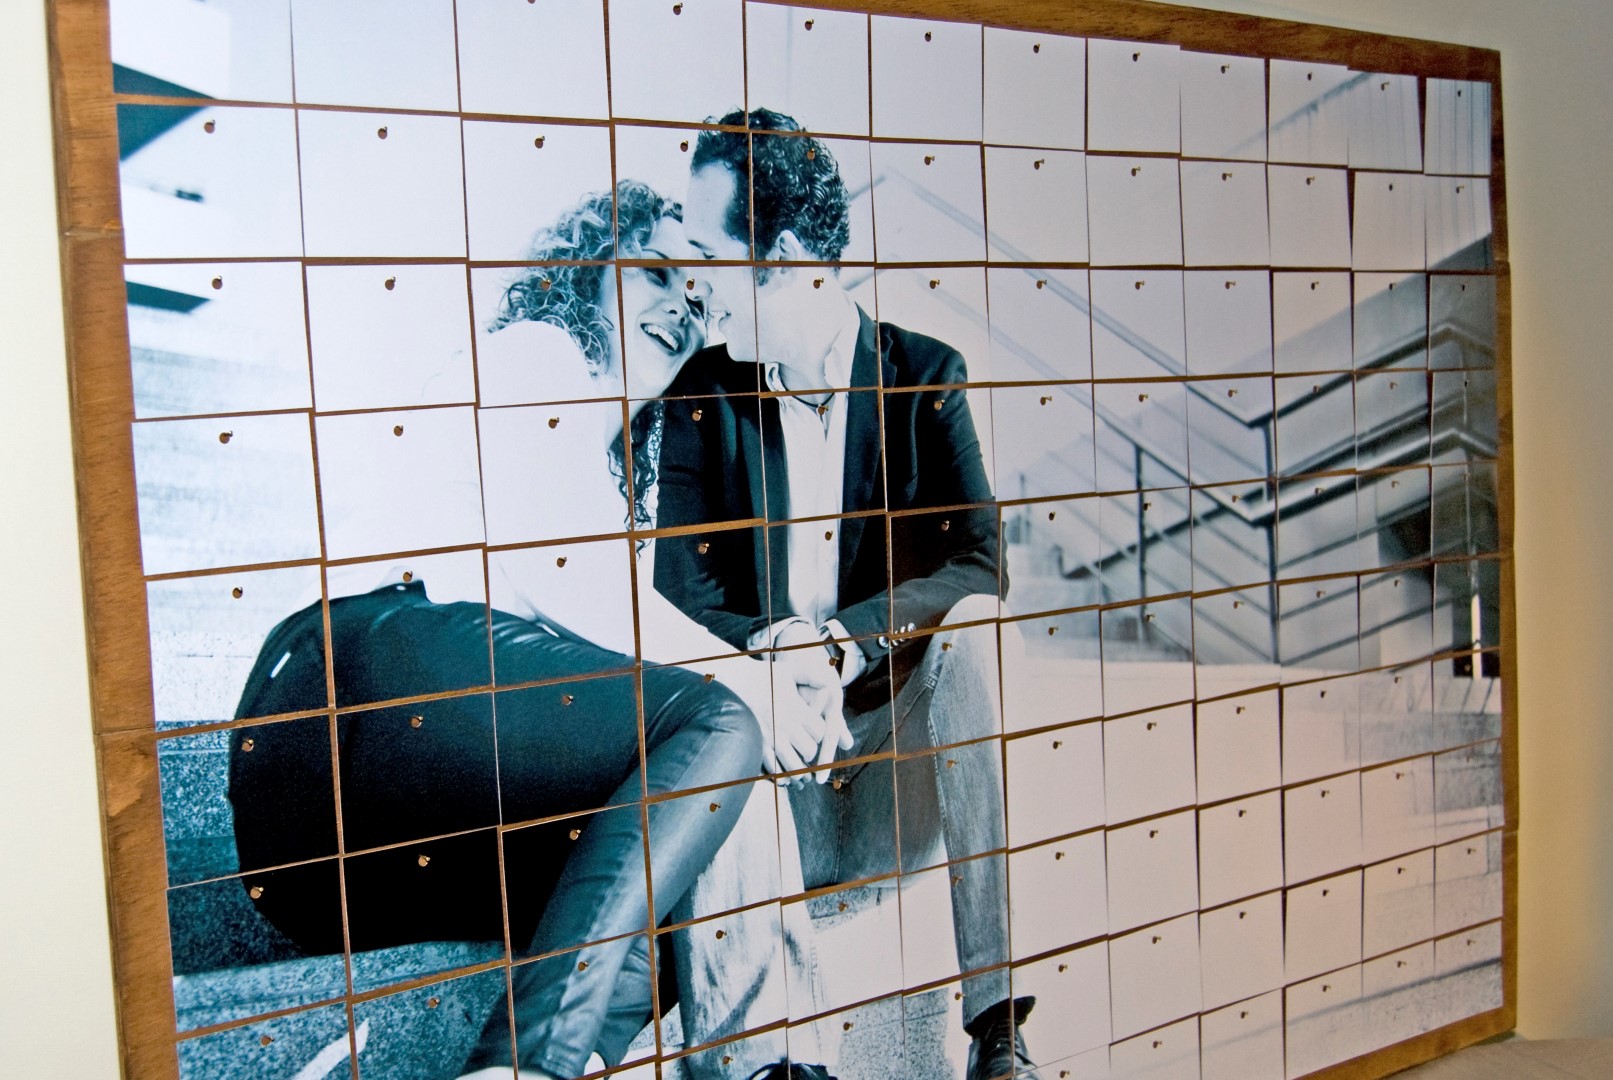
In this tutorial I’m going to show you how to make a simple and original guestbook for a wedding, with a vintage style.
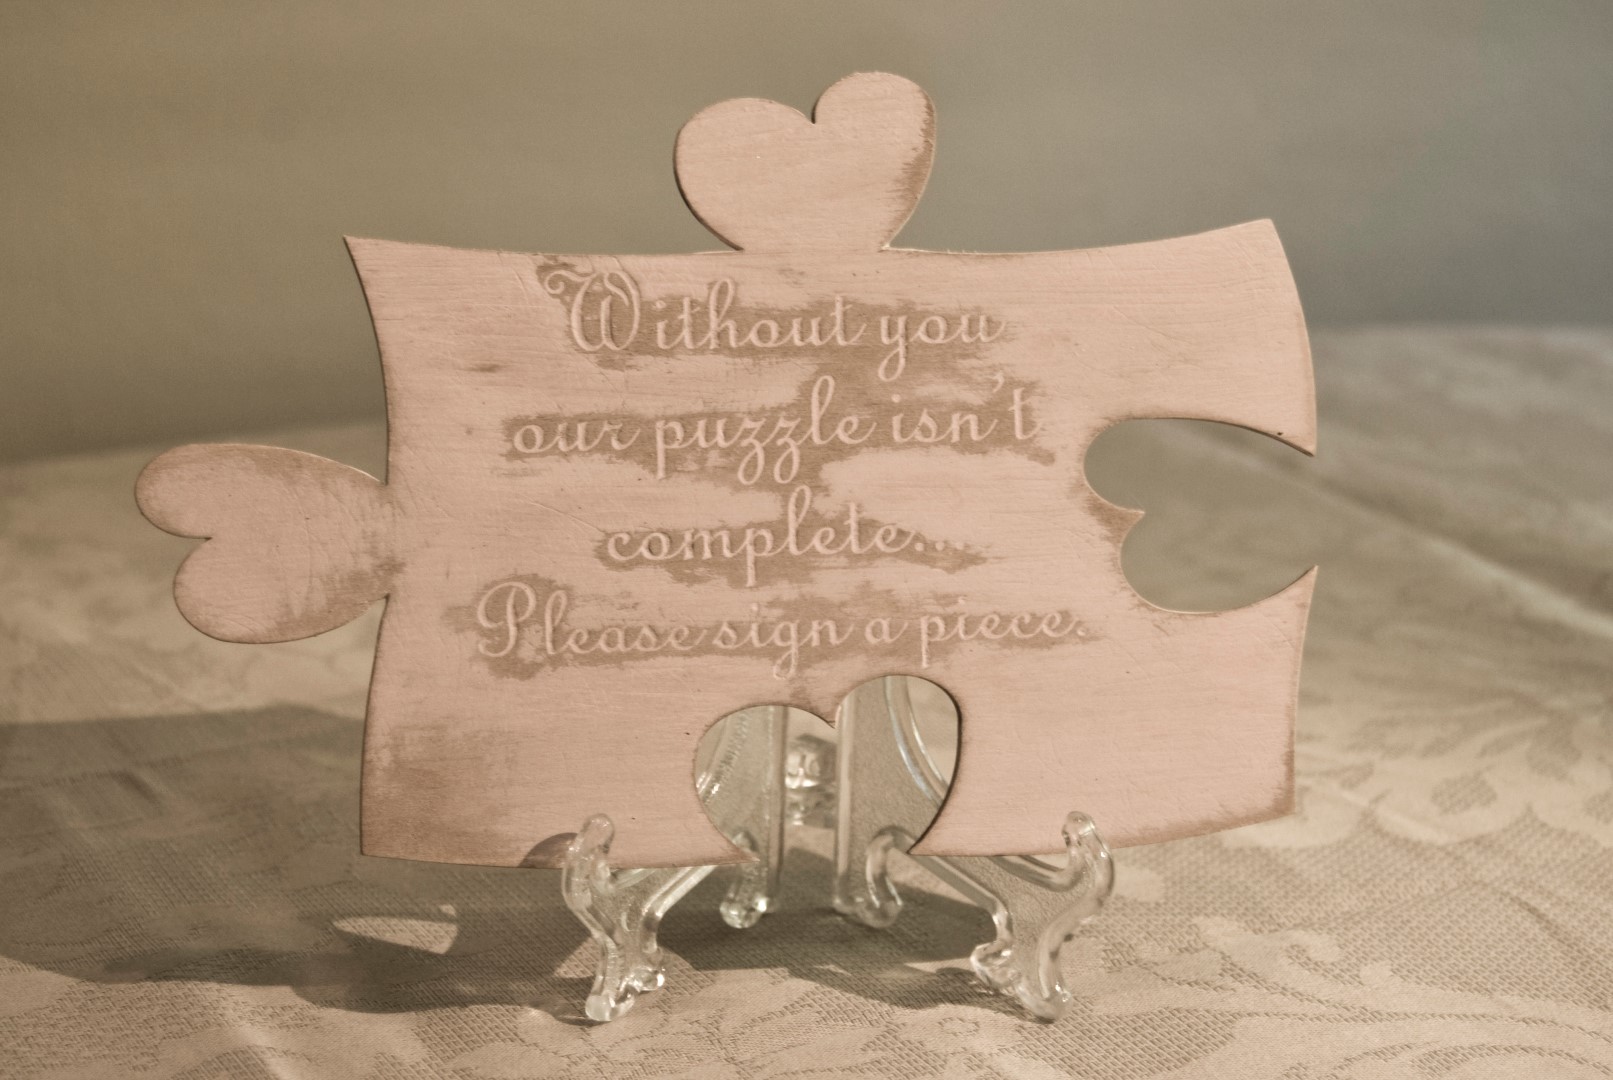
On it, your guests may leave their best wishes, written on that great day, and you will be able to store them in a decorative way.
Materials and tools :

The materials that we are going to use are:
– An unpainted wooden box with glass lid. You can find one in DIY stores or hardware stores.
– Nogaline or any dye for woods.
– Colorless wax (for furniture).
– Paint in the color you want, preferably clear.
– Metal grid (At a hardware store).
– Adhesive felt for the bottom of the box.
As for the tools, they are all simple, medium grain sandpaper, scissors or pliers to cut the grid, brush, screwdriver, permanent marker, a stapler and a blade.
1.Unscrew and remove the glass:

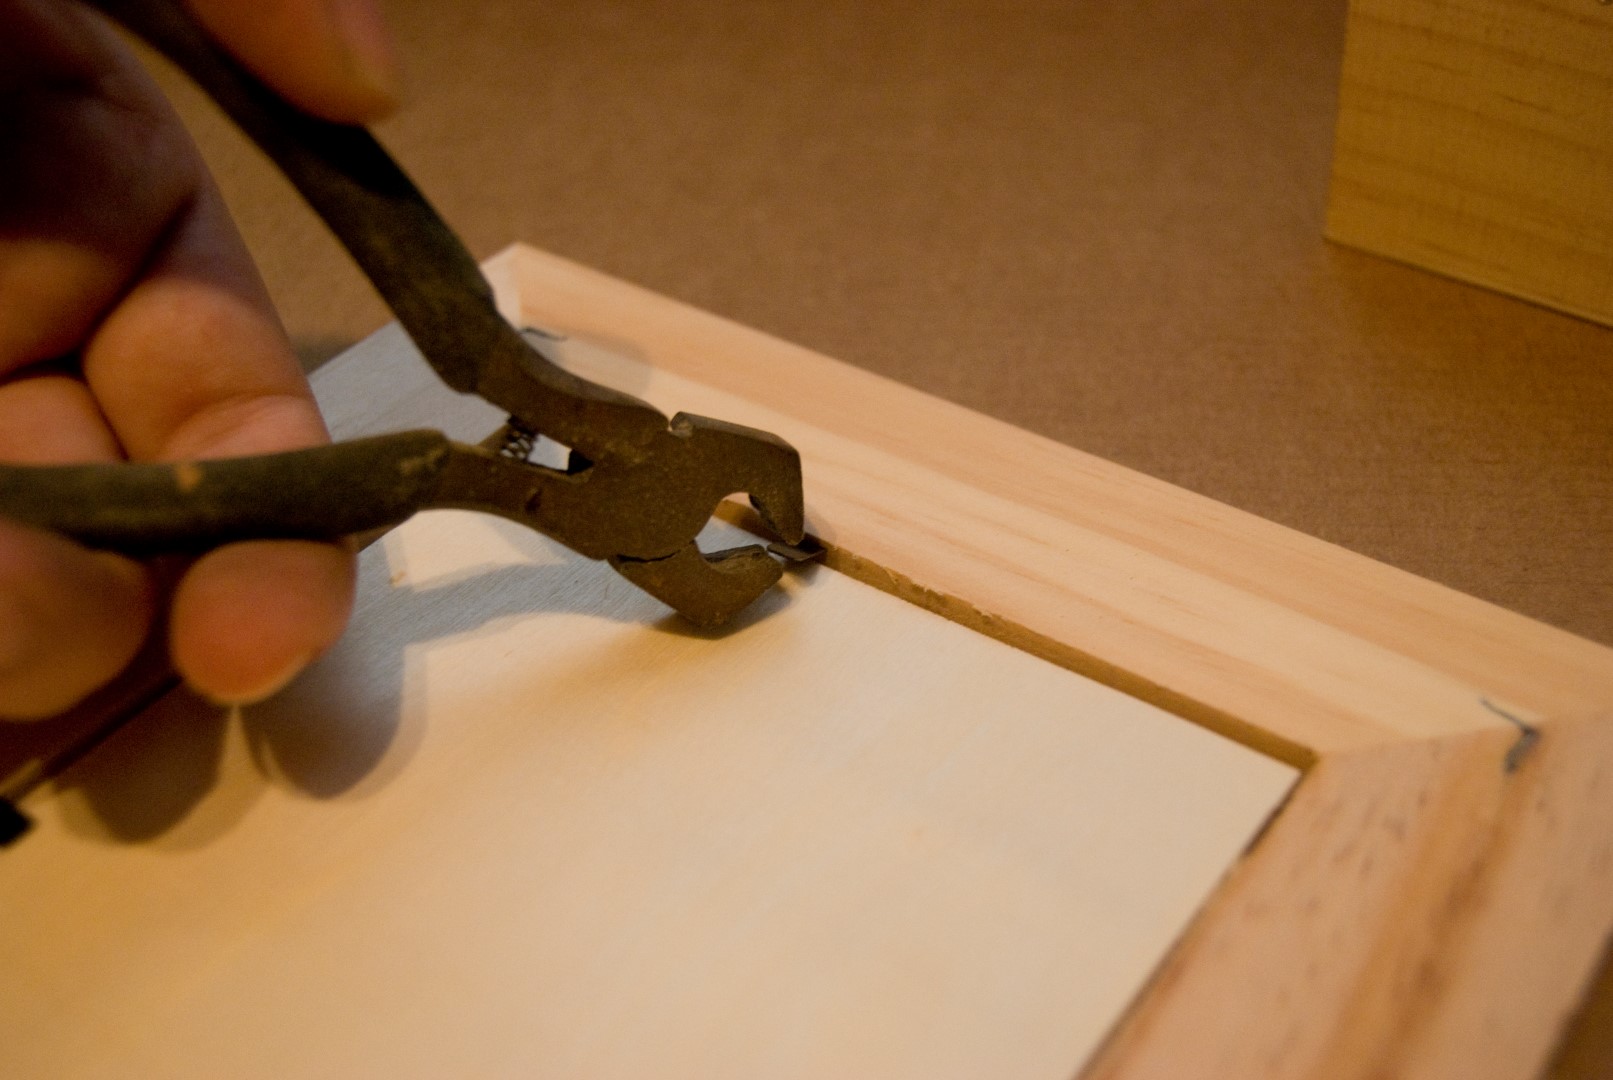

Unscrew the metal clasp and hinges to avoid to stain them with paint.
Also remove the glass and sample photo. In this case I just had to bend the metal pins that hold it.
2. Sand:
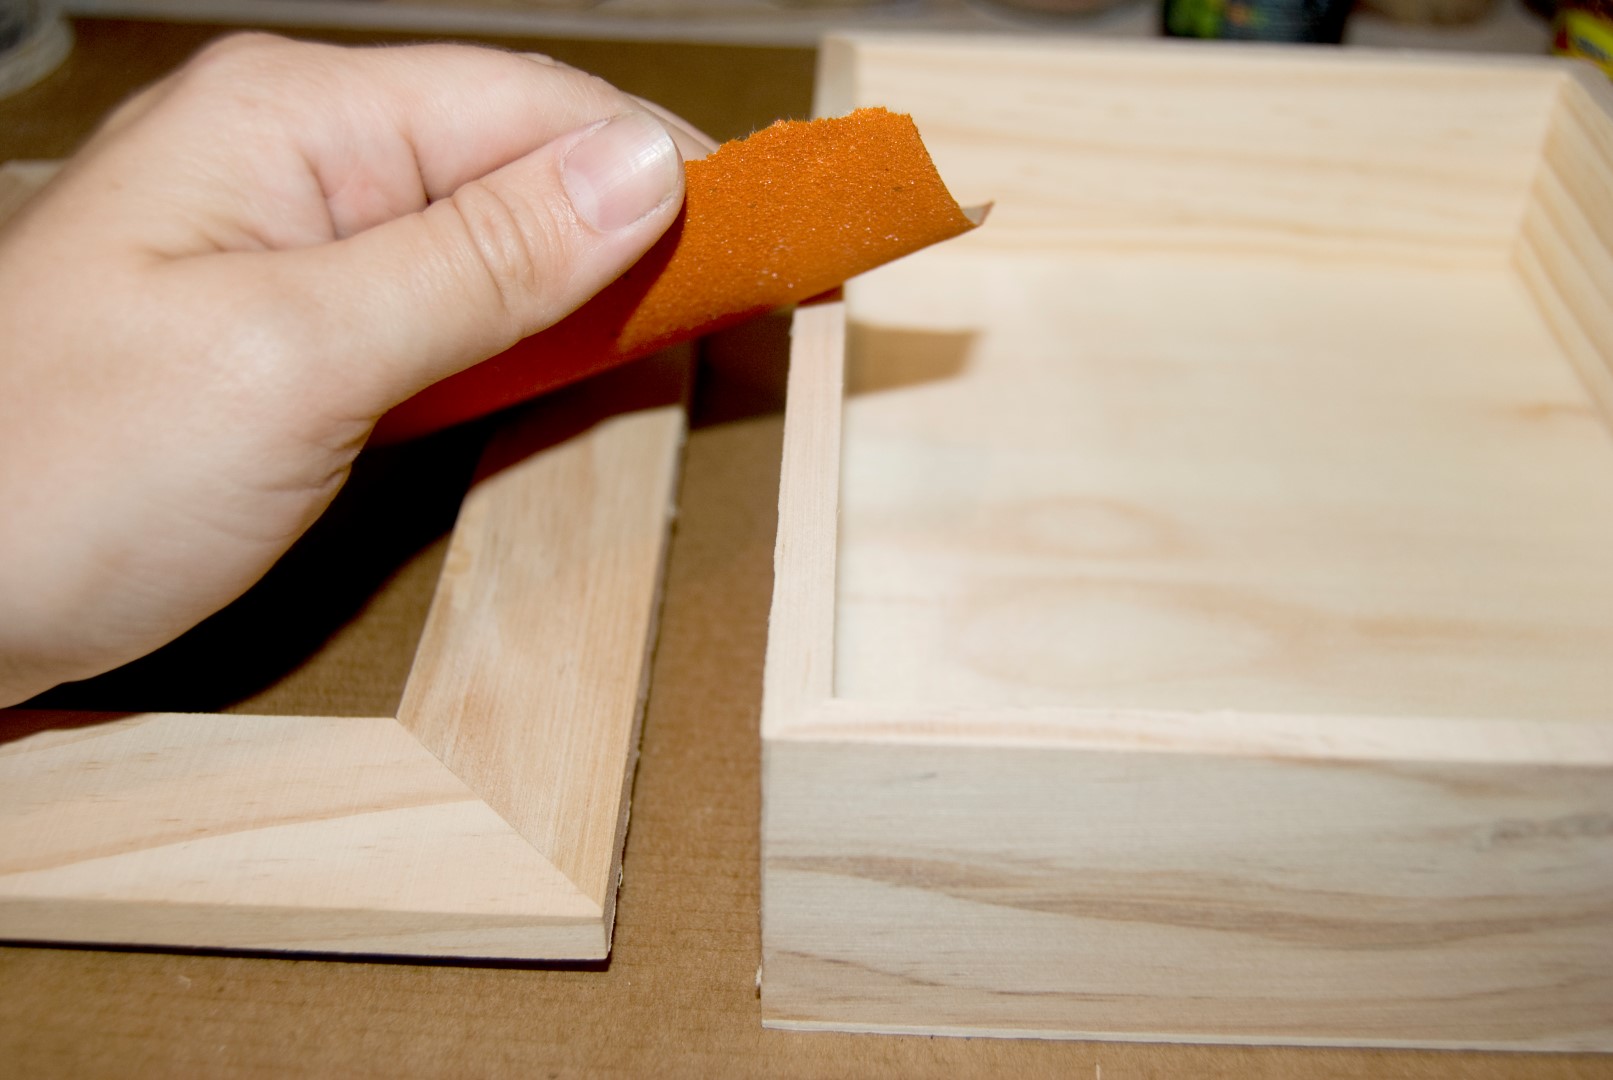
Sand the entire surface with medium grain sandpaper to remove the dirt that the wood may have adhered.
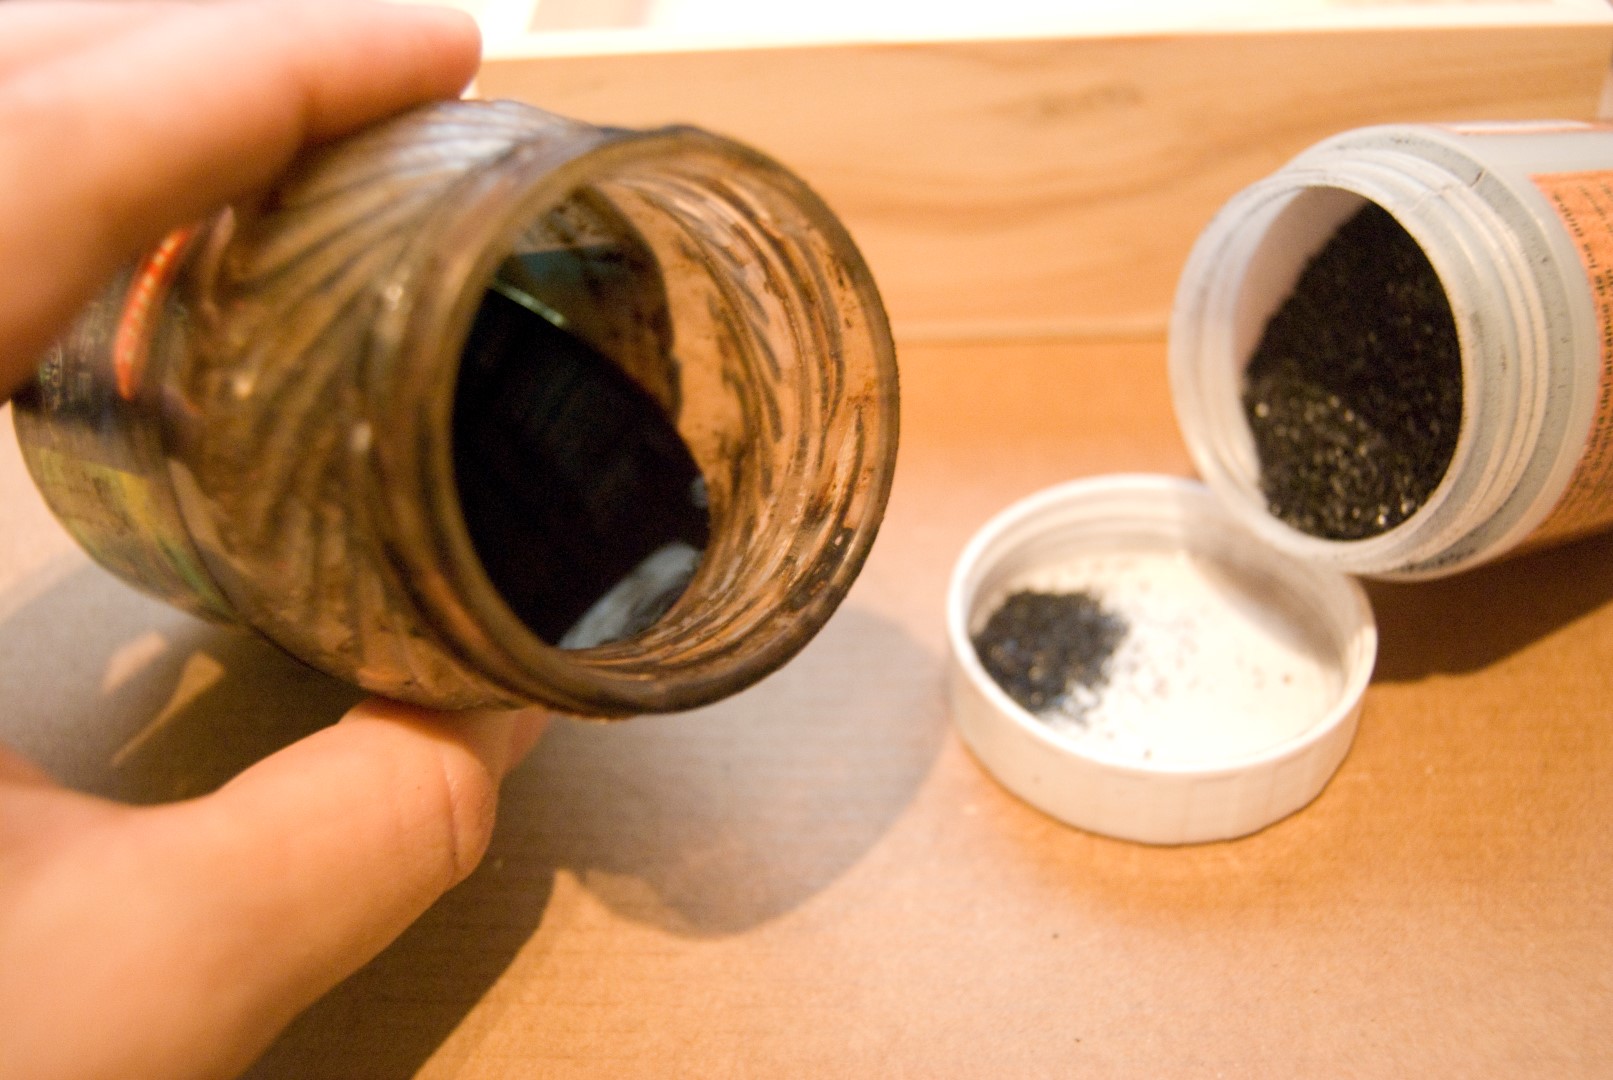
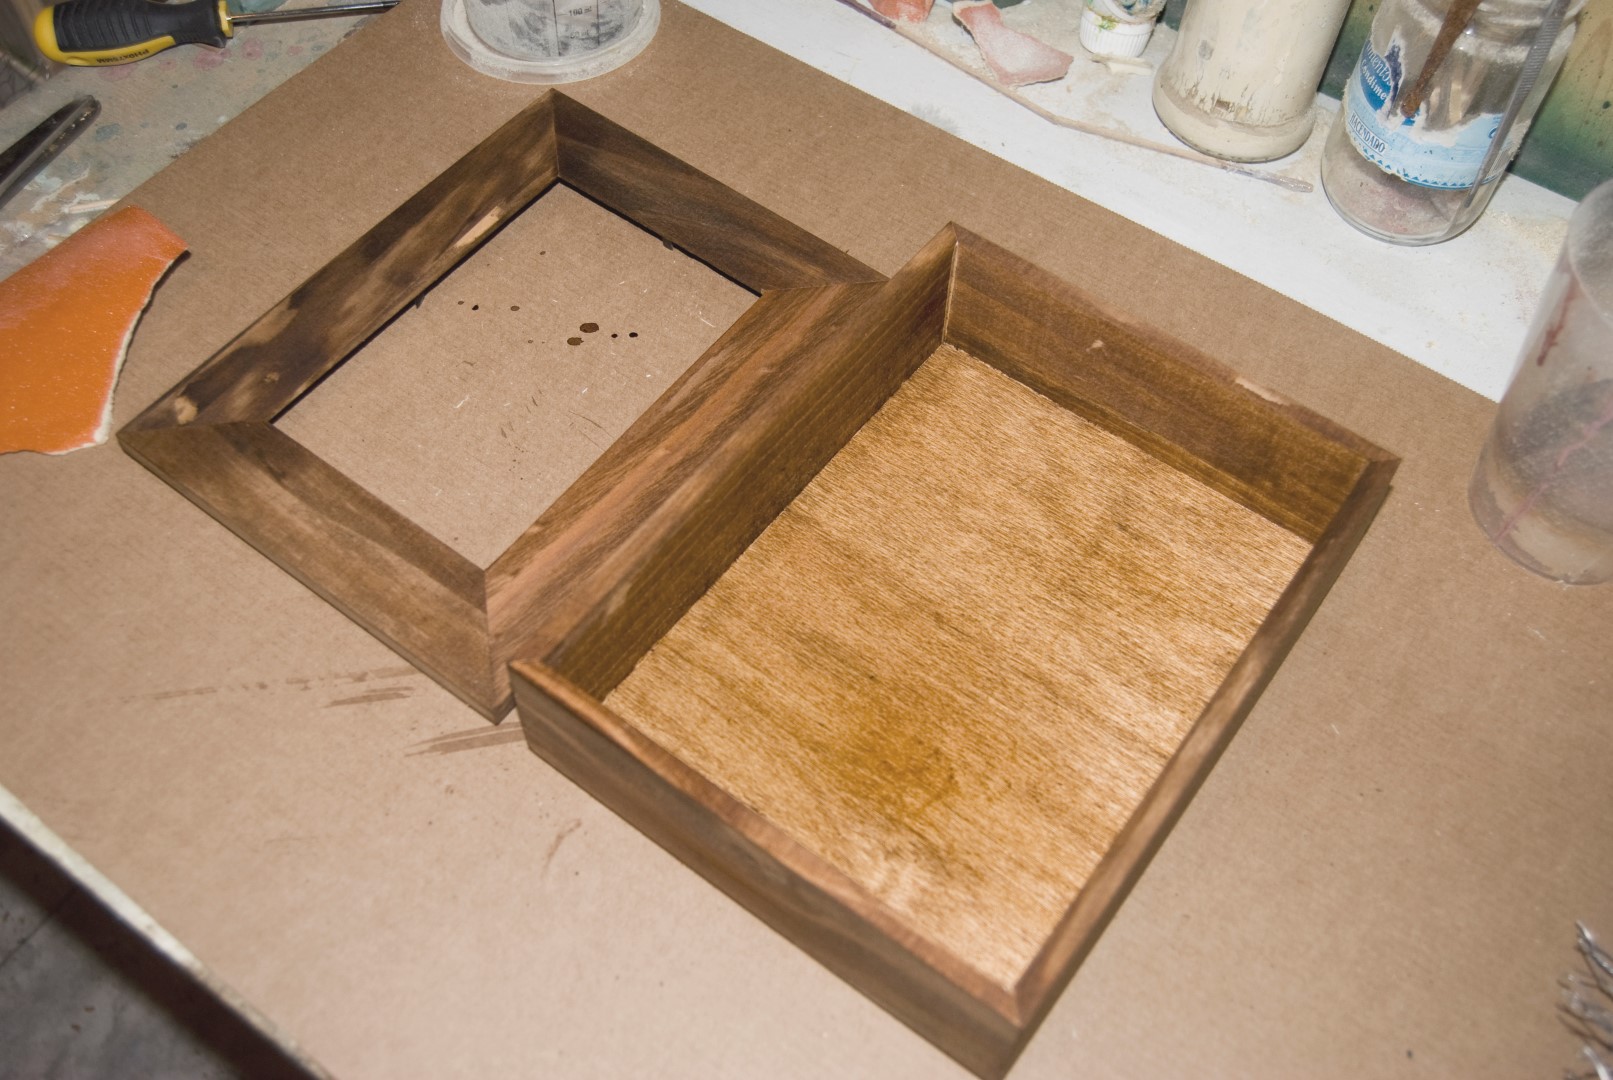
3. Wood dyeing:

The dye I used to paint the first layer of wood is walnut stain (nogaline). A dye that comes in powder, leaving a darker or lighter colour depending on the ratio of water in the mix.
You only need to apply one layer, as the wood will absorb it instantly and will leave a uniform color.
Let dry for about half an hour (in warm weather, in cold and humid conditions wait until you notice no damp to the touch).
4. Wax:


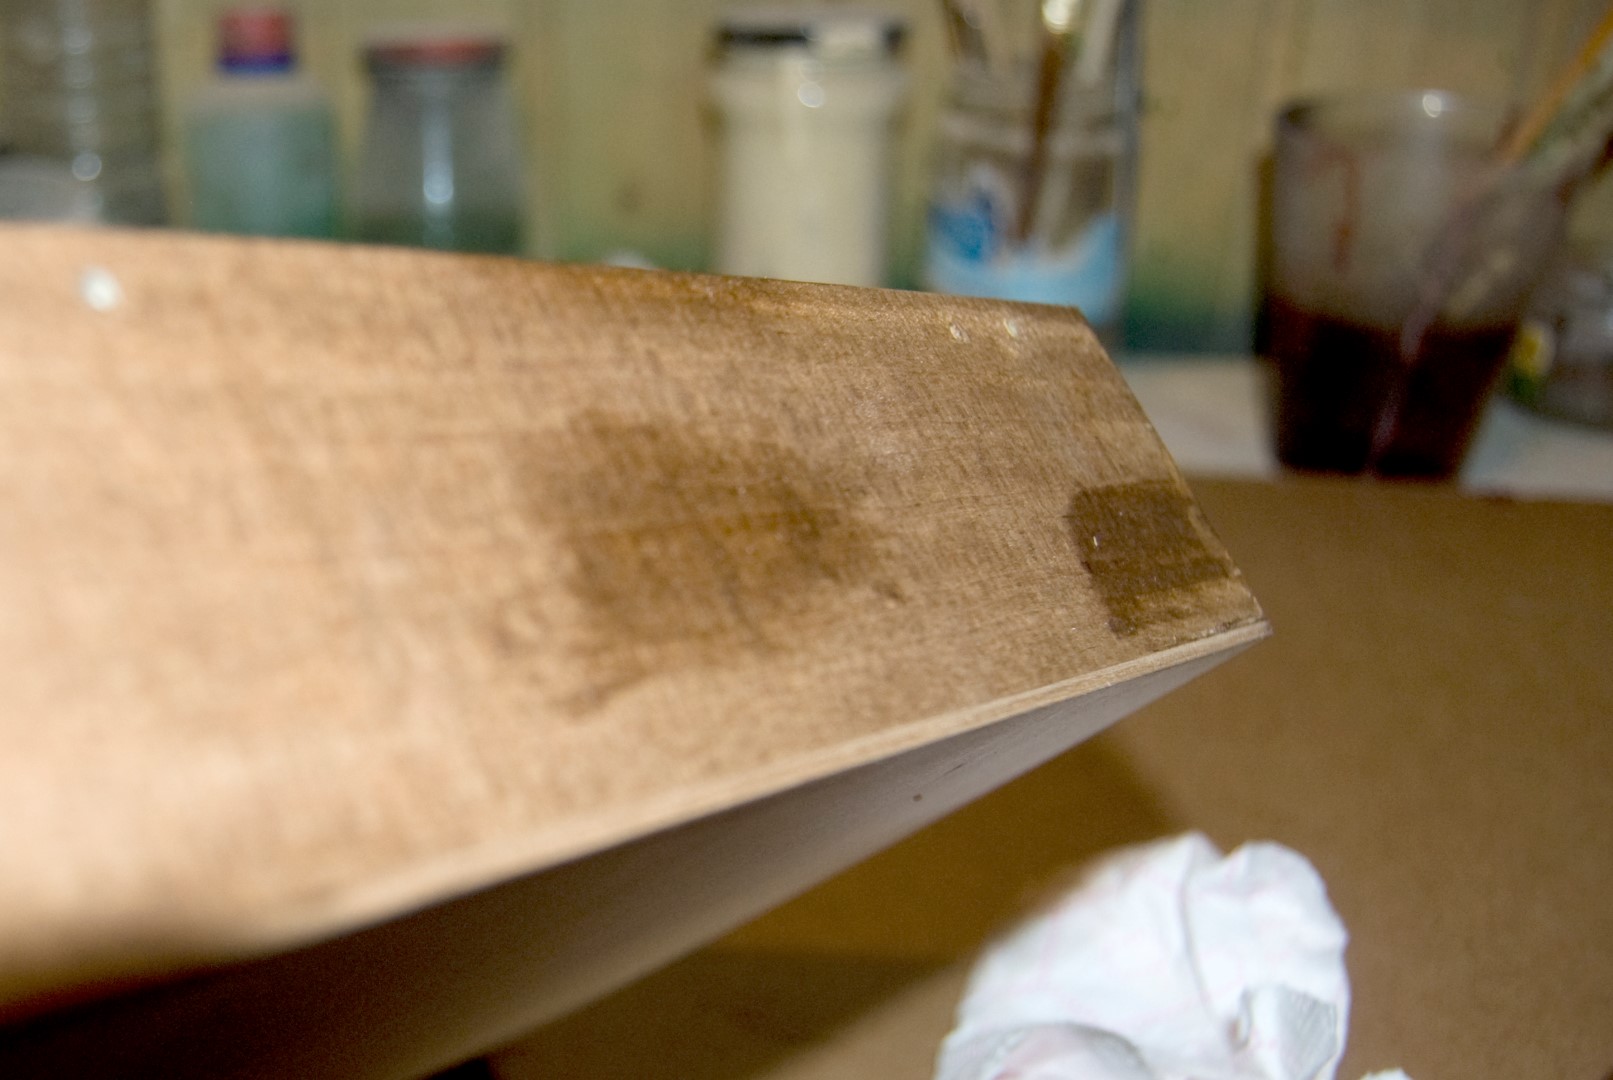
To create the aged or “vintage” effect we want to give to the box, the wood must be prepared by rubbing a cloth with colorless wax for wood, but not over the entire surface, only some “patches” where we want thr paint peeling off at the end.
5.Prepare the grid:
This is perhaps a little more complicated part.

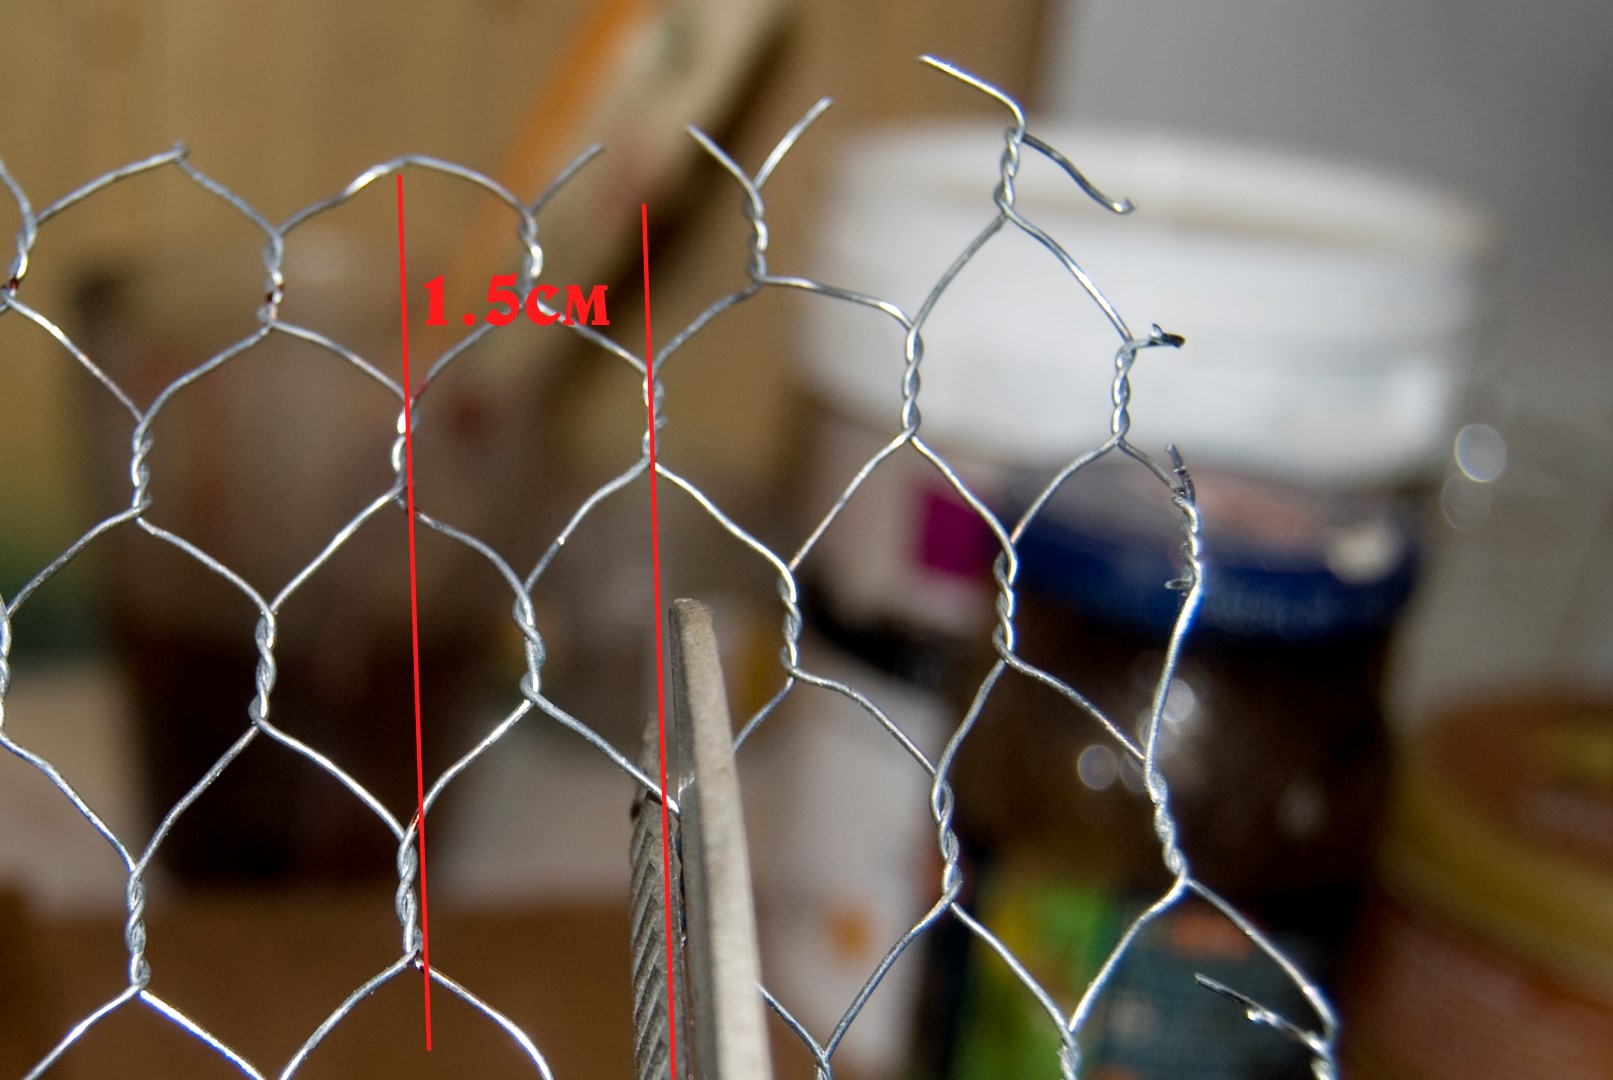
To take the measure that we need to cut the grid, put the piece of grid on the box and mark it with a permanent marker on the inside edge of the box.
With scissors or pliers (it depends on the thickness of the wire) cut the grid about 1.5 cm on the outside of the marks that we have done.
It is not necessary to cut it very accurately because the grid is flexible and if necessary we can shrink or expand the holes to match the shape of the box.
Once cut, helping us with a ruler or something with a straight and firm edge, we bend the grid by the marks we did at the beginning, so we get something like a “basket” with all four edges upward.
Before proceeding, we check that the cut piece just fits into the wooden box. We remove it to continue working.


6. Paint:
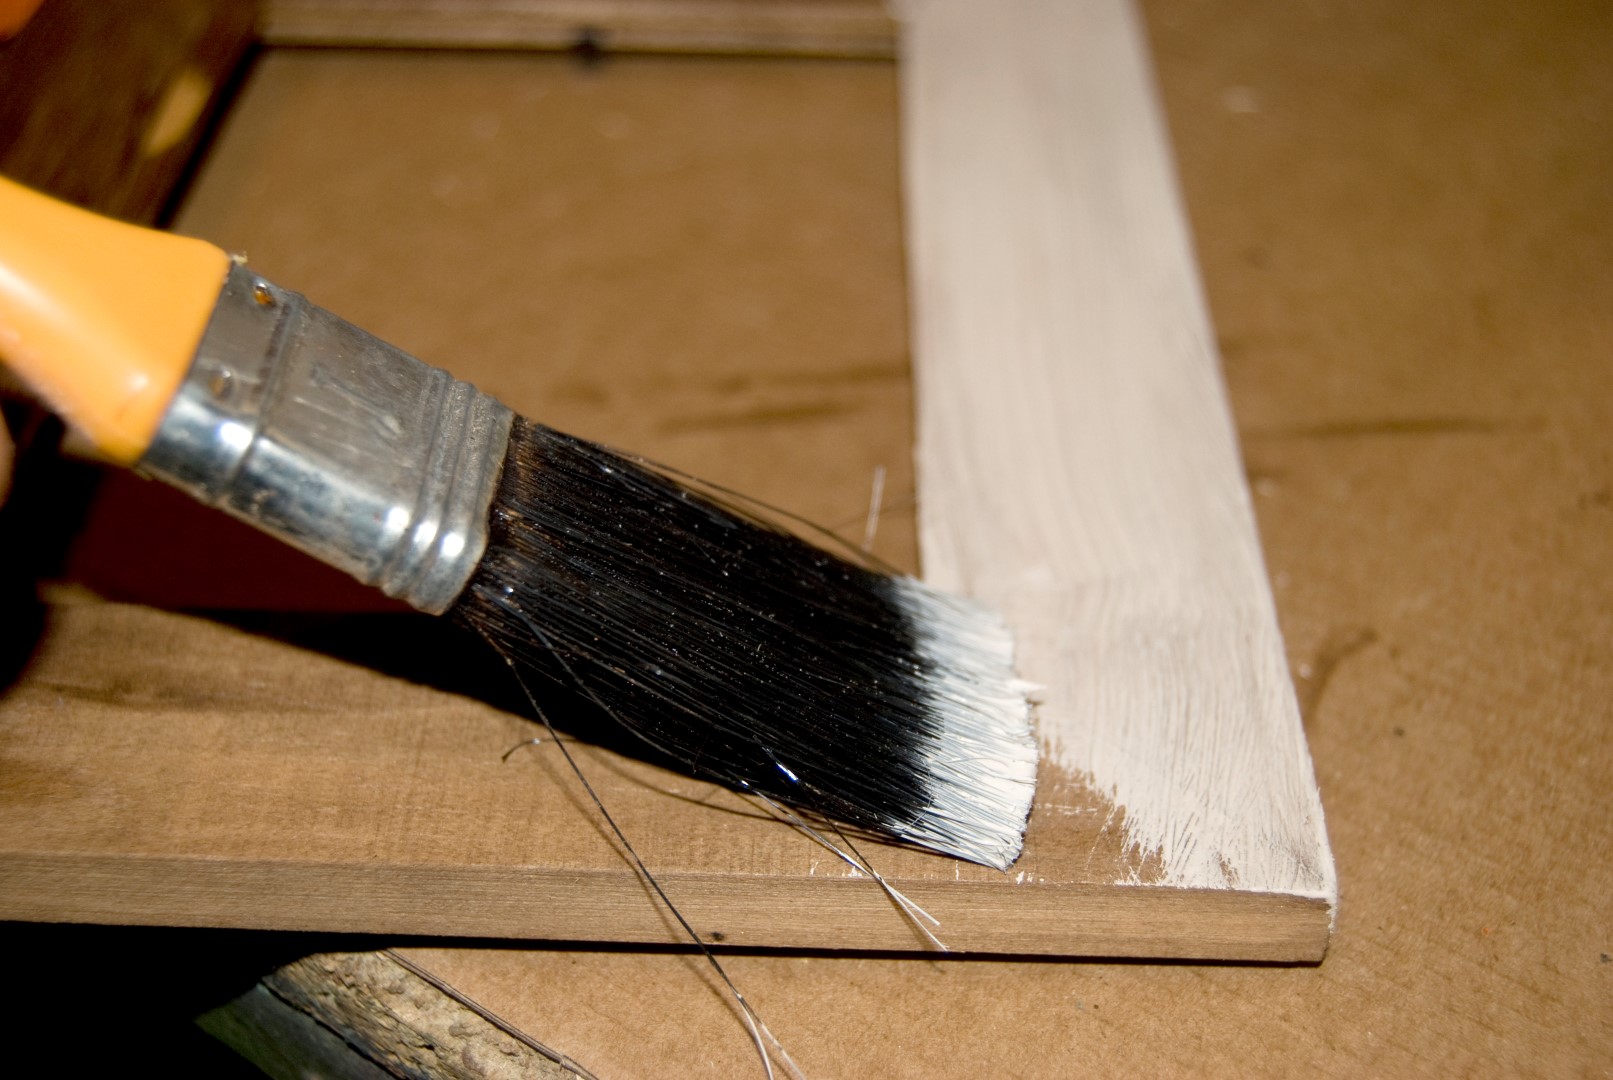
Paint the entire outer surface of the box with the chosen color.
Is better if the paint is a little dense, so it will not completely absorbed, (That will help with the sanding).
No need to worry about brush marks in the paint, is part of the final effect.
In this case we will have to wait for the time indicated by the supplier of the paint to dry.
You only need to apply one layer.
7. Sand:


Once dry, sand it with medium grain sandpaper the entire painter surface.insisting on the areas we want to remain with exposed wood.
The wax we gave earlier facilitate this work, as in the waxed areas, paint can not be attached to the wood as now its waterproof.
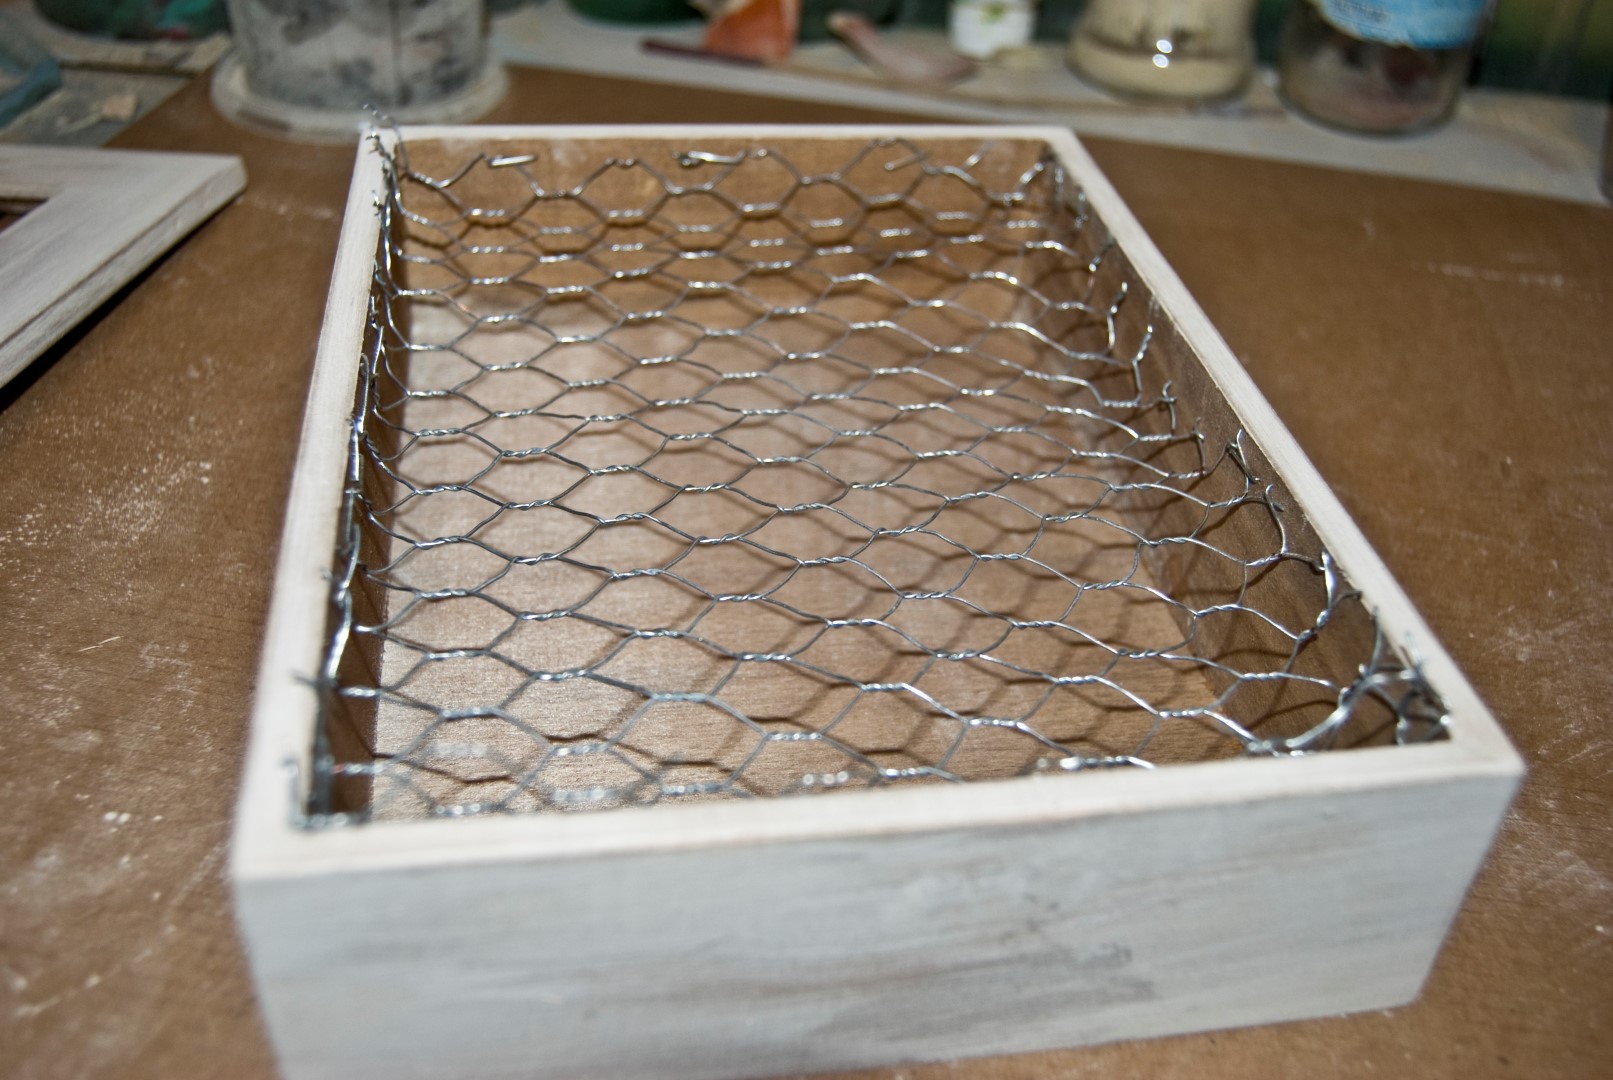
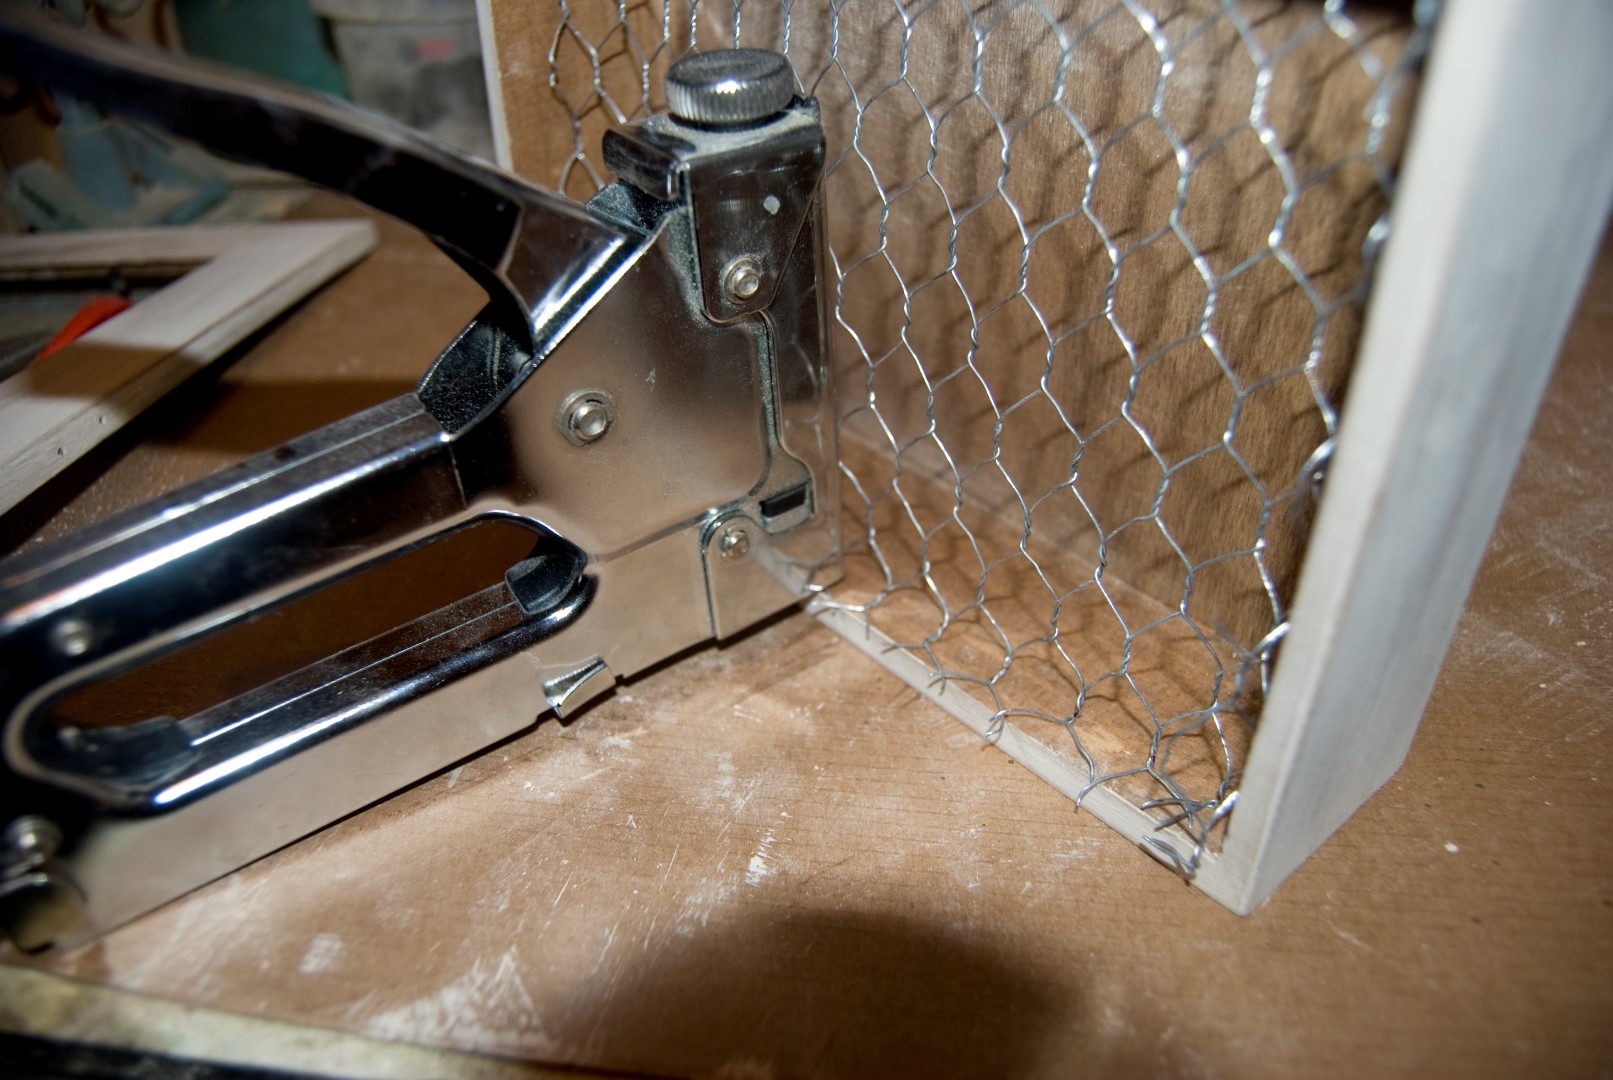
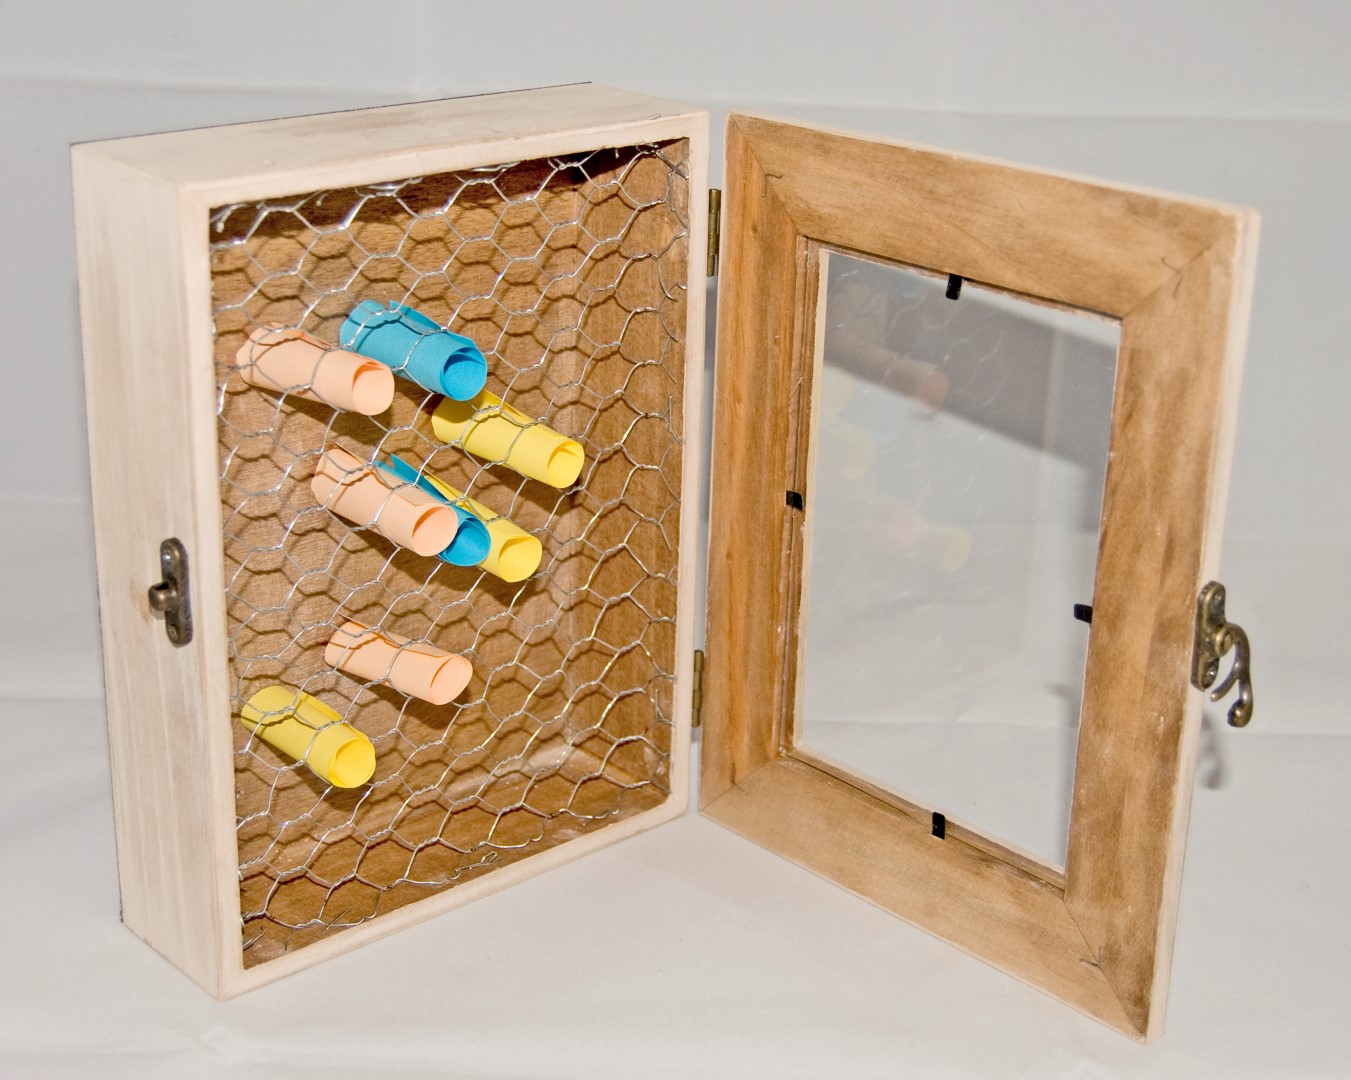
8.Place the rack:
Now we can definitely place the rack in the box.
Hold it with the stapler. A pair of staples on each side will be fine.
If note that there can be some wire outside the edge of the box. Cut them.

9. Screw:
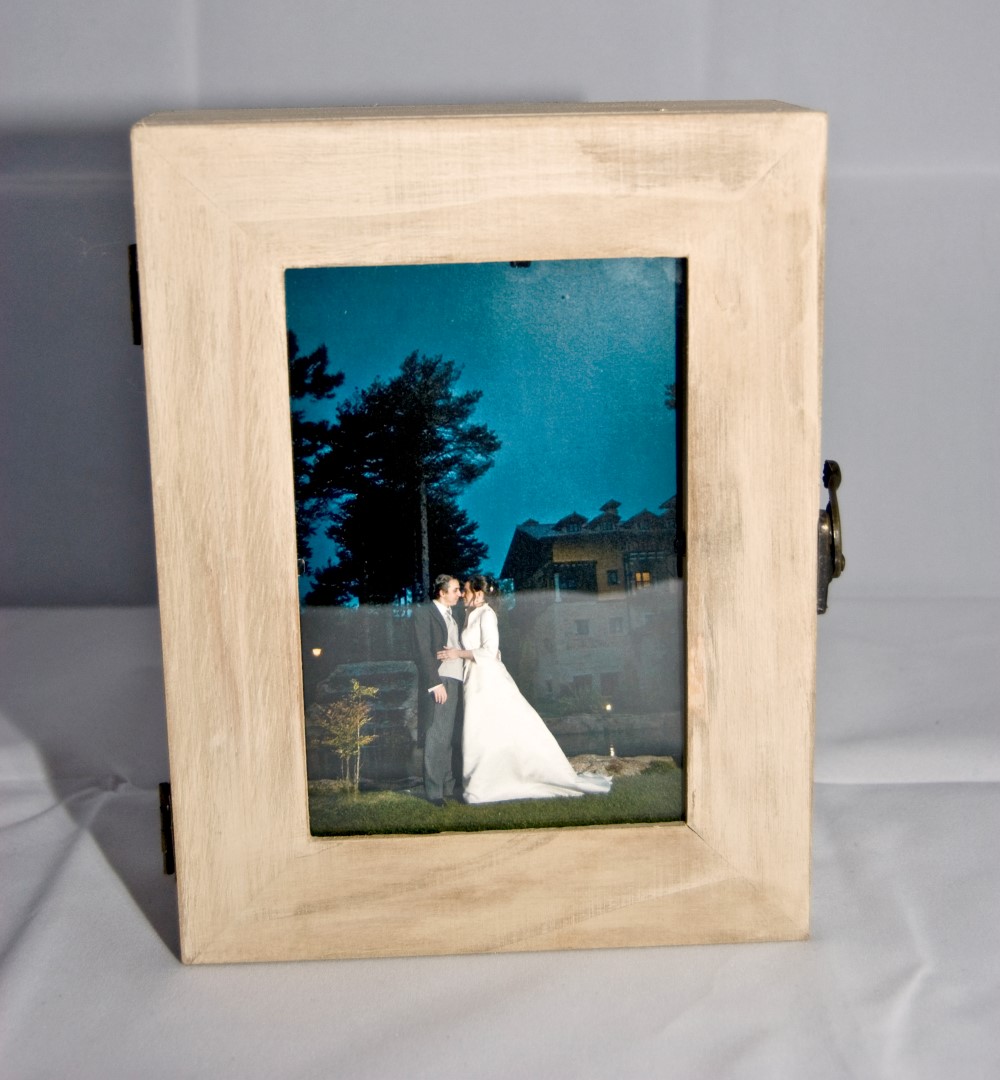
Remount the box with hinges, lock and glass. (Without the sample photo).

10.Place the felt:
We measure the bottom of the box to cut the adhesive felt. Let’s cut it better than a little big, and after you can cut the excess with a blade.
If you cut in the accurate from the beginning it will be harder to sitick it in place.

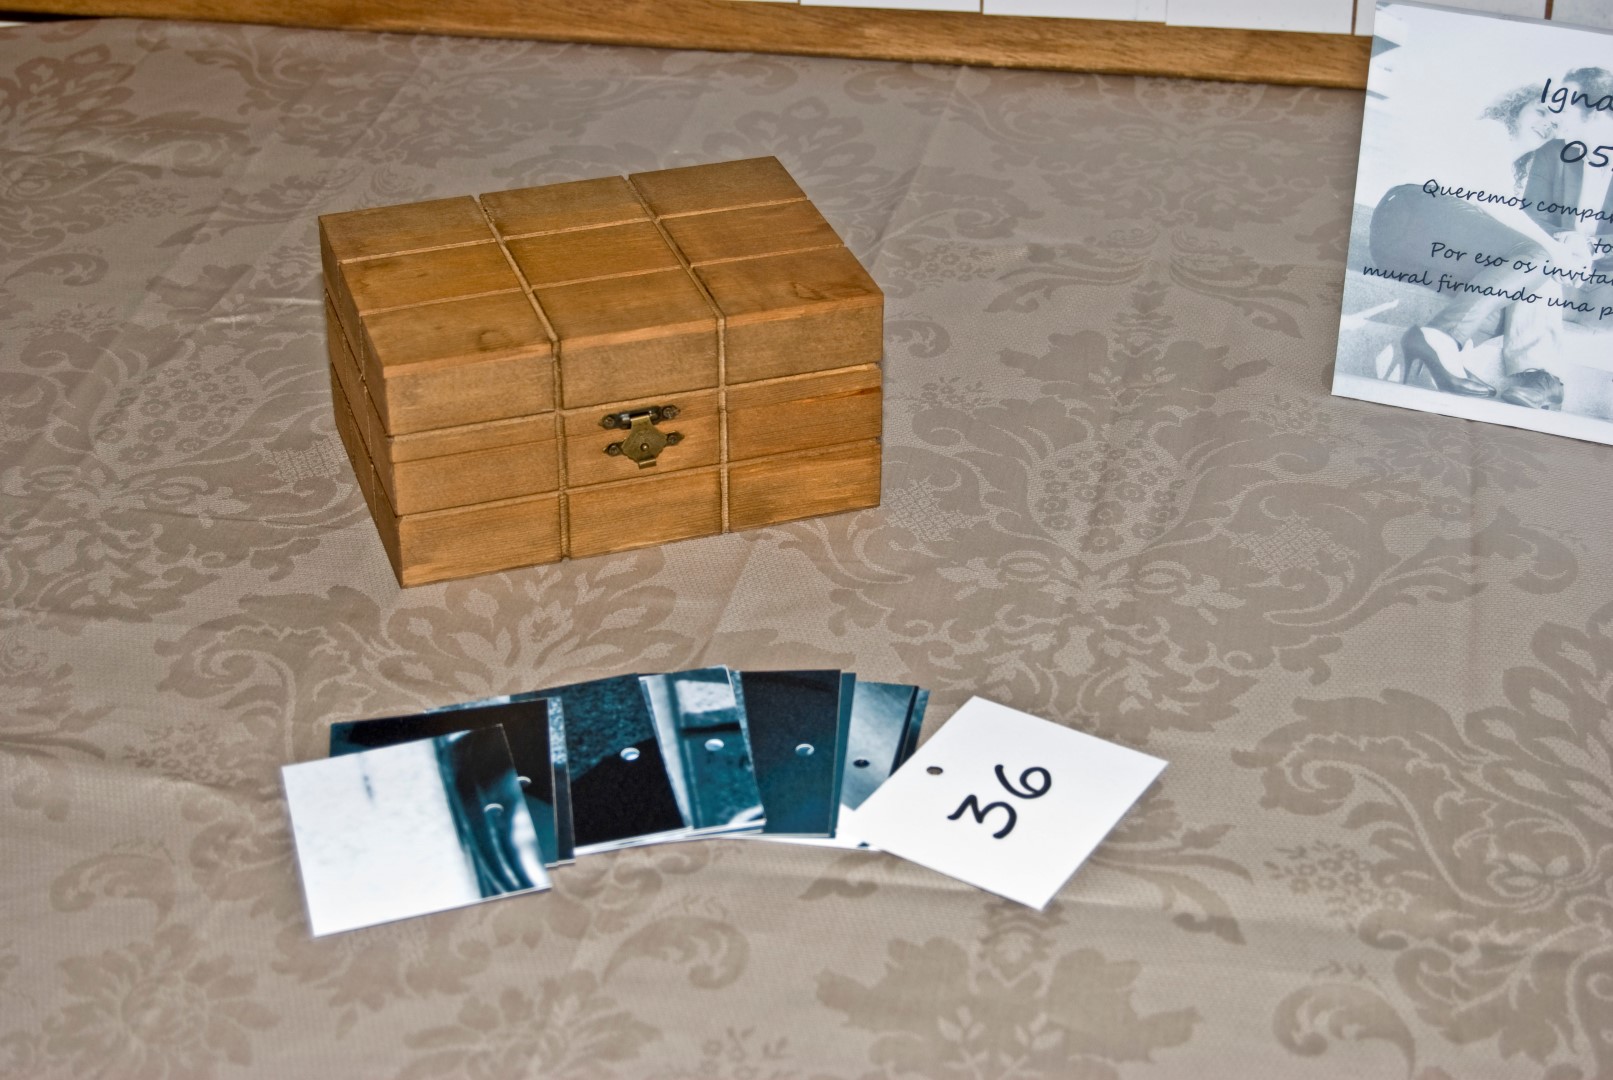
11.The cards:
To cut the papers that the guests will write and leave in the box, we have to measure the box and cut them between 5 and 10mm shorter. (As long as you want).

12. The end

We already have our guest book.
Guests can pick up a card, sign it and place it on its site.
I suggest to have placed some cards from the beginning. So, guests will see what to do
You can treasure your box only with the glass in a way that the paper rolls are exposed, or after the wedding decorate it with a nice photo.
We published this tutorial originally in The Instructables community, during the “Wedding contest”, and it was among the winners (Finalist).
You can see it here:
http://www.instructables.com/id/Vintage-Wedding-Guestbook/
We hope you liked it, We would like to see your work.
And if you like the idea but do not have the time to do it, contact us and we will do it for you.