Category: niños

  • A toy for sharing with our daughter

    A toy for sharing with our daughter

    On this occasion we suggest you to make a toy for your kids to share your workspace, is that, even though the Three Kings just left their gifts, our daughter (as is usual in children) seems to have more fun playing with our things as with hers, and since she learned to whistle the multimeter (set to check continuity), every time she has it on hand what, she brings it asking us to turn it on.

    It’s been a while since the last time we wrote, and we apologize for that.

    It’s been a hard time for our family, but gradually return to normal.

    As there seems not very reasonable to let a toddler to click anywhere, I decided to do a toy to make the tester whistle while we work.

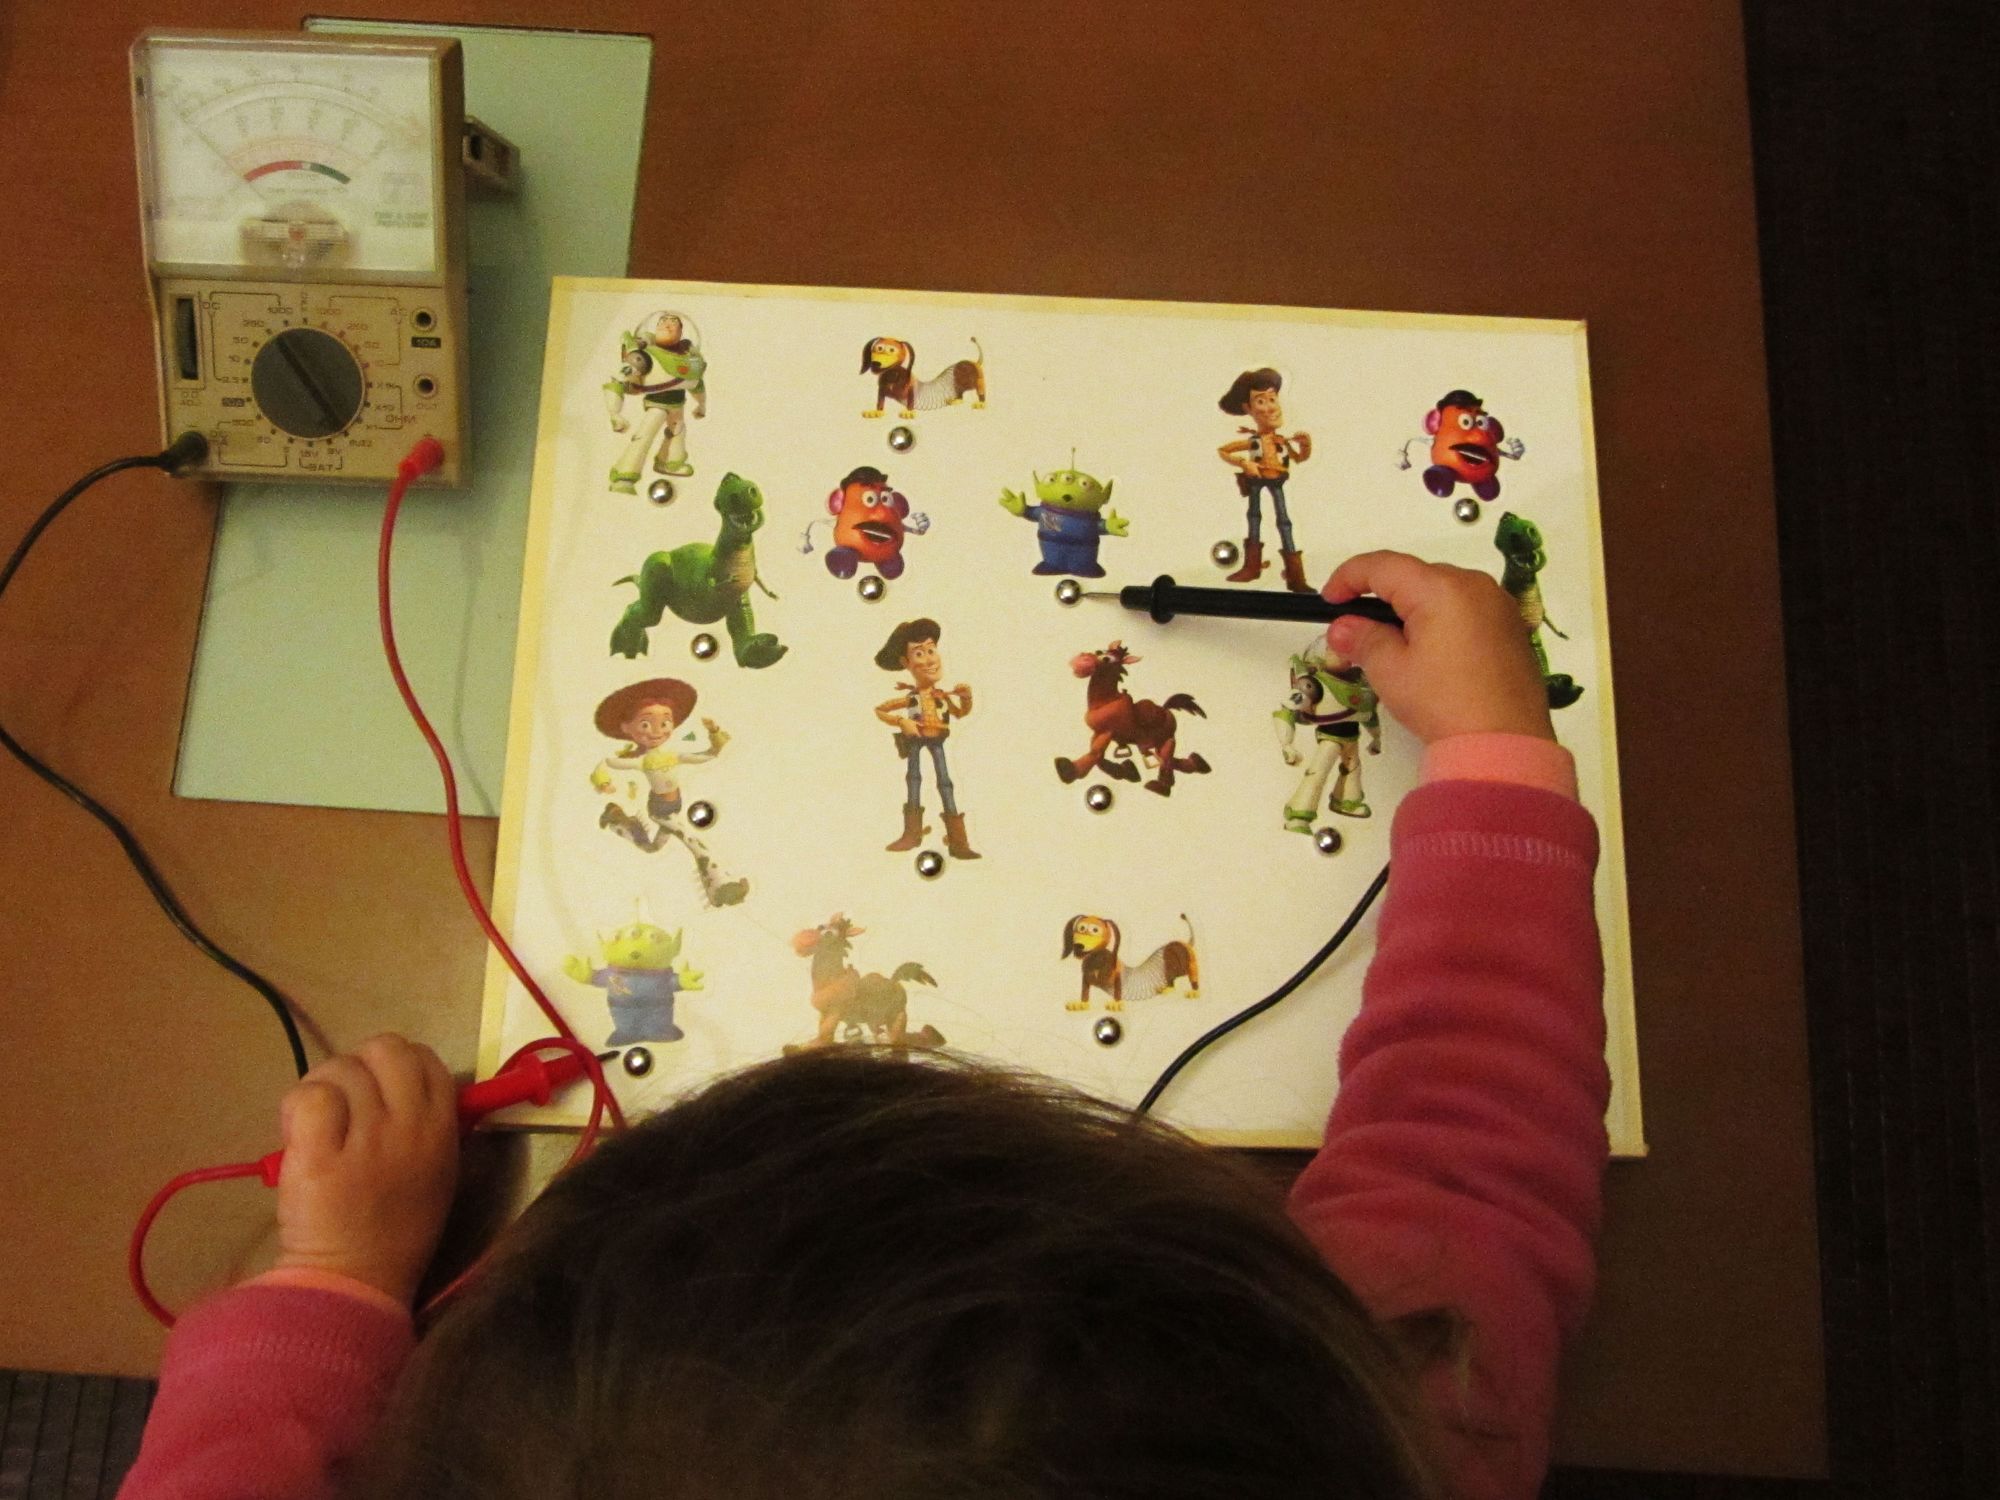
    It is a simple game to find pairs, touching at points that are connected together.

    While it is true that in order to play you must have a multimeter at home (and not everyone has it) it can be done with any broken toy at home, after all this wiring will replace the switch. Anyway this toy has been specifically made to take advantage of the interest that our daughter has in the multimetermeter and will be used under supervision, children should not play with these things if we do not know what we do.

    We need a table, fat cardboard or sheet of any material (which does not conduct electricity, of course), images in couples to stick on the table, rivets with tab, cables, soldering iron, tin, hot glue and something to cover the cables behind when finished.

    It’s actually so simple that needs little explanation, so I leave the pictures and little else.

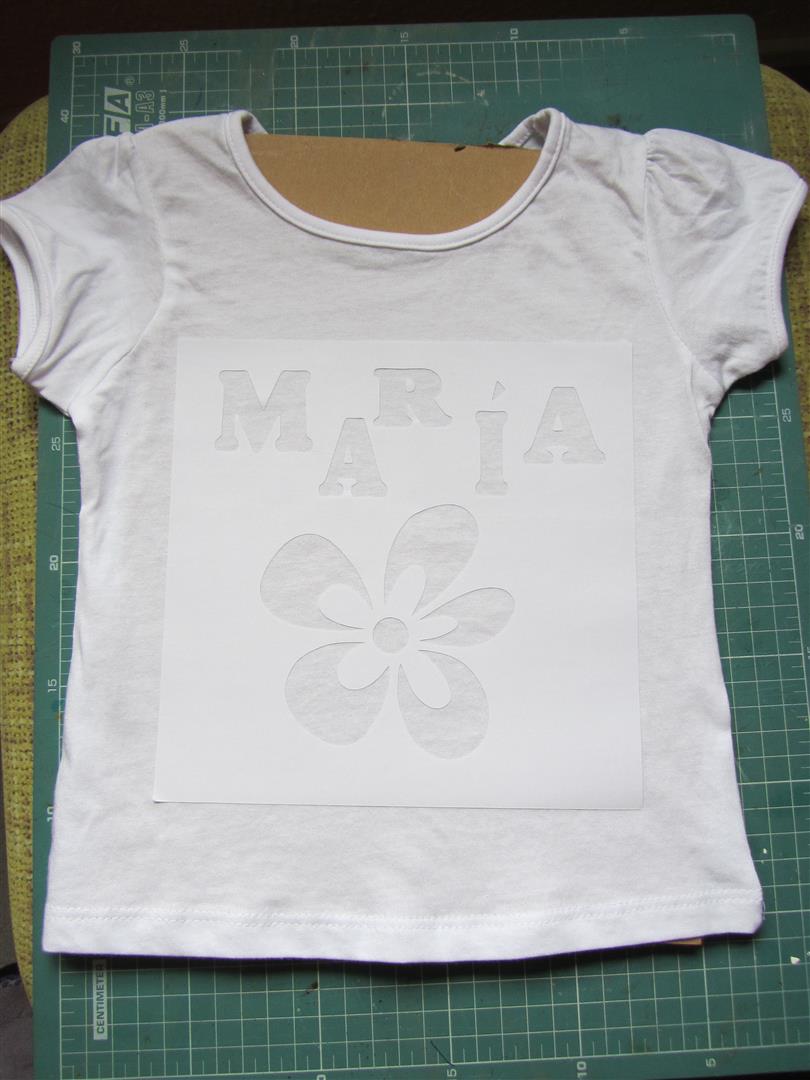
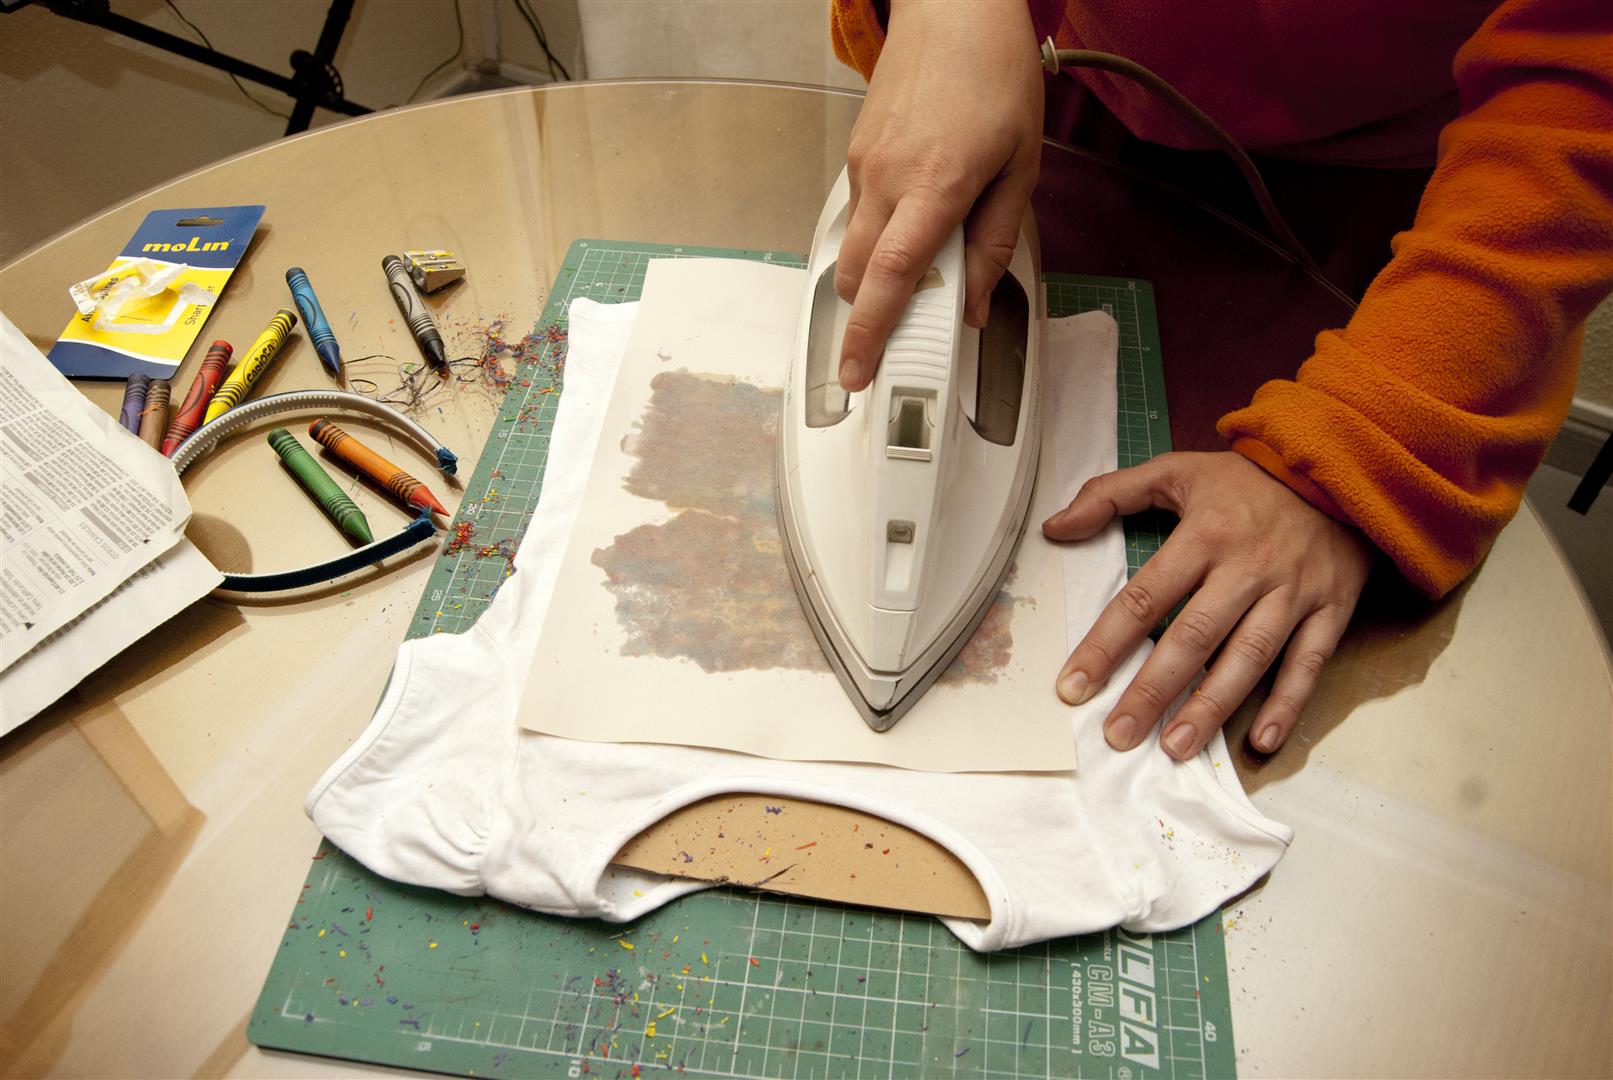
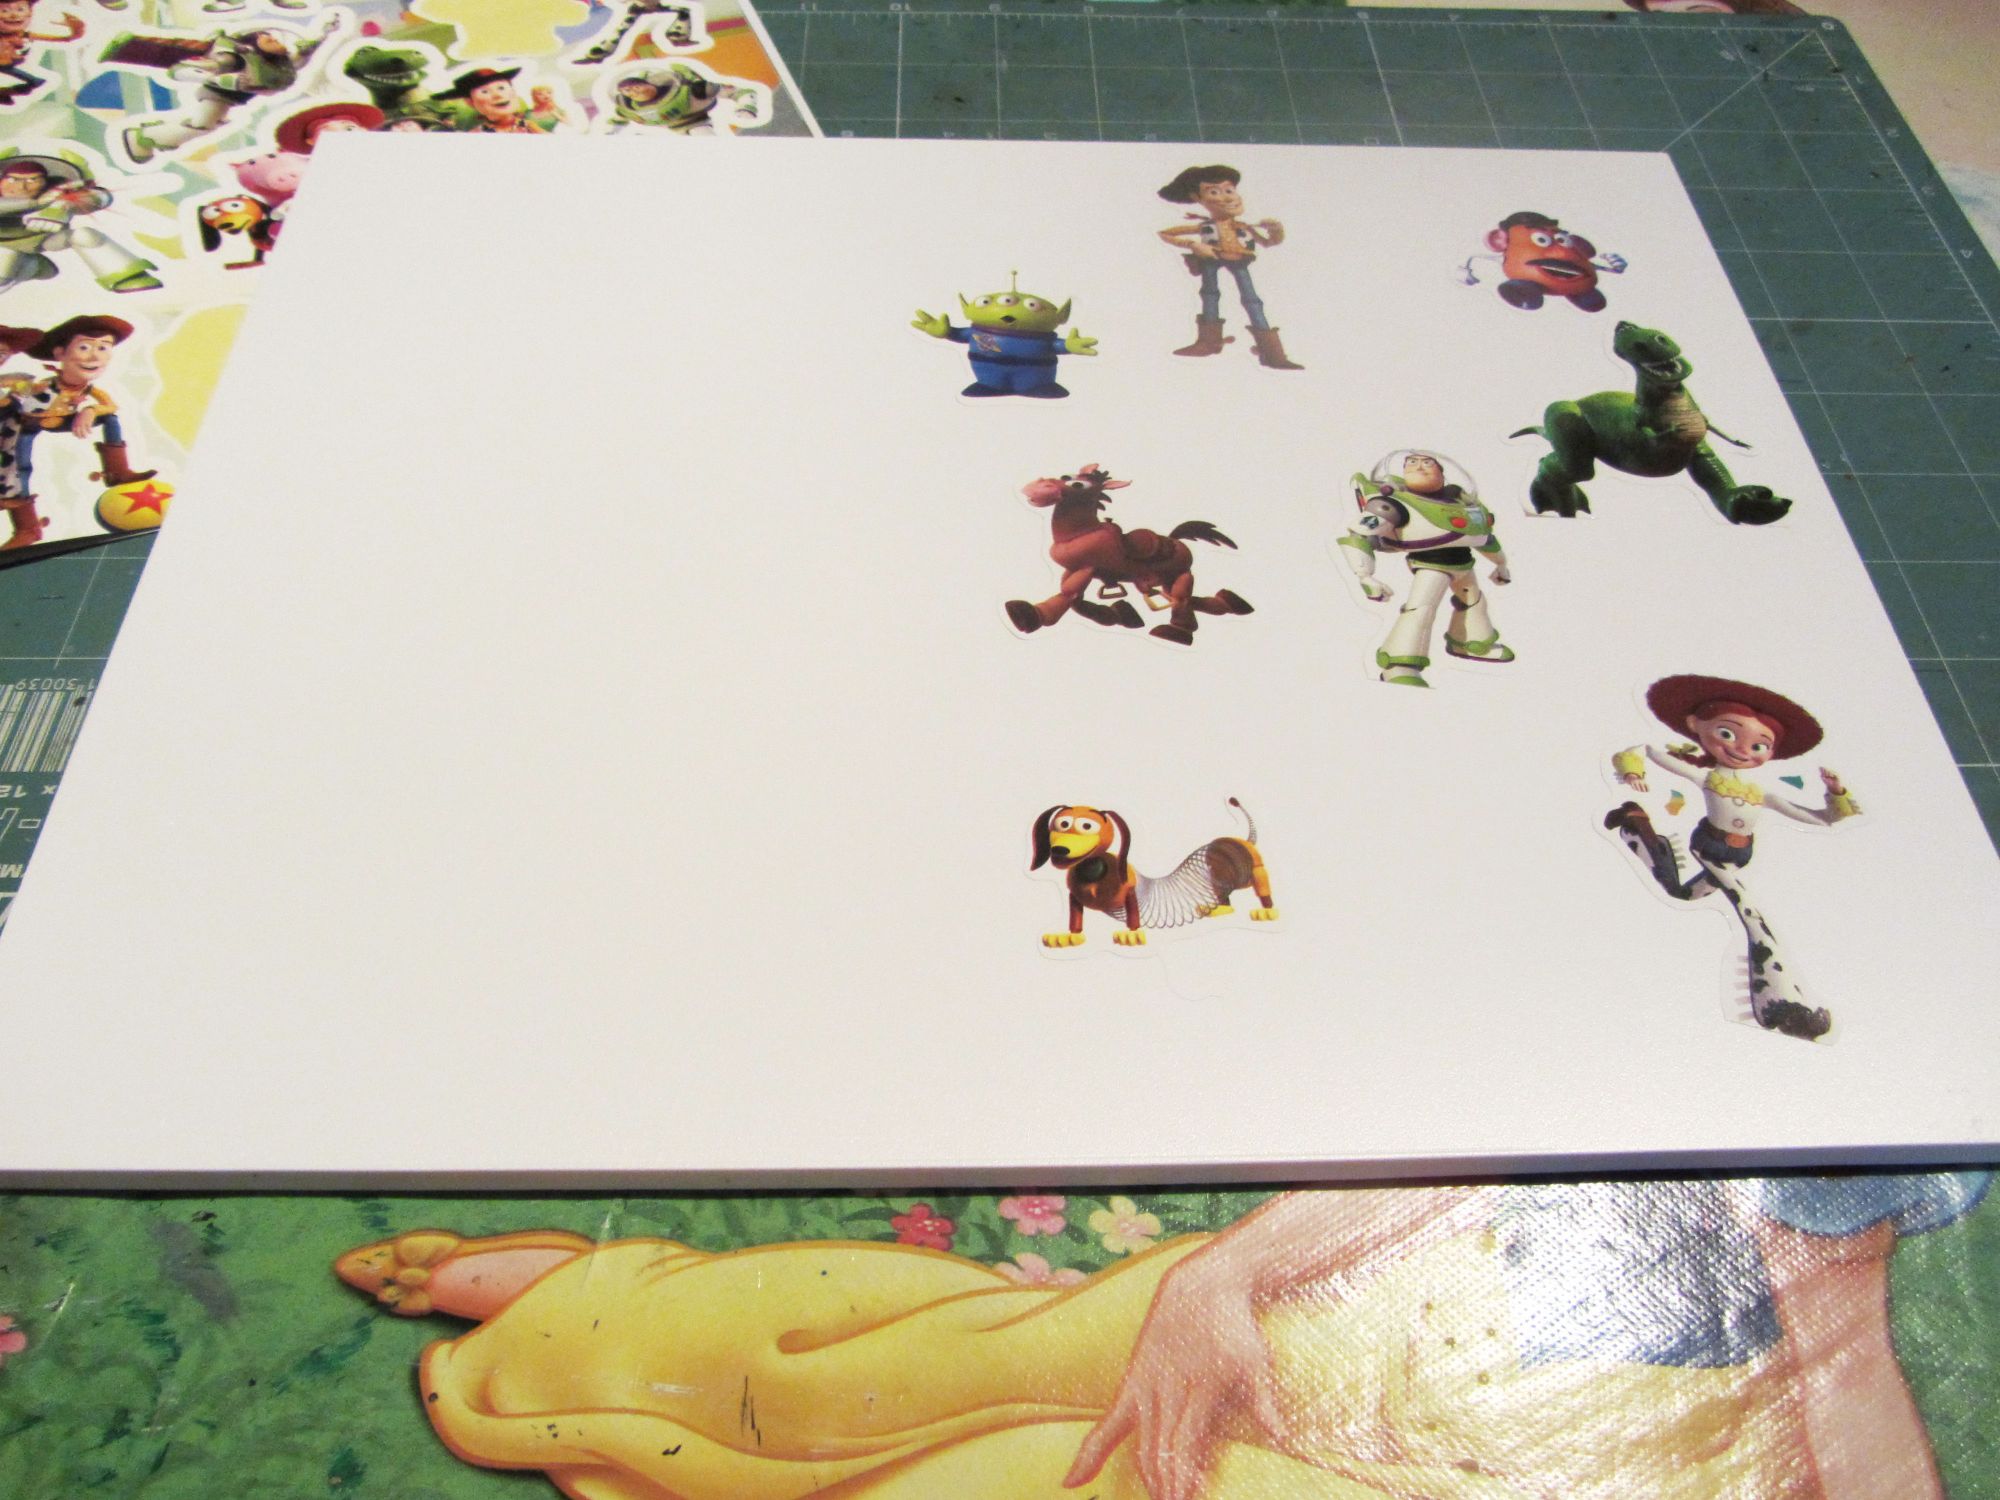
    1.- PVC table and stickers.

    resized_principio

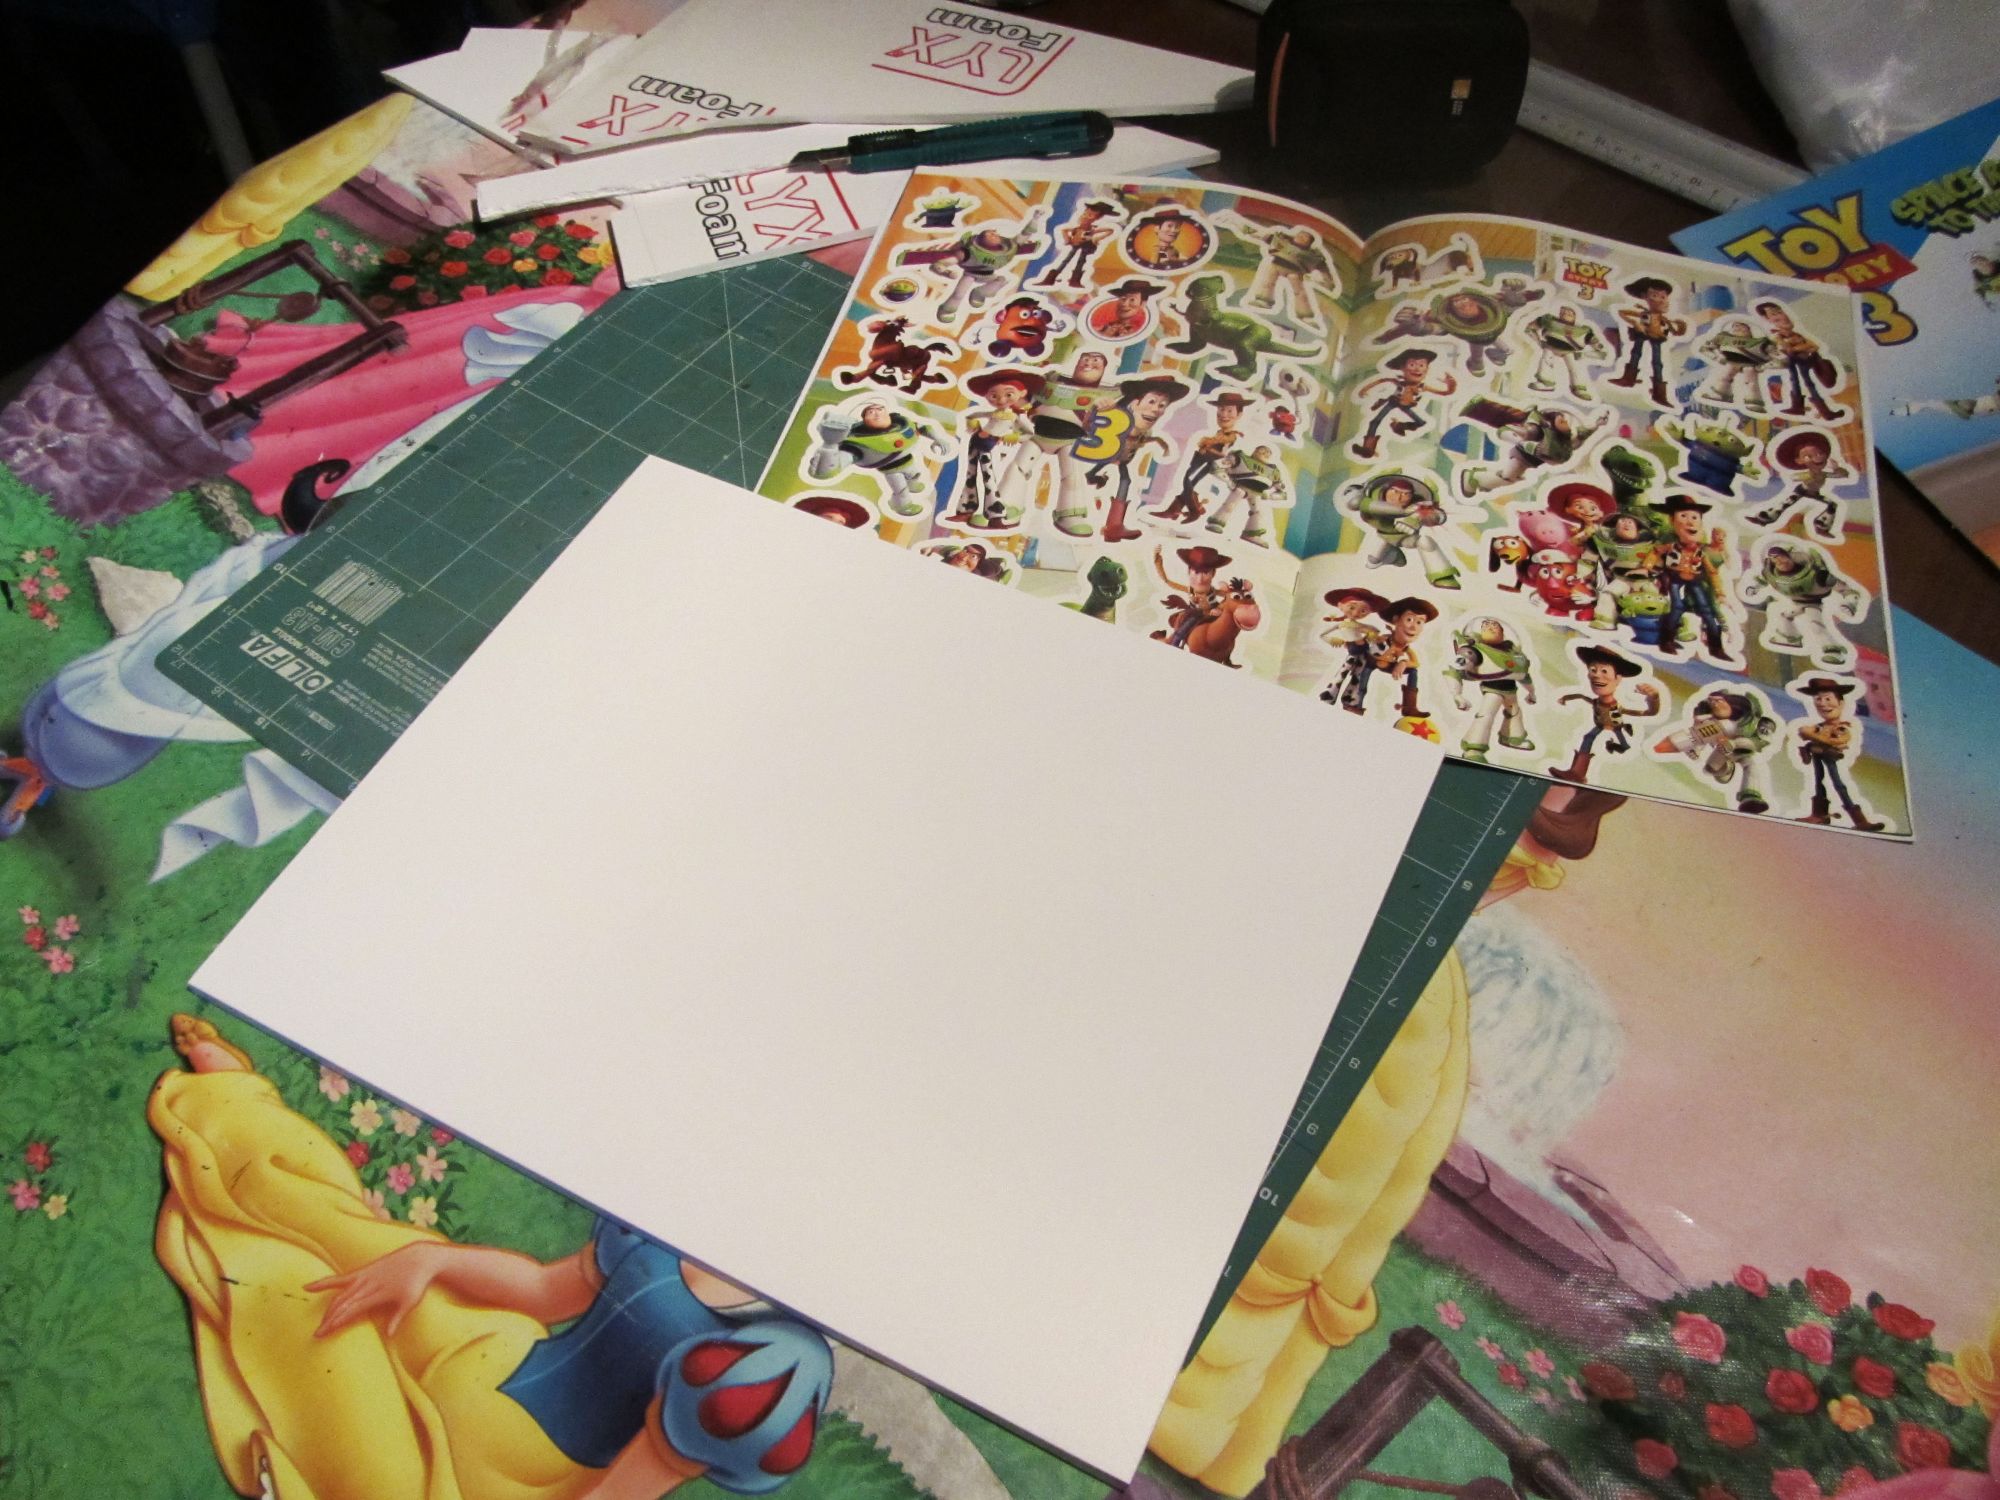
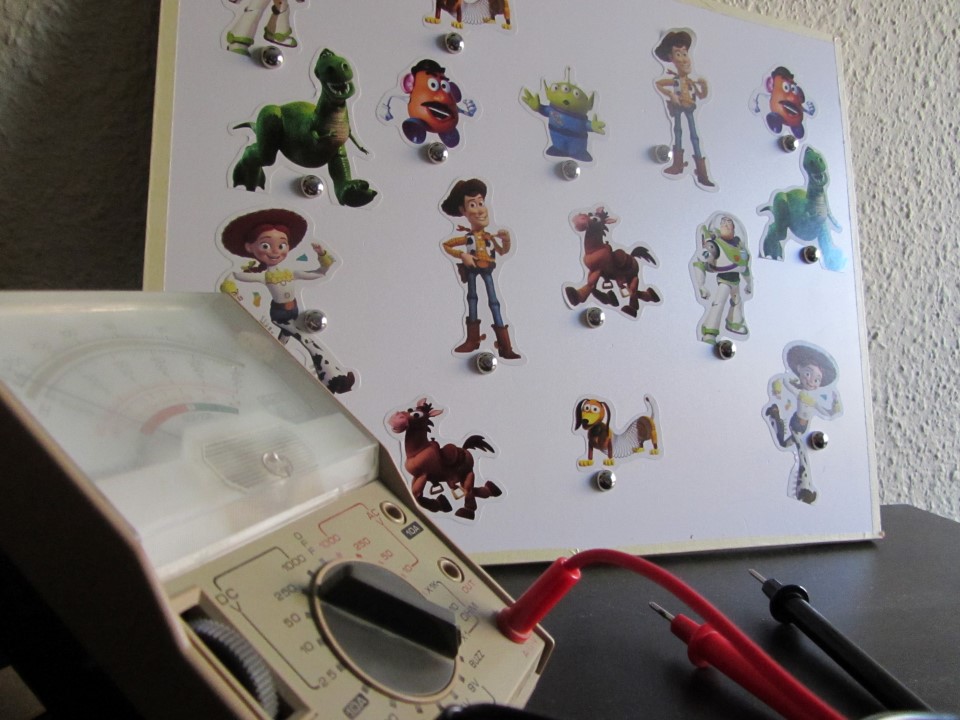
    2.-Stickers placed randomly (half right and left but messy)

    resized_pegatinas

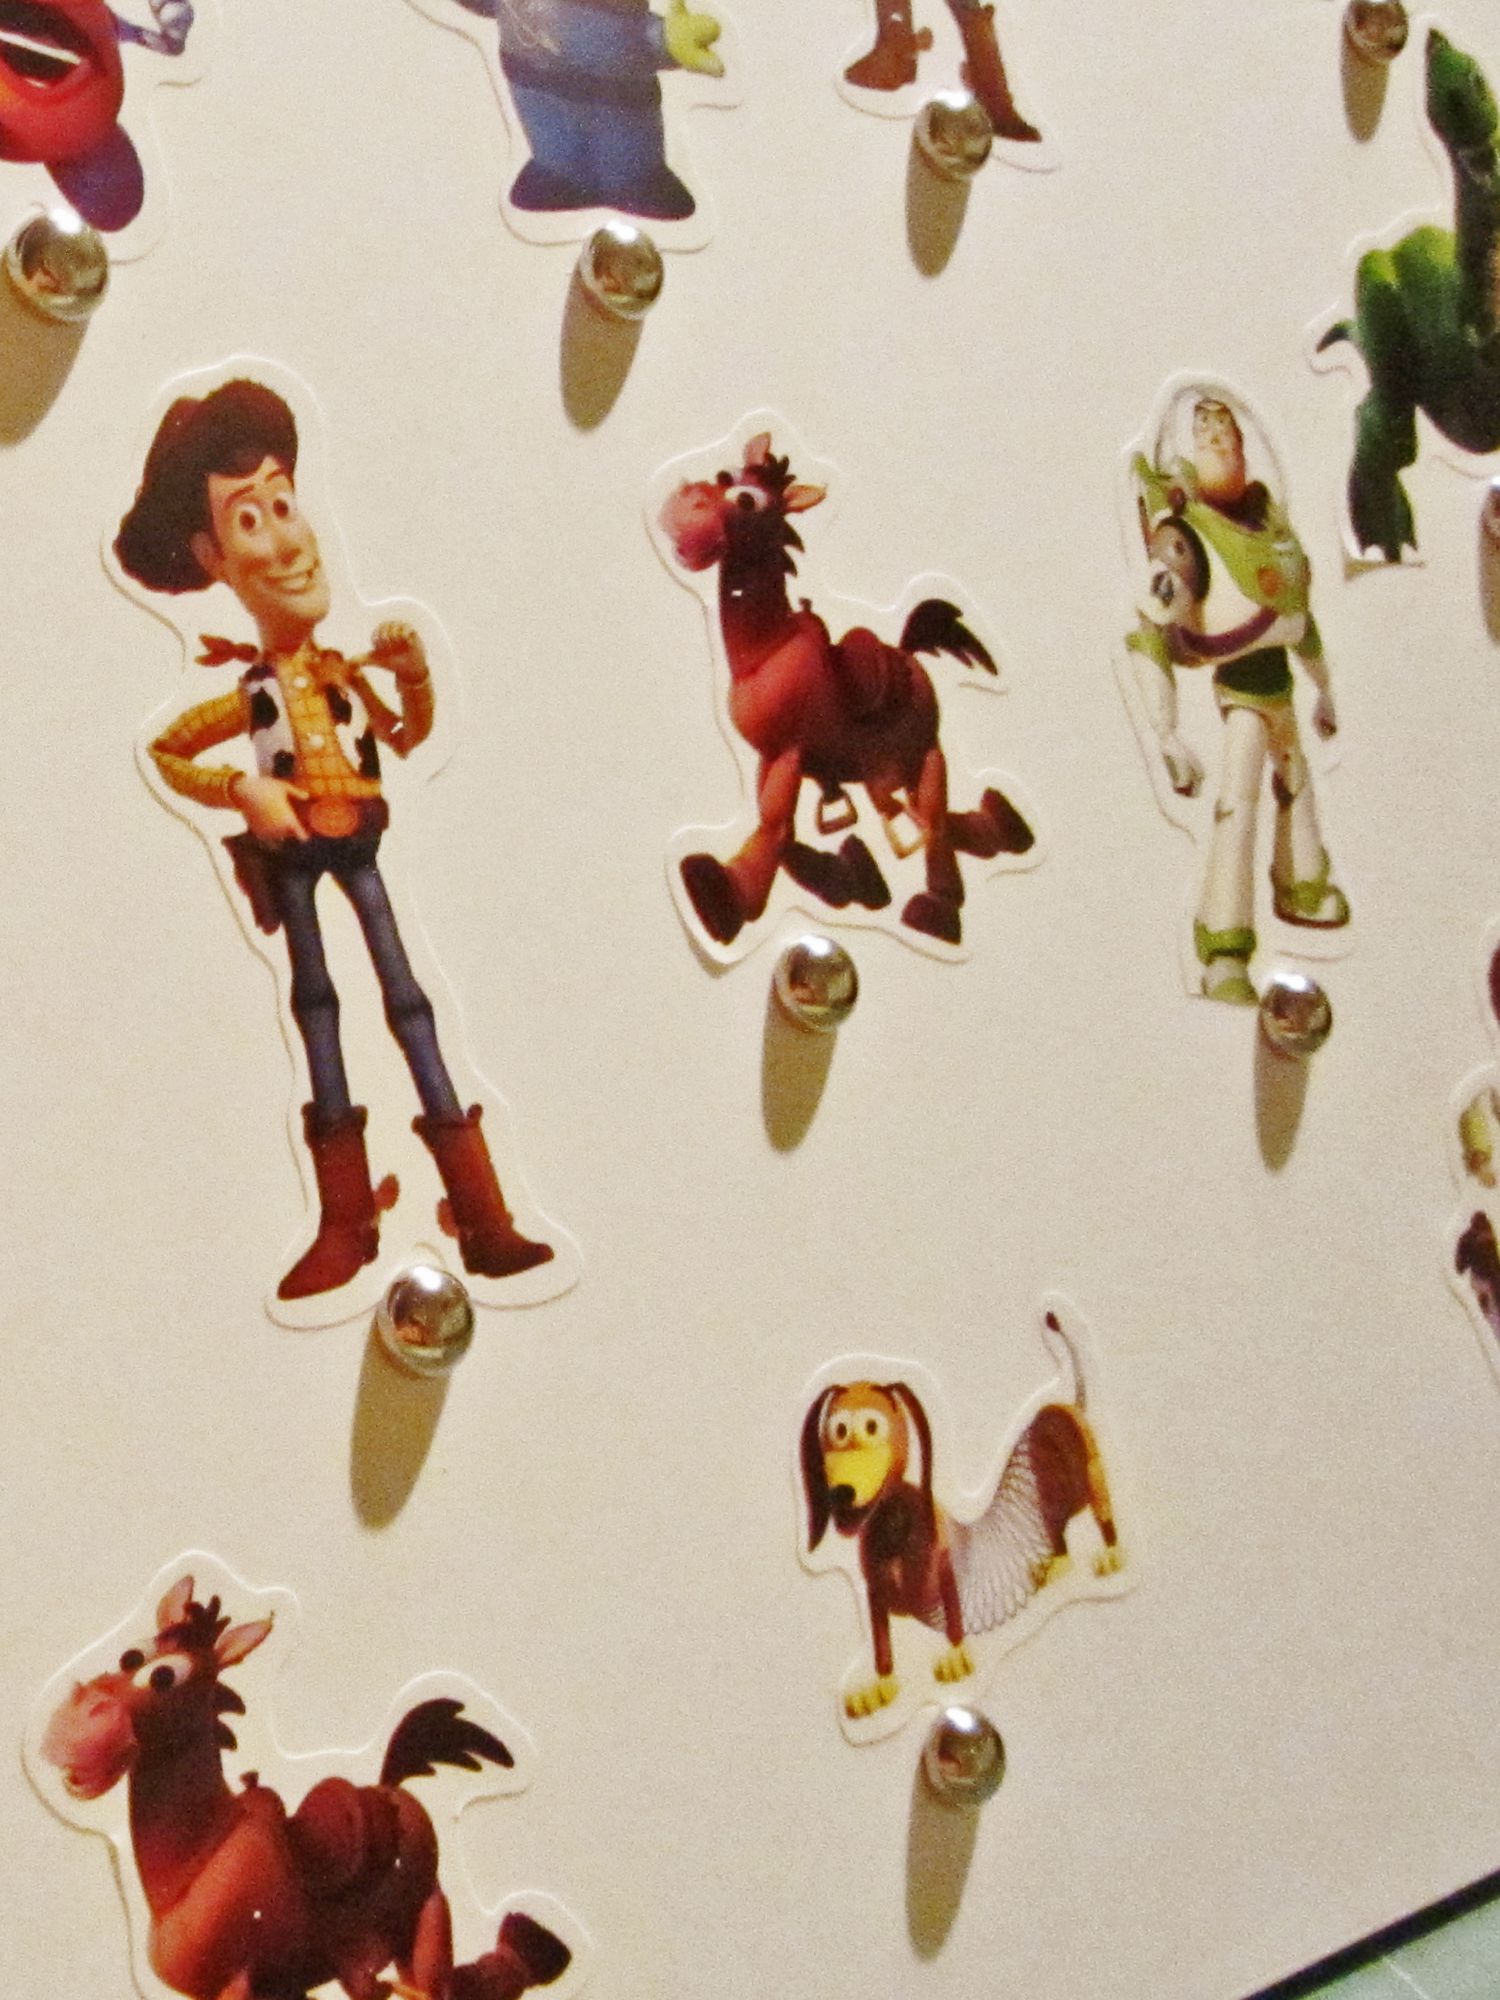
    3.- For each rivet a hole (3mm) is made and inserted next to each sticker.

    resized_corchetes

    To prevent them from turning and thus can remove the cables, I glued each rivet  with hot glue.

    resized_corchetes2

    This is the look ahead:

    resized_frontal
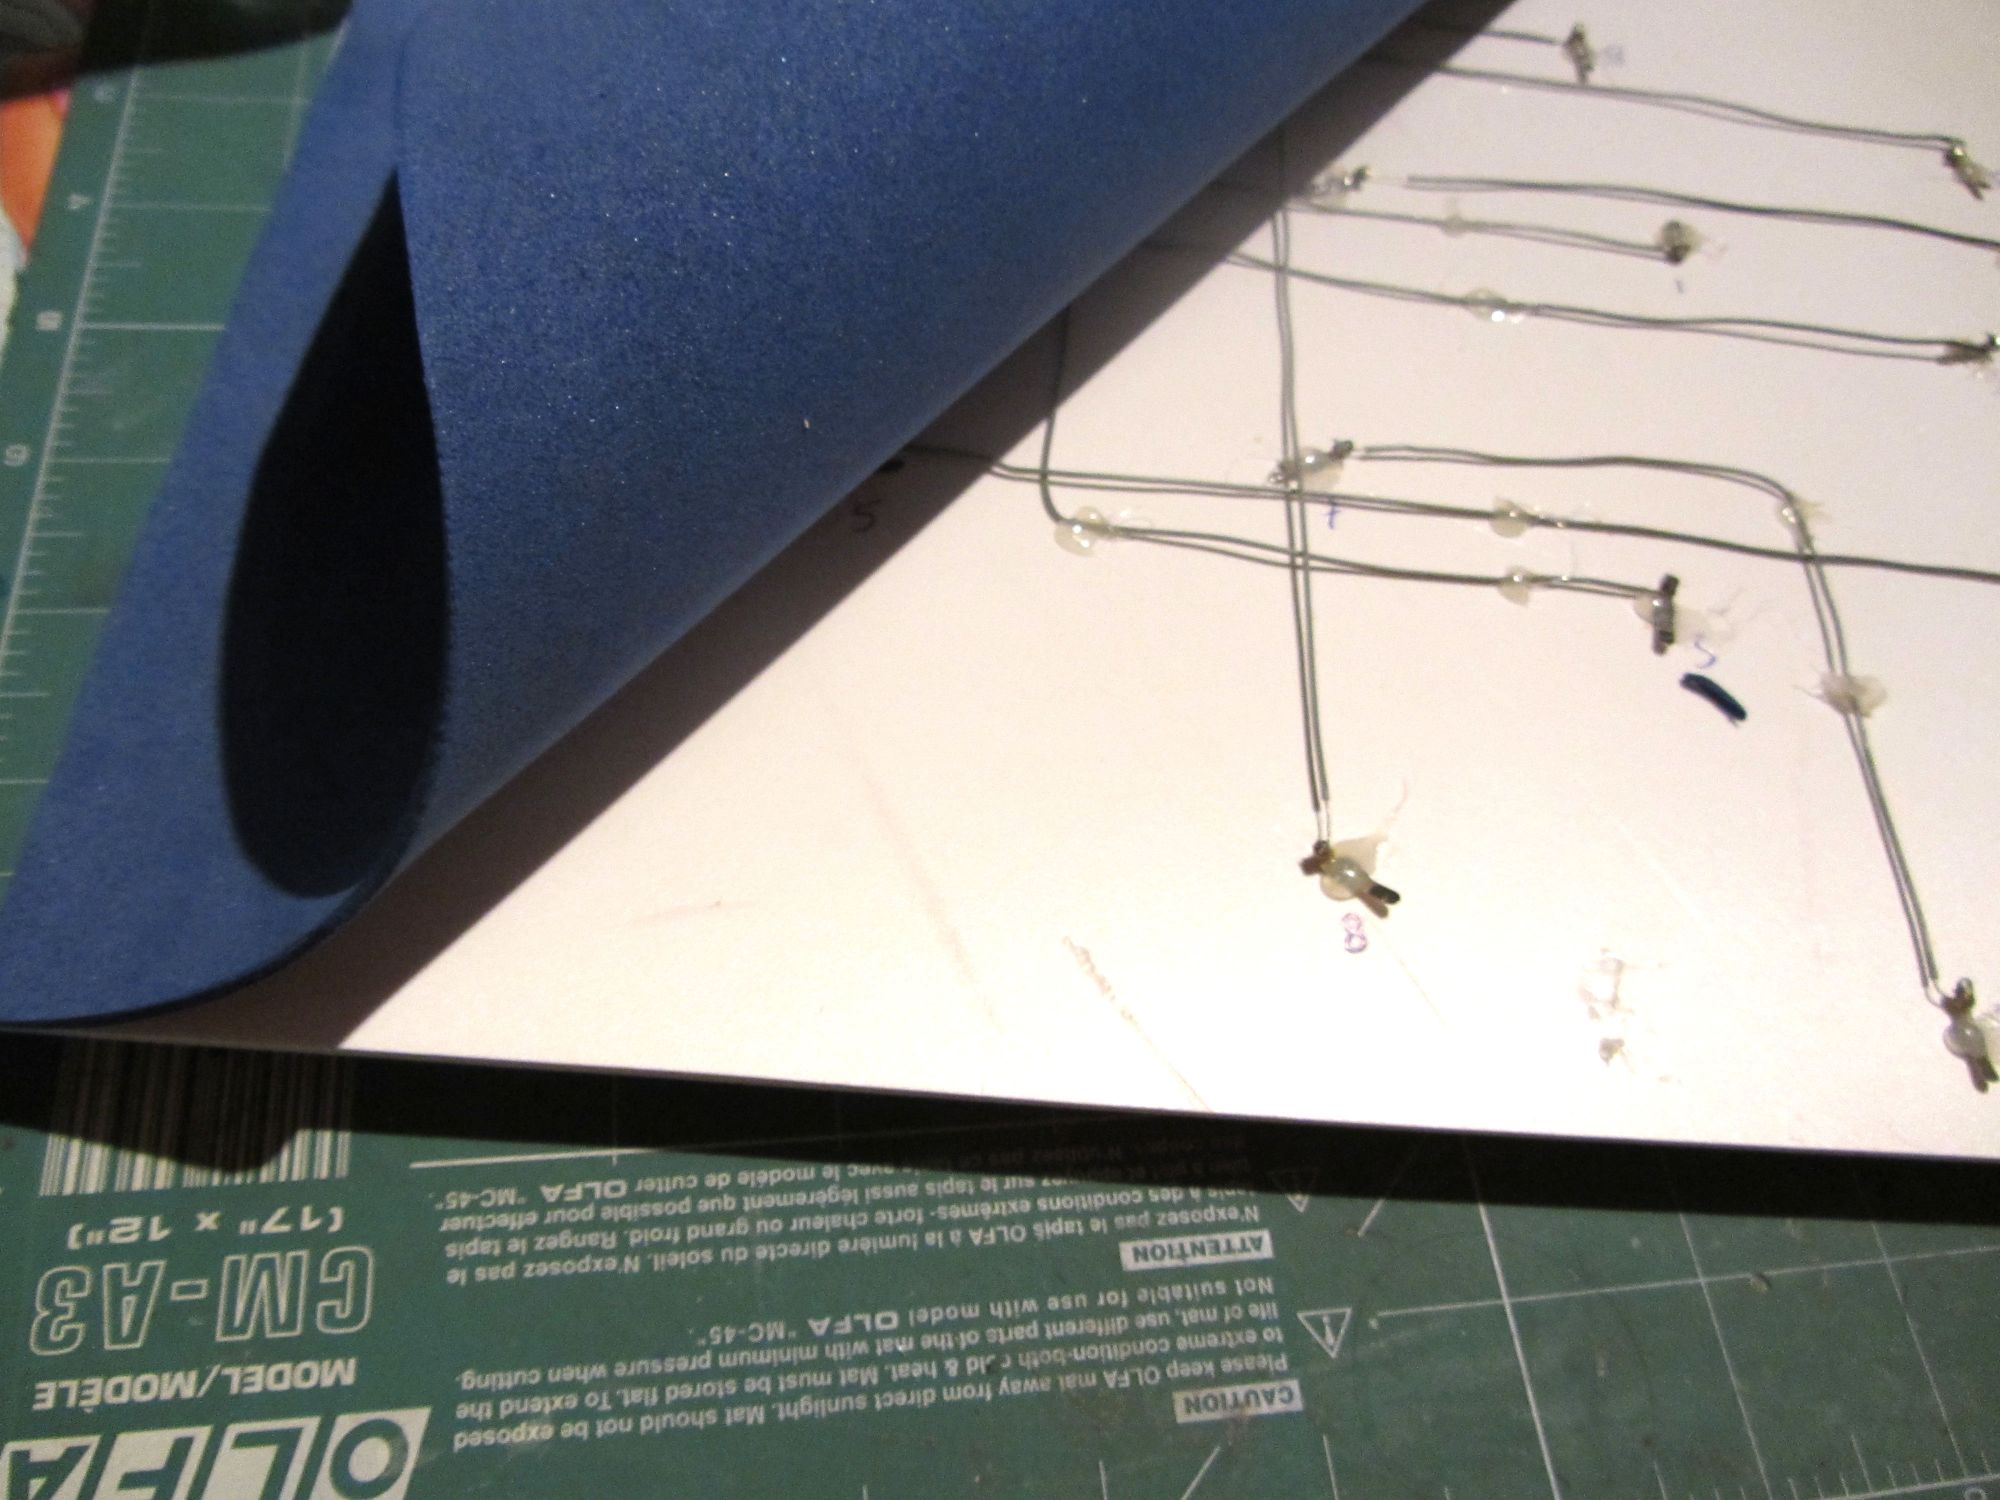
4.- When wiring, I try to stay wires tidy and hold them with glue. Be welded on each side, or if we don’t have a welder, you can wrap the cord at the ends of the rivets and secure with silicone.

    resized_cableado

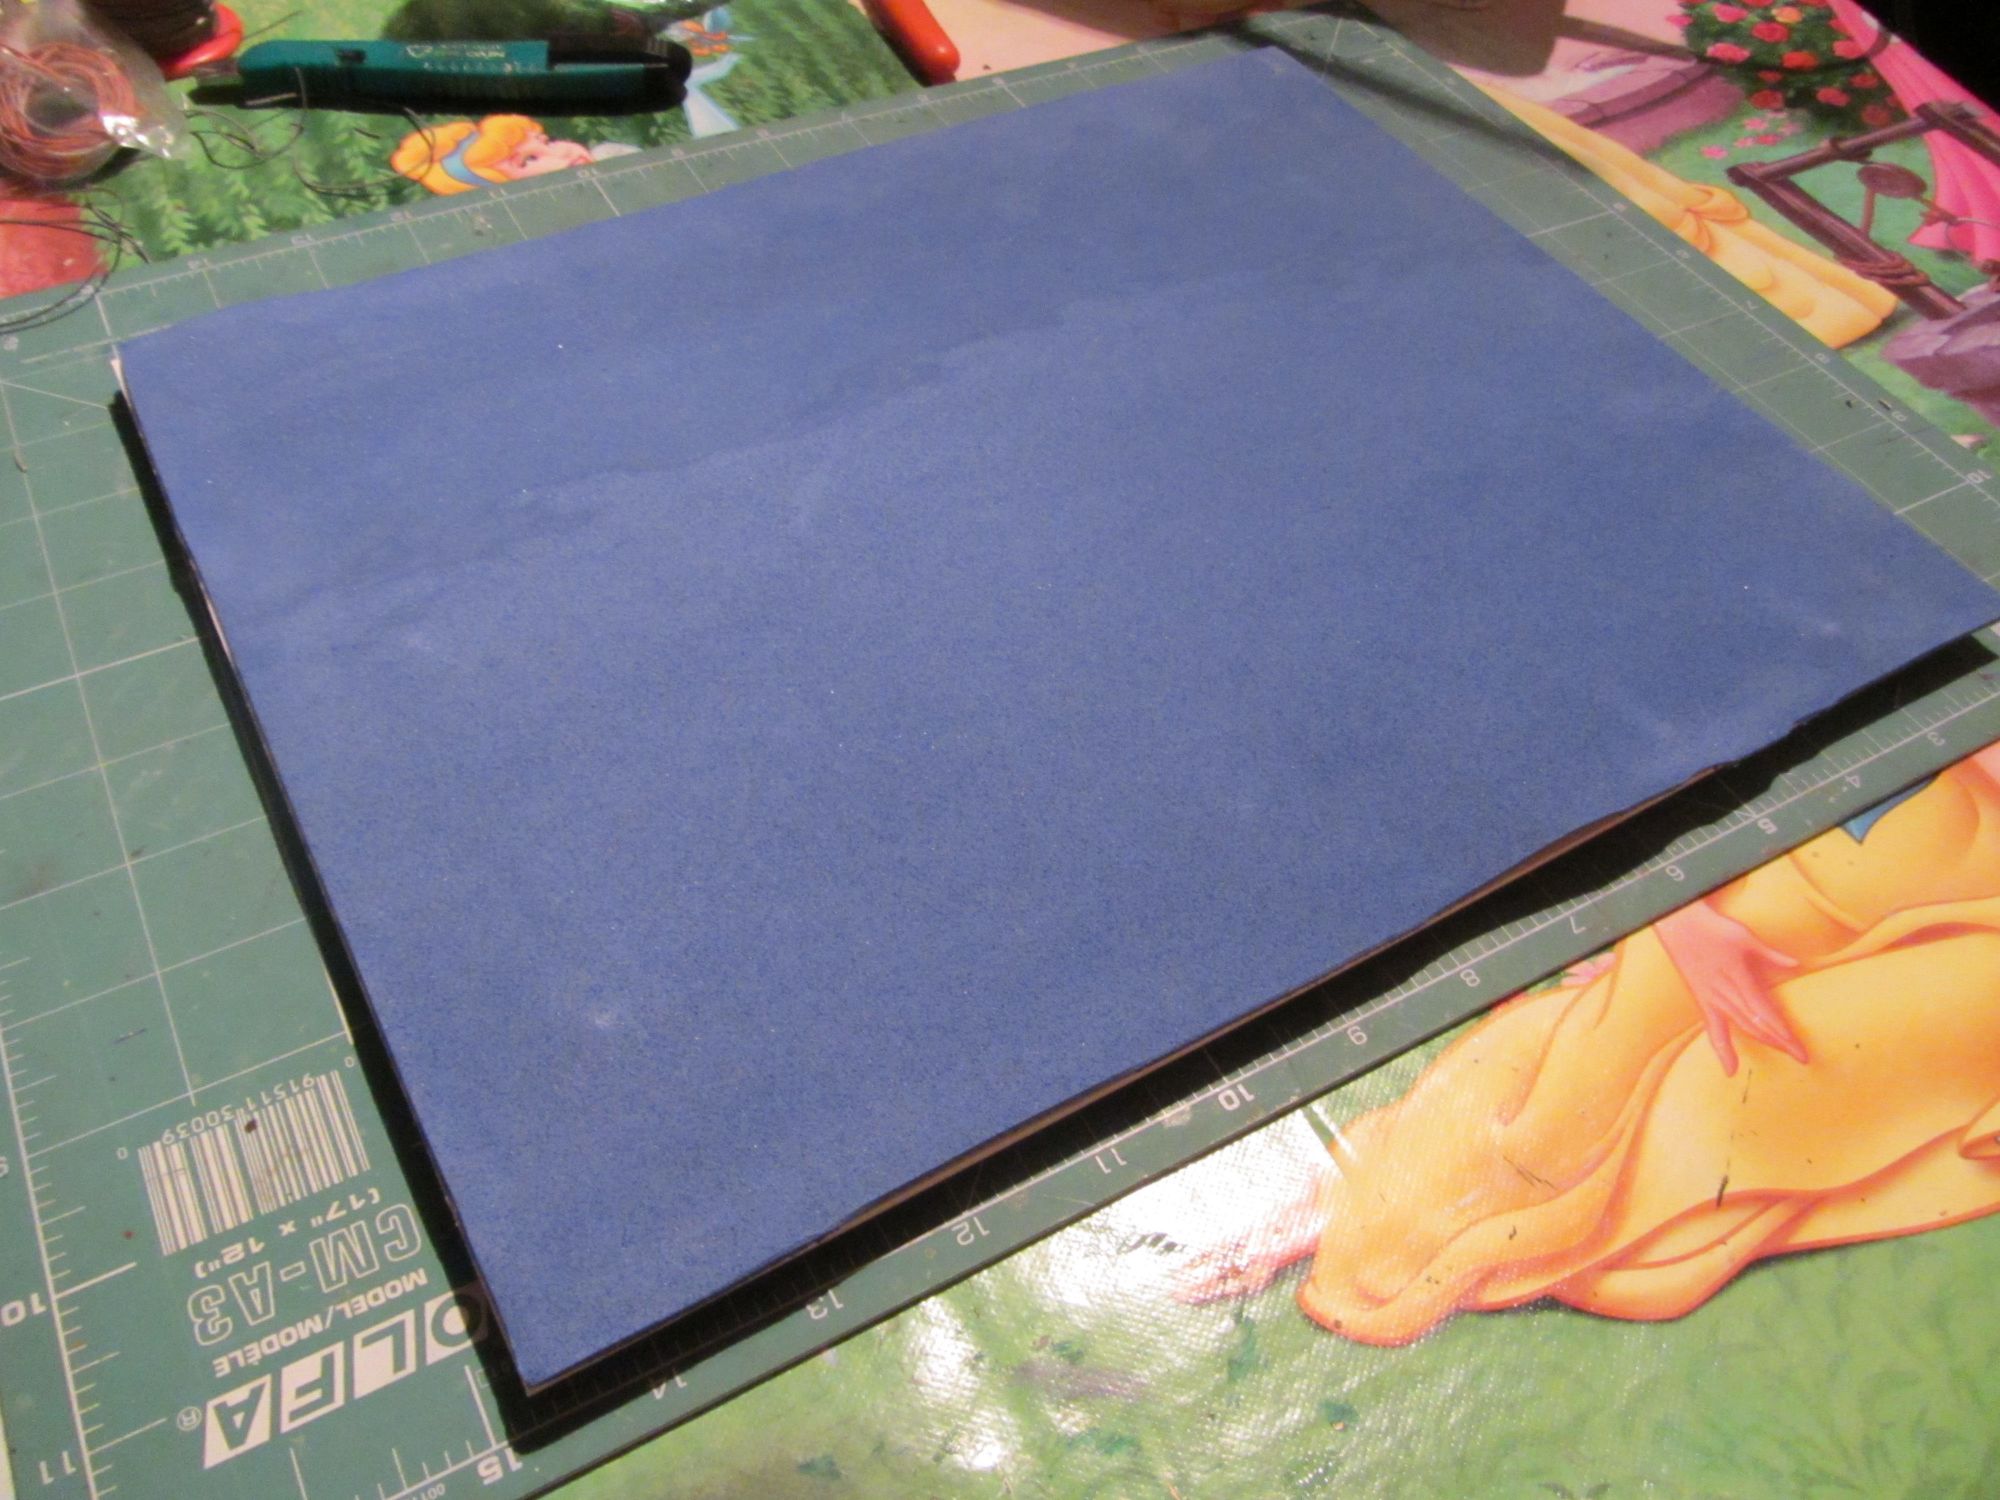
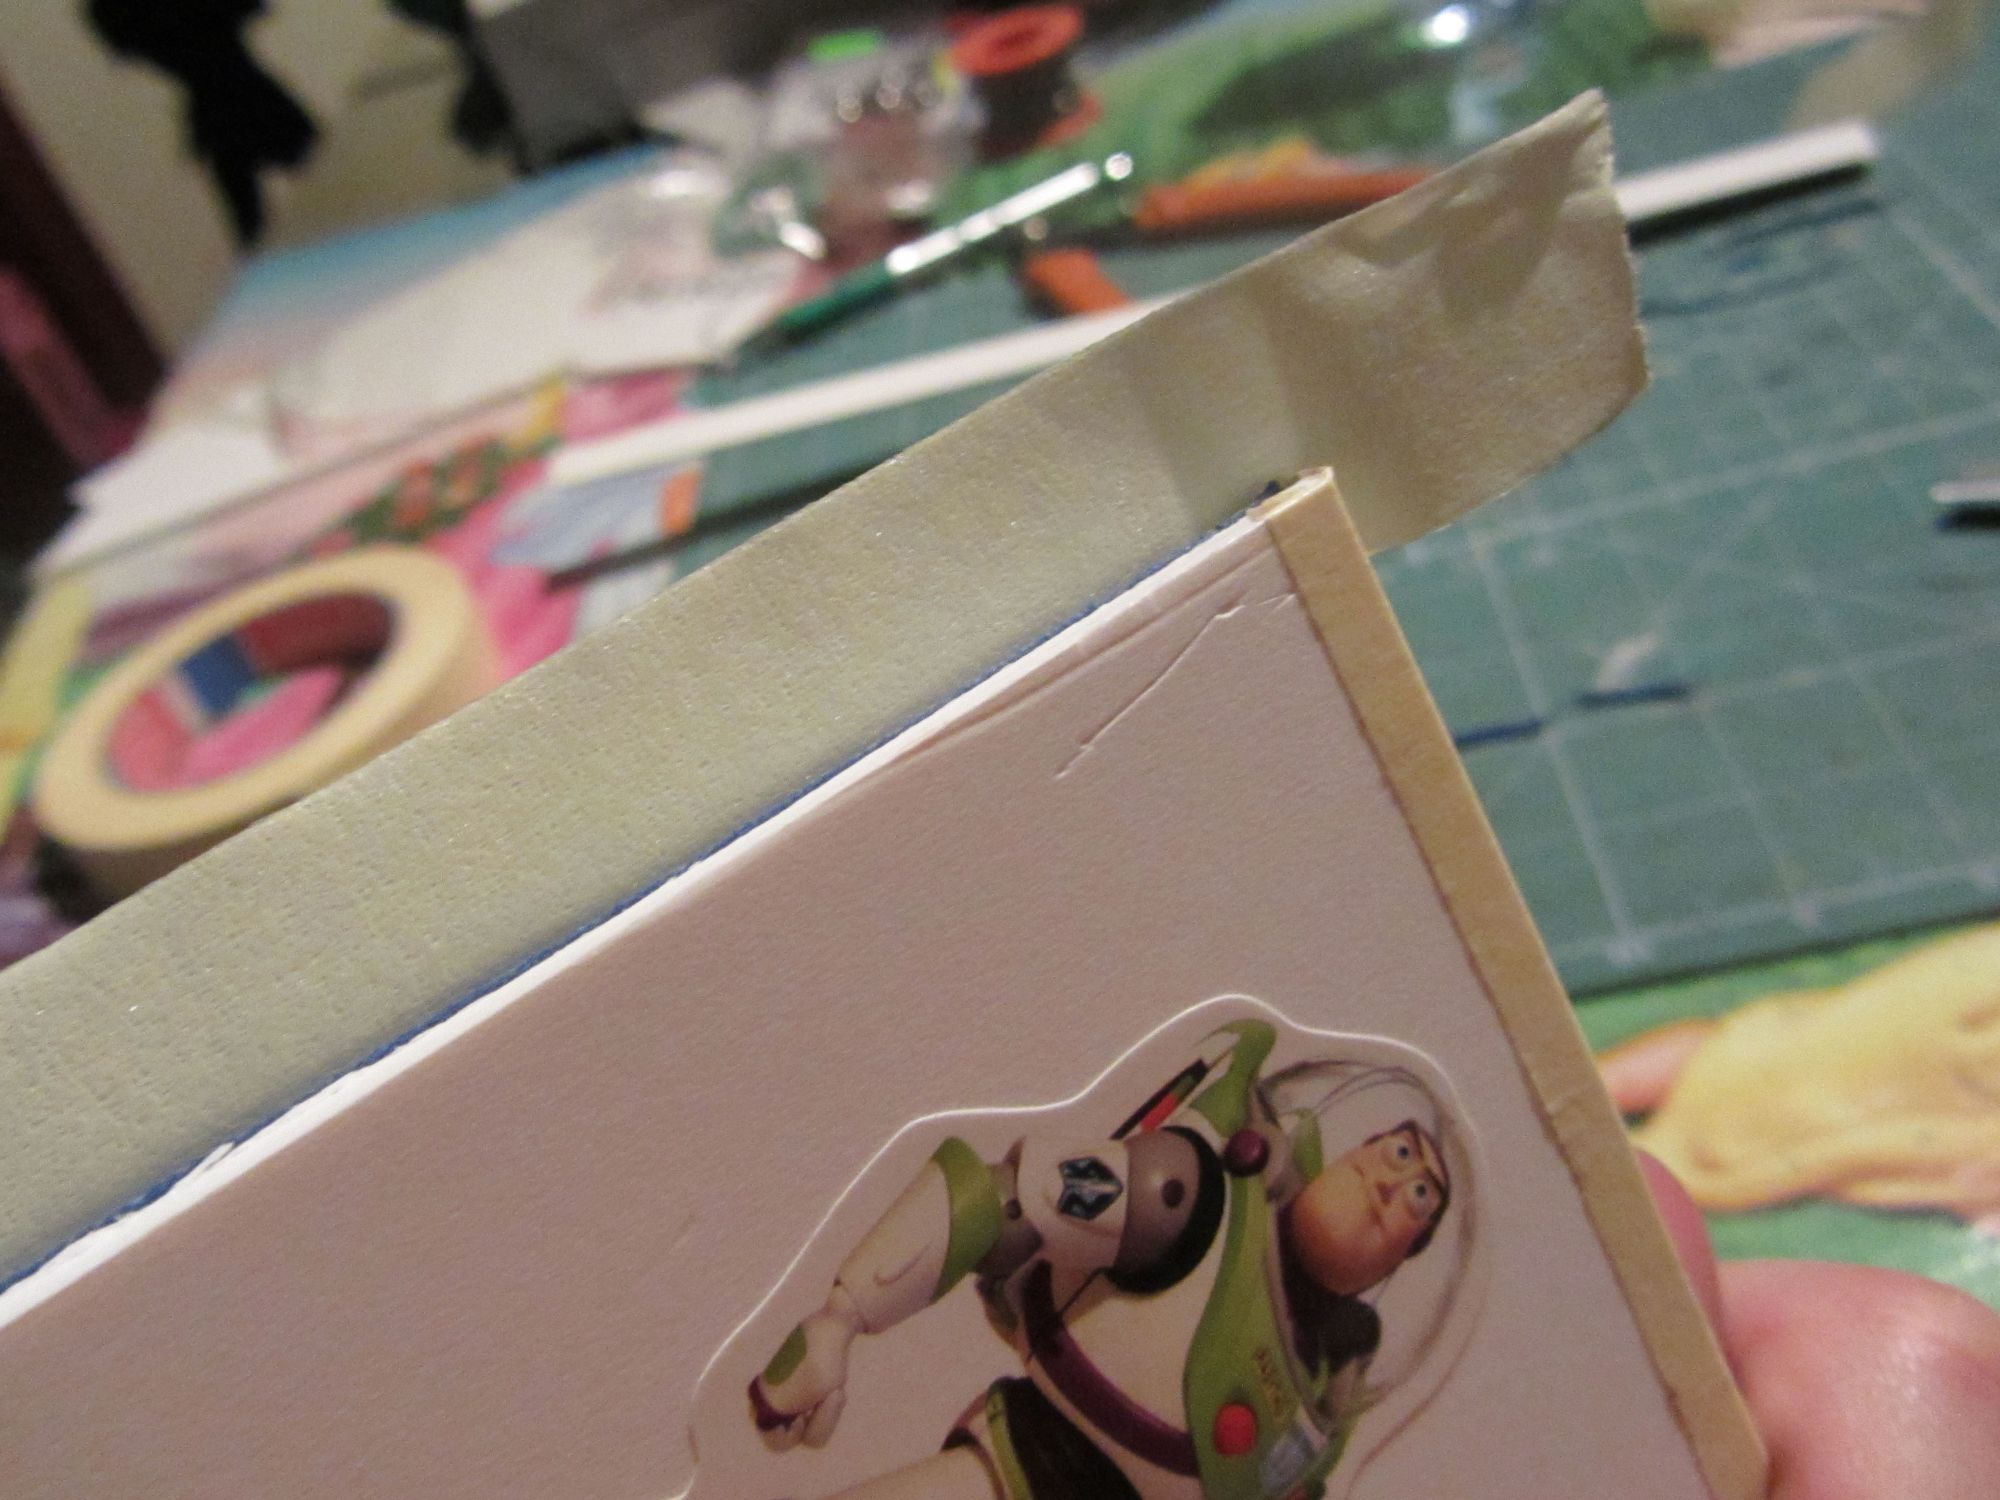
    5.- Finally we cover the wired surface with felt, foam or EVA which is what I used, so they are no wires and ends in view, and does not spoil. Then I fixed the edges with masking tape.

    resized_tapandoresized_taparesized_marco

    That’s it, ready to play, match and beep all she wants, and when we use the tester, María can make use of it and have fun with us.

    IMG_3862

    resized_probando2

    And besides of having fun, she is slowly making contact with these things as I did as a child.

    This reminds me, by the way, a work I did in school, that time when we were sent to make a simple circuit that would light a bulb, and I (with advice from my father, of course) made a map of Spain that lighted up when you matched each province with its name … the result was that the teacher said that I had not done it …. And I said (with all my tranquility) that if she wanted the next day I would carry the materials to class and taught her to do it. Finally she let it go.

  • Custom colored shirt with wax crayons.

    Custom colored shirt with wax crayons.

    Our baby is growing fast and likes to participate in what we do, so a few weeks ago I thought it was time for our first craft together: A custom colored shirt with her name on it.
    For this work we only need a tee, paper and crayons.

    camiseta mTo start we cut the picture we want to do on the shirt on a sheet of paper. In my case I did it on an adhesive paper that can be purchased at any stationery store, and would avoid the bits of wax to sneak on sites we don’t want to color.


    1 (Large)If you use an ordinary paper, put it by carefully on the smooth fabric and see that it will not rise. To do this with children is much more practical, as I say, to stick the paper to the fabric. (the glue is not very strong, so it can then be removed without problems). And between the front and back of the shirt put a cardboard or several papers to absorb the excess of wax and protect the back of stain.

    2 (Large)

    With a pencil sharpener, we make powder with the waxes we want to use. I made a pile for each color, but I knew that María was going to mix them, and effectively his “decision” was to use all the colors at once.

    4 (Large)

    6 (Large)

    5 (Large)

    9 (Large)Split the chips on paper with the design that we like and at the end, carefully helping with a brush, withdraw all the bits that have been left out of the work area. (If there is anyone out then we will have unwanted spots).

    We place a sheet of paper on the drawing being careful not to move the wax (in this case did not matter much because the colors were mixed, but if the design has a definite pattern will be damaged by moving chips with paper above).

    91 (Large)We turn on the iron to medium heat and without steam. This way will take a little longer to melt the wax, but if you set it too hard or ironed too long, too fat spread the wax around the edges of the drawing leaving it poorly defined.

    92 (Large)

    When we see how the iron melt waxes and paper absorbs excess, it is very easy to see when to stop.

    Just after the upper board paper is removed and left to cool.

    We can now remove the paper template and presto, we have a new shirt.

    93 (Large)

    94 (Large)

    96 (Large)

    You can of course do the drawing without template, it’s all about skill. And it can also be fun that older children draw a picture with soft wax on the fabric and then secure them with the iron. I have not tried, because Maria is very tiny, but I think it would be better to use a slightly more rigid (one canvas or something) so it does not deform while painting fabric, and then sew it on a t-shirt ..

    These shirts can be washed in the washing machine quietly, although it should be done with the garment inside out and in cold water.

  • 5 Simple toys with popsicle sticks

    5 Simple toys with popsicle sticks

    Today one of toys for children and adults. (Children with adult supervision, we do not want accidents).

    It’s a funny little collection of artifacts that we have found in the net and made ​​in a moment, with popsicle sticks, or those that sell for crafts.
    Many image and fewer words because they are self-explanatory.


                         1 Popsicle sticks bomb:

    bomba


    With 5 sticks intertwined the way you see in the picture, you can make a mini-bomb. It will jump into the air as you release one of the sticks or throw it into the ground. There are many ways to connect the sticks, even to make long chains. This is very simple and quick.

    This link (a great blog) there are other types.

    Of course, it is a matter of skill and patience, when jumping one, all the others go back.

                      2 Bow:

    arco


    You will need a stick, a bit of dental floss, and something to use as arrow. We have chosen a swab ears with a cut point, because if it escapes, it will not hurt, if you use a toothpick as an arrow and a carton as a target, the stick will nail.

    To do this you just have to leave the stick in water for a while to make the wood a little more flexible. If you do not moisten the stick will break when bent.

    Once moistened, you have to make notches on both ends (to hold the thread) and tie a piece of dental floss keeping the curved arc with greatest tension as we can without breaking it. (Please note that with sufficient tension can go really fast and if the arrow is pointed us we can make damage).


                 3 Crossbow:

    ballesta


    This requires a bit more skill, but with a cap, a rubber band (top wide) and two sticks, we can make a small crossbow.

    We need to make four holes to plug at 90 degrees from each other, to make them go through the two sticks. Note that two of them have to be above the other two for the sticks intersect but do not stumble. Over the holes that correspond to the upper stick, we will make two round holes where the arrow will be loaded.

    Rubber band is placed as in the pictures, and we have a little crossbow.

    We have made the holes with an awl and enlarged with a screwdriver. My advice is to use a shampoo cap, or some other pot than soda because the caps in bottles of regular soda are very hard.

    In this case the recommendation to use blunt arrows is the same. You can also shoot very strong if we give great tension to the rubber.


    Here you have a short video with the three running. (Everything is cooler in super slow motion, although these videos our camera is low resolution)

    [youtube]https://www.youtube.com/watch?v=6JtXWlqJhx8[/youtube]


                          4 Leonardo’s bridge:

    Some time ago we have told you about what it was, you can take a look at this link

    As you see, you can also make a self-supporting bridge with these sticks, but it’s more an exercise of patience and pulse than strength of materials.

    leonardo


                         5. Harmonic:

    armonica


    As we were being too warlike thing ( Leonardo’s bridge was also designed for war ), the latter is a musical instrument.

    In this case we used tongue depressors of doctors use , because they are bigger , but can be done with small ones ( it will sound different , of course).

    We found the idea on this great blog which has many other great ideas.

    We’ve changed a bit. As you can see in the photos, between the cross rubber band and the sticks we have gotten the same rubber bands that will then attach to the sides , one for each side of the rubber that is tight, so it is a bit of separation between the three layers and it’s easier to get sound. Also if we eave one end a little loose, we’ll get different notes while squeezing roughly blow out , and blowing more to the right or the left.


    A blow and have fun playing with the sounds !

    We hope these toys will give you a lot of fun. Enjoy it !