Hello everyone, today I want to tell you how to restore a toy in which the passing of time, and use have left their mark.
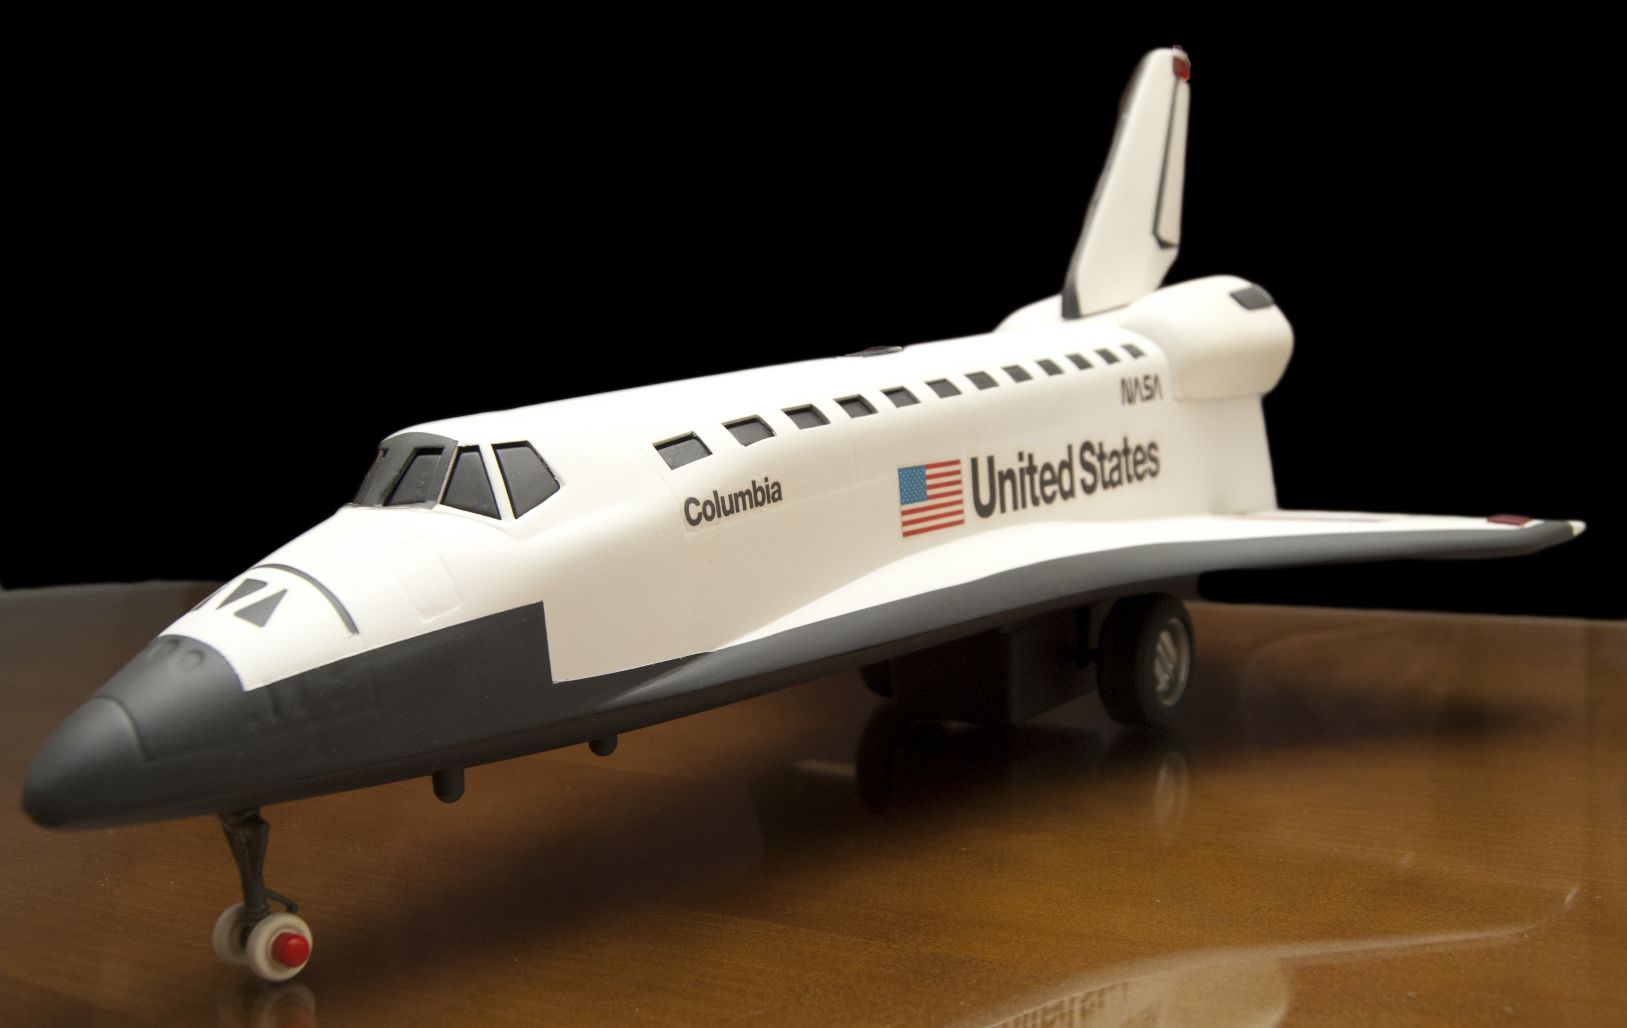
The other day I found a toy at home that has about 30 years and it was pretty oldie. It was a plastic model of the Space Shuttle Columbia and that I liked. In addition, the Columbia is one of the two Shuttles destroyed in the history of NASA, so I was excited to restore it.
When I saw it I knew it would not be a matter of five minutes to restore it, because in addition to natural wear, it had a termination of “plastic toy” I wanted to avoid.
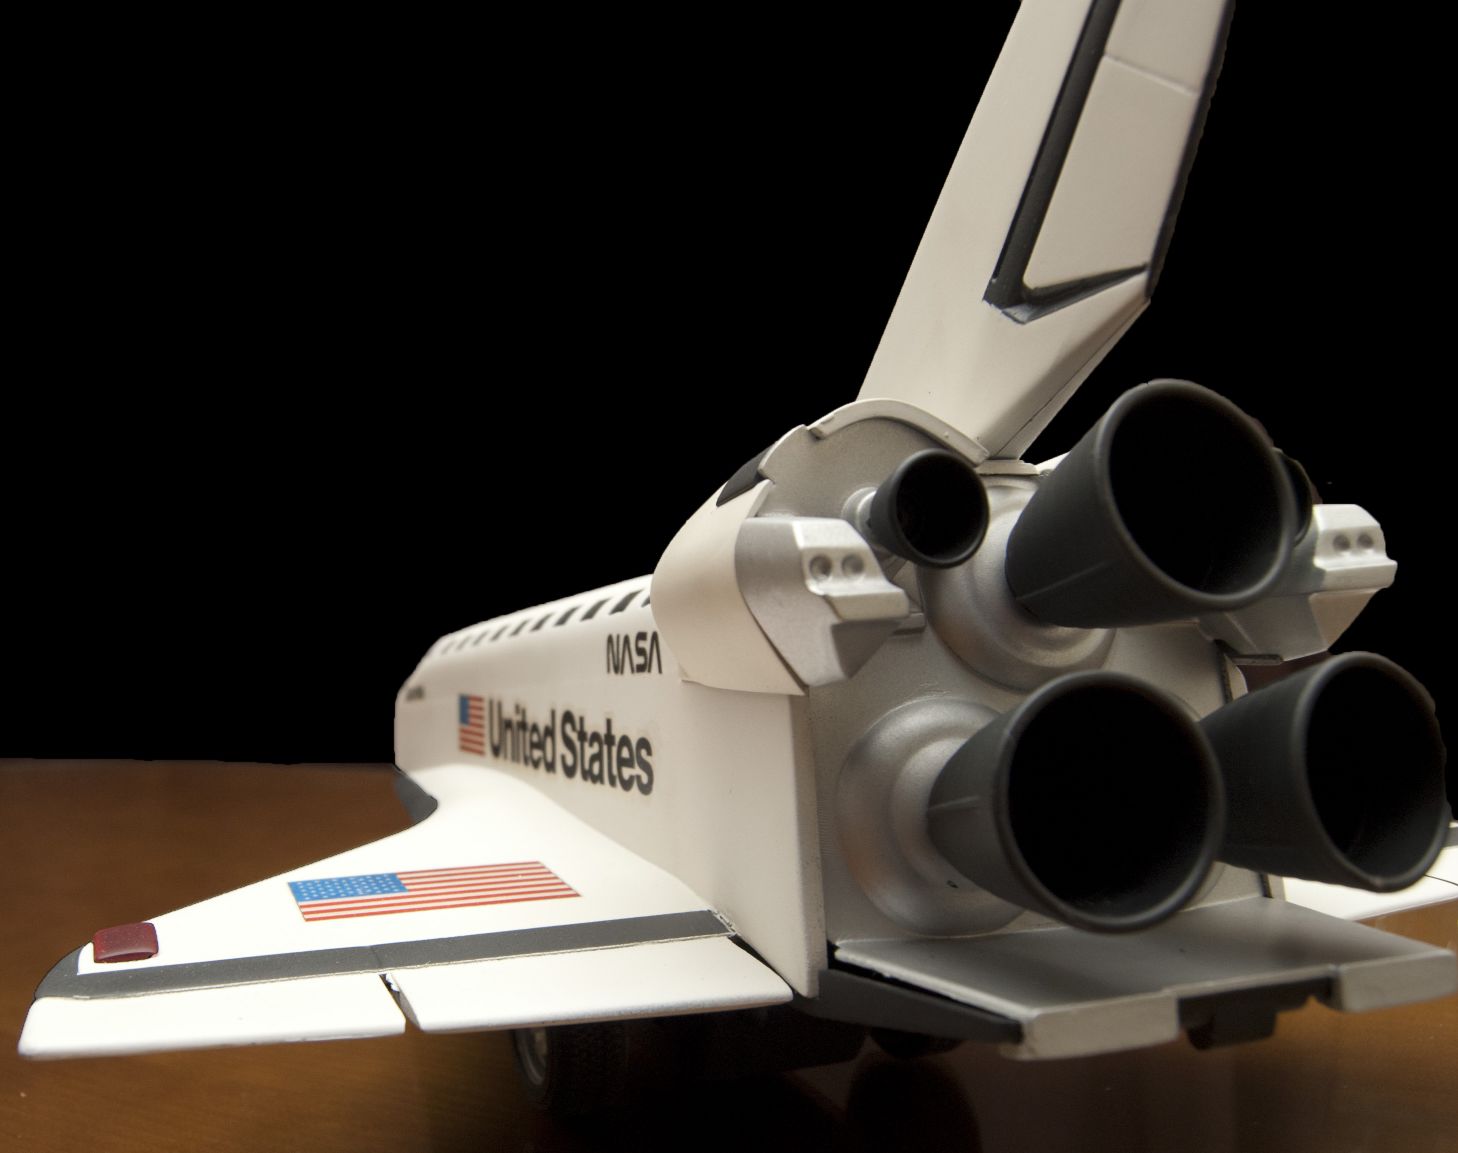
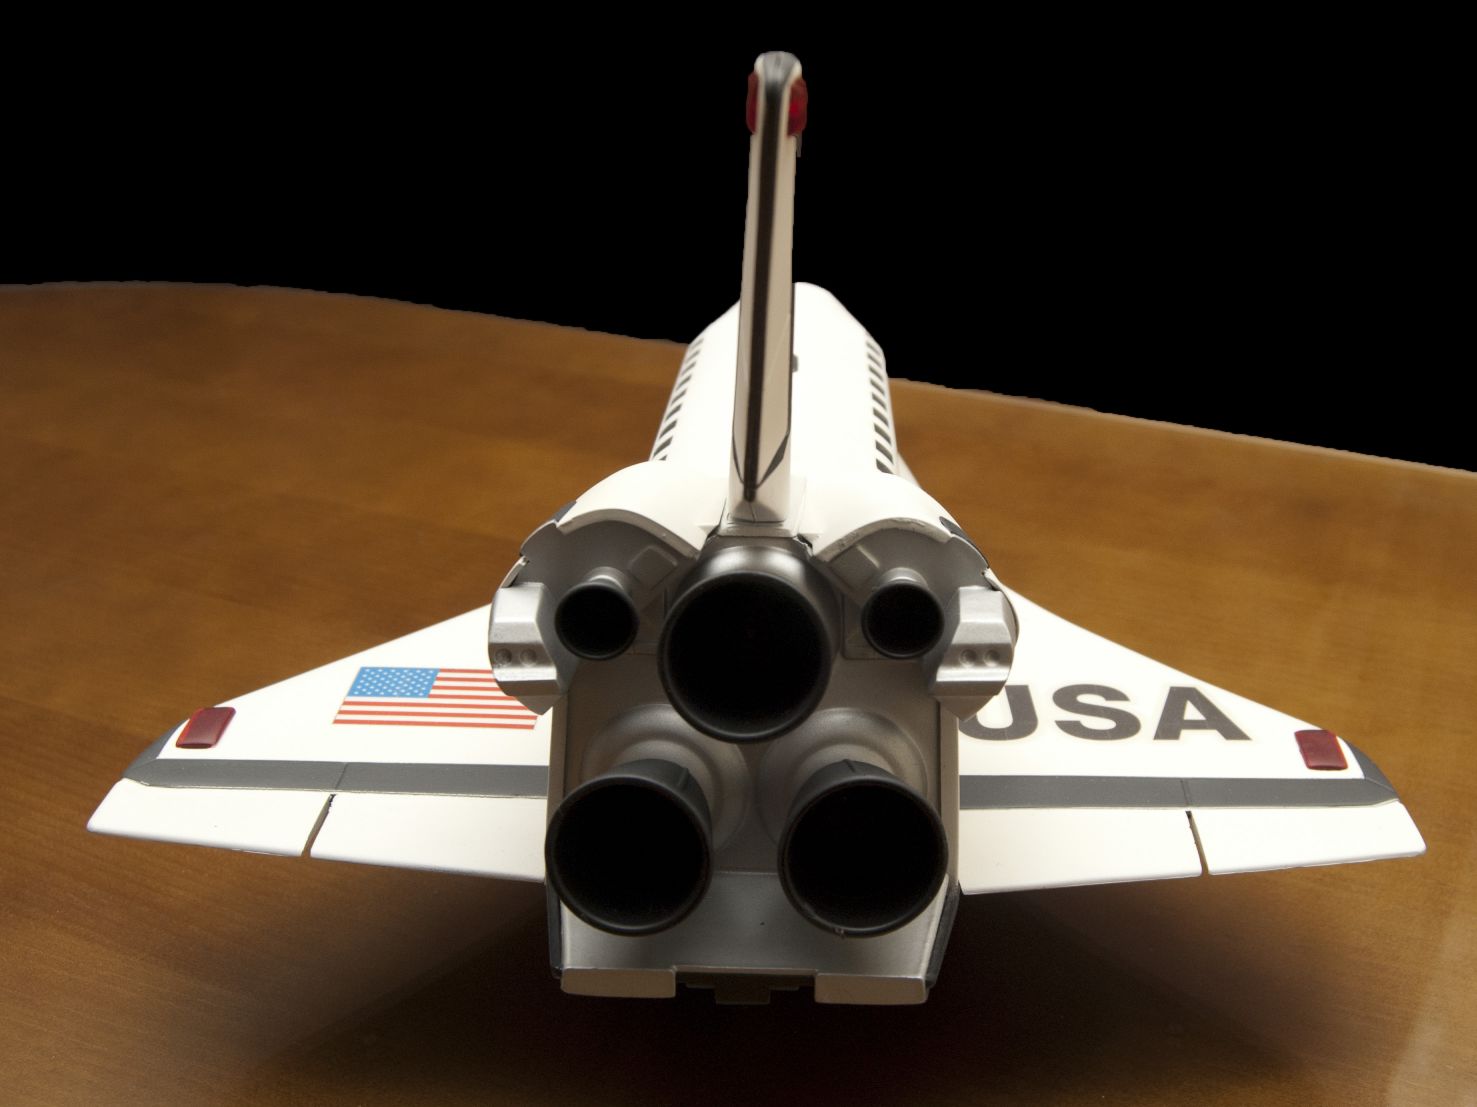
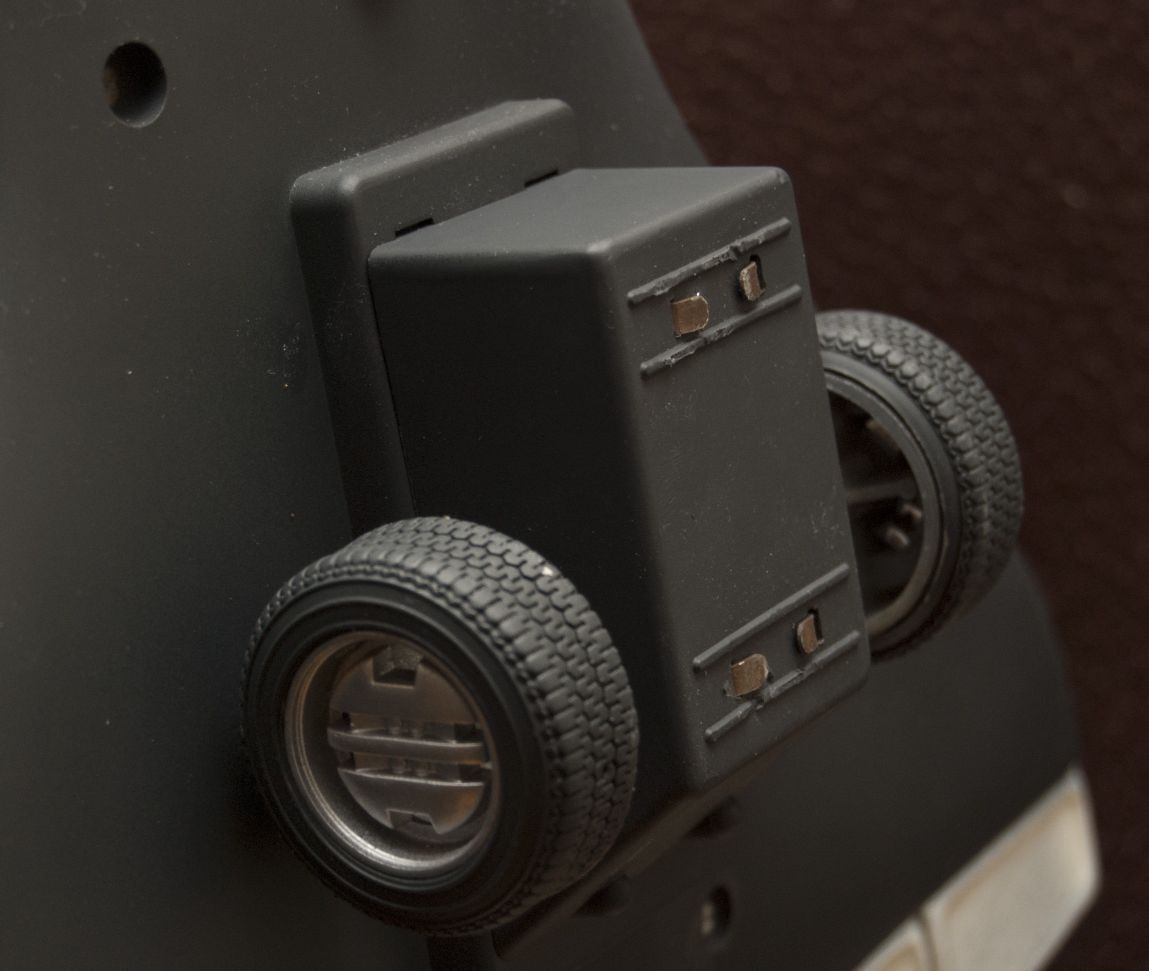
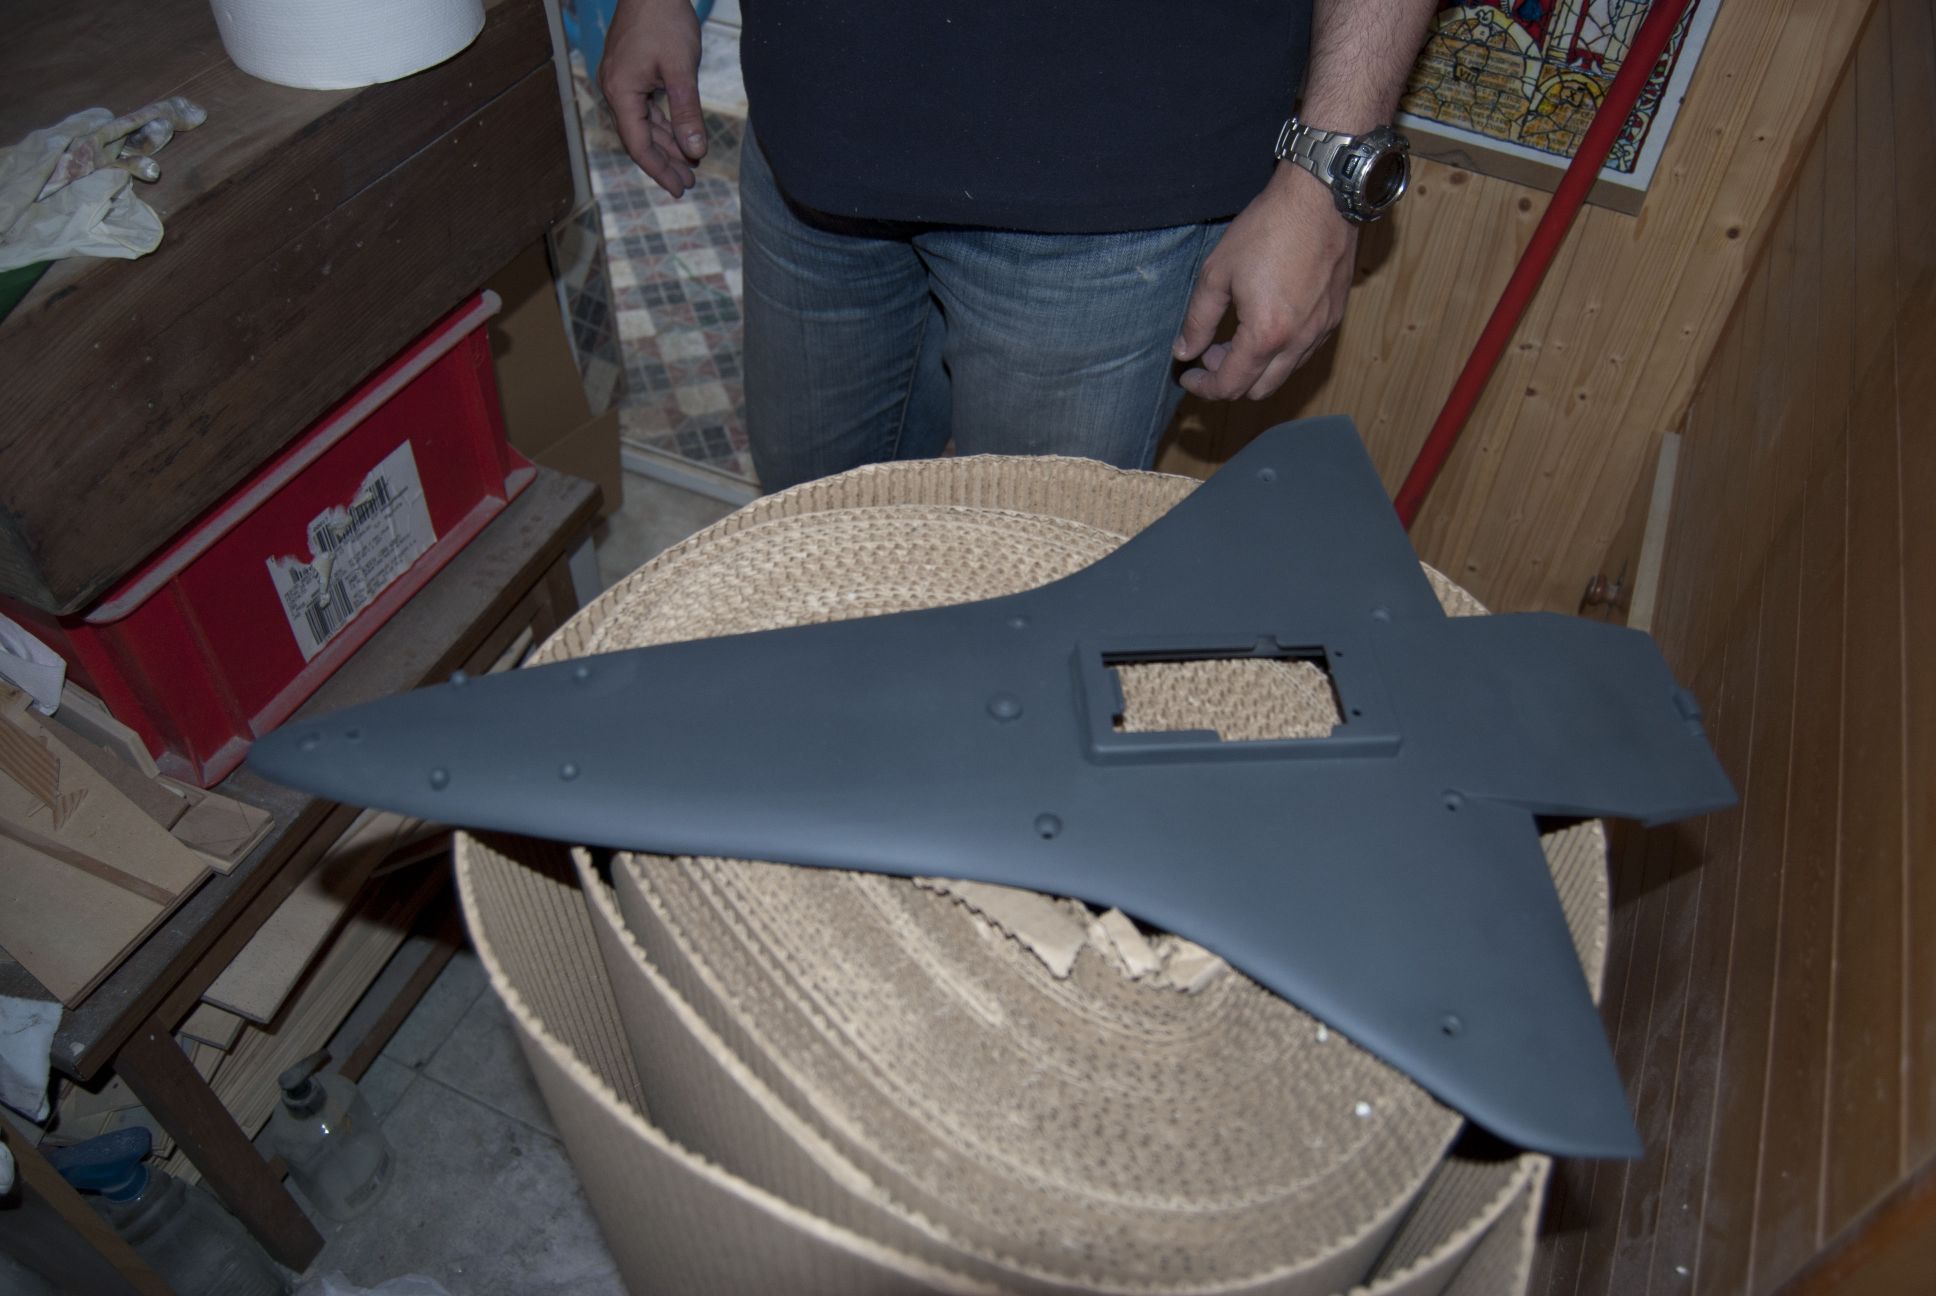
Here you have some pictures to give you an idea of how the unit was.


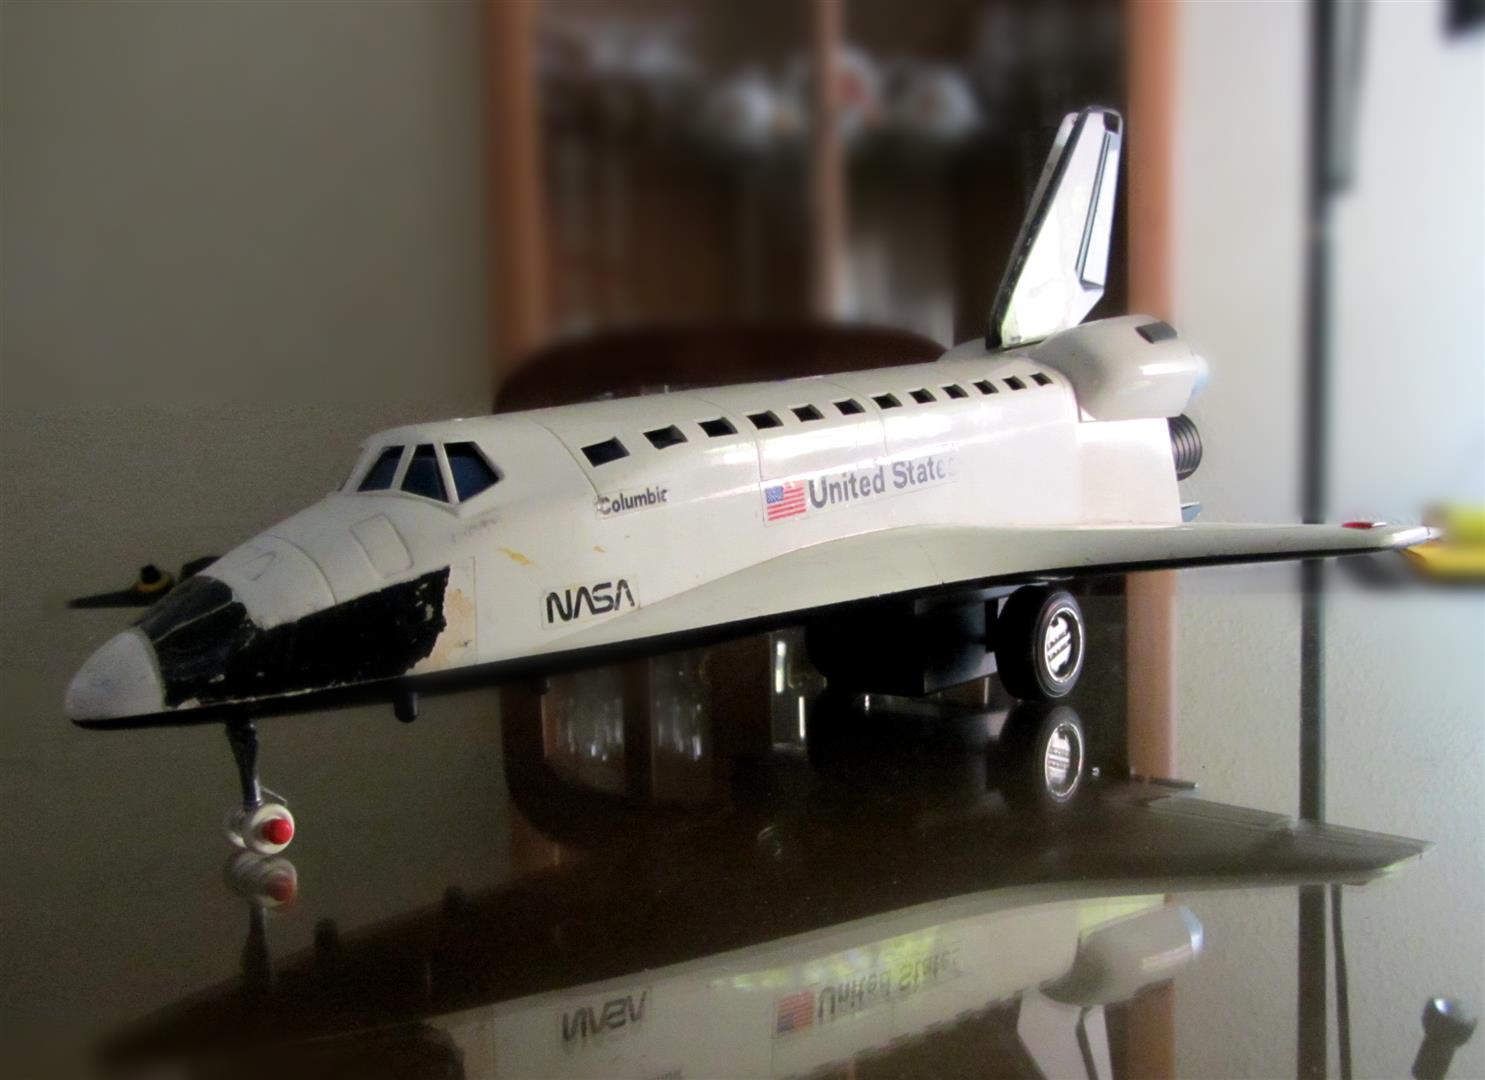
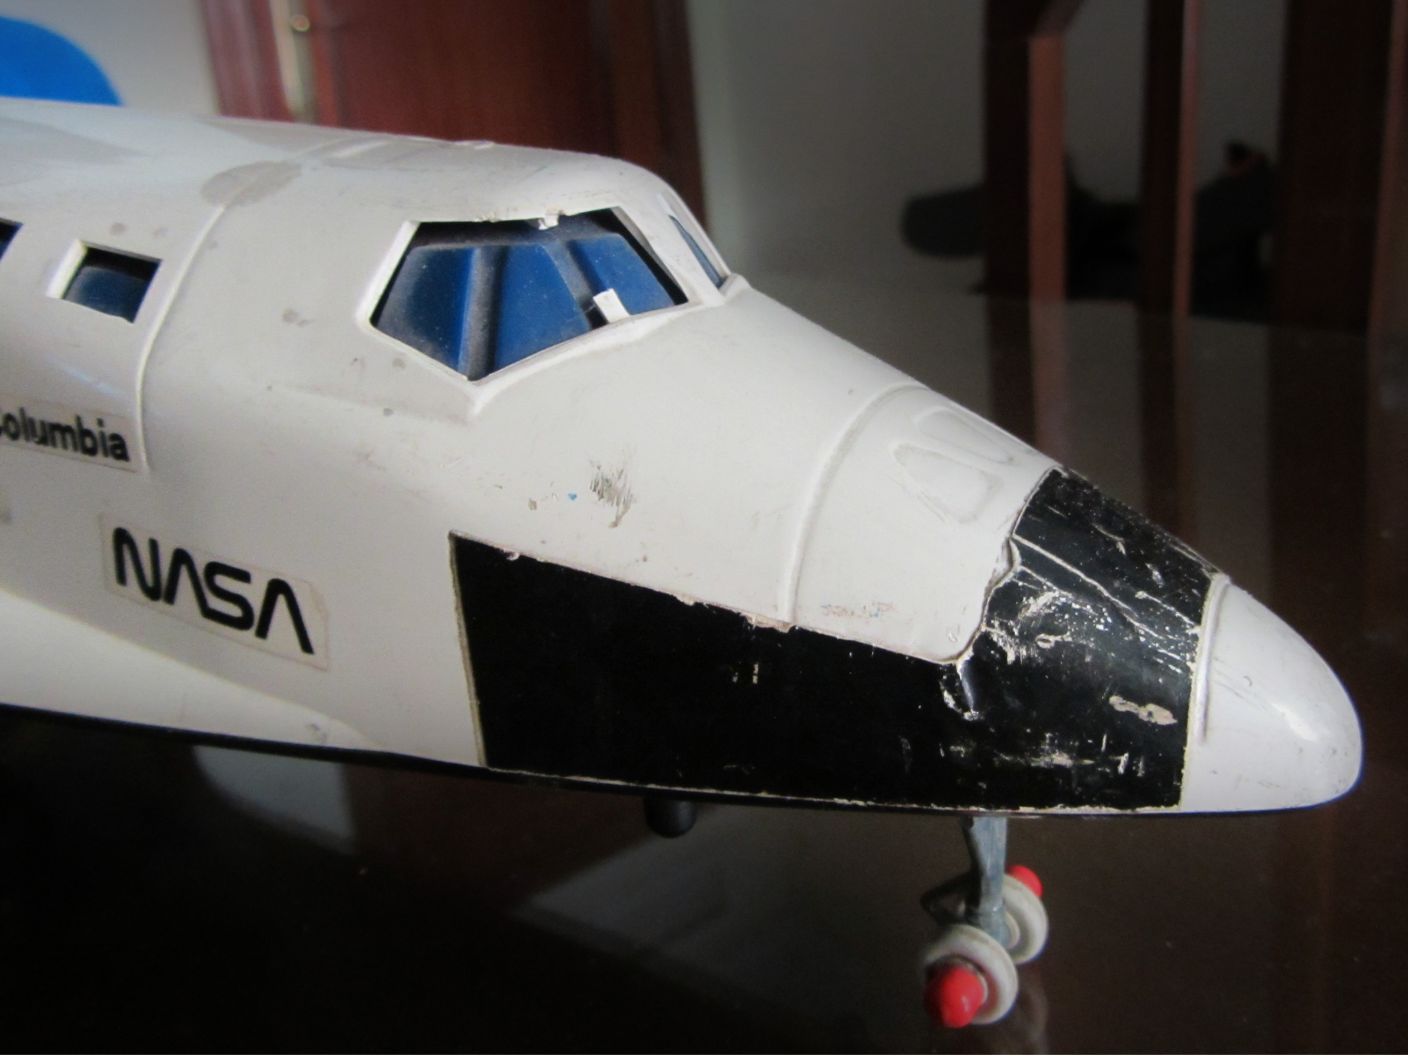
As you see, it was quite used as I’ve played a lot with this space shuttle. Well, was not that impossible to leave it as new or as I like it to be right now.
To start, remove all detachable. The advantage of the antique toys is that they have screws and removal was the easiest thing of the restoration.

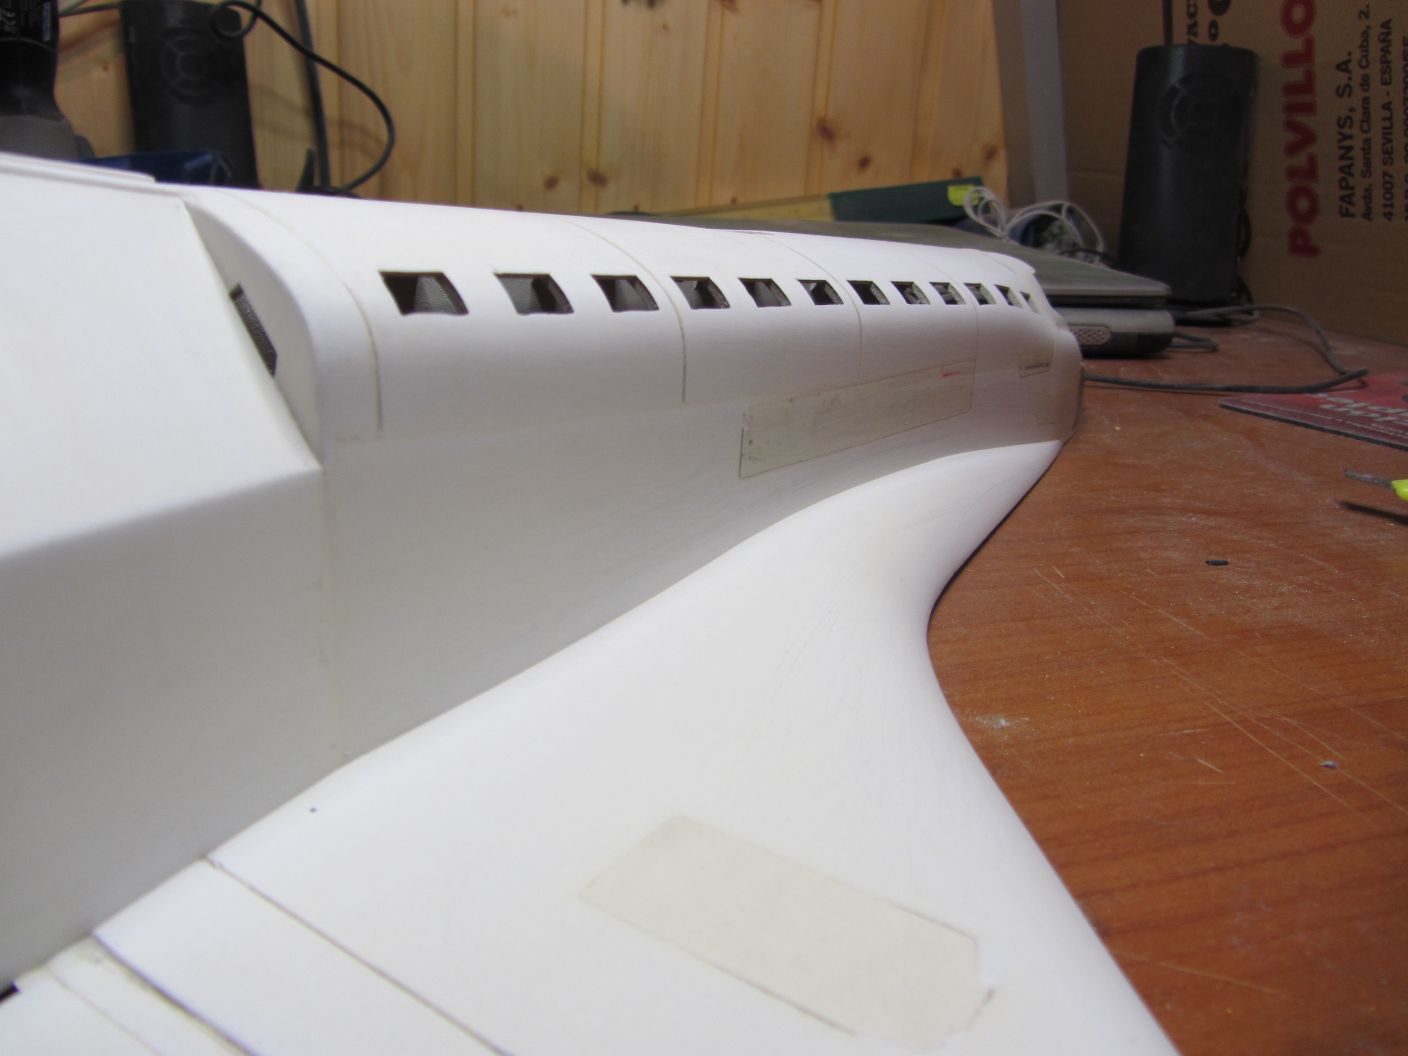
Once disassembled and well kept all that was susceptible to loss, I started with the removal of the stickers and sanding around the toy. It has to be sanded and cleaned with some alcohol, because acetone and solvent melted and deformed the plastic. So patience and sandpaper in hand I set to the job. I had to caulk the deepest scratches.
Once caulked and sanded I gave a microfine sandpaper pass so that it was without any imperfections and incidentally to take away the scratches that are often left with a coarse sandpaper.
Now with everything prepared, ie, sanded and clean, we give a primer to prepare it for later painting and to show any imperfections that we have skipped the first time.
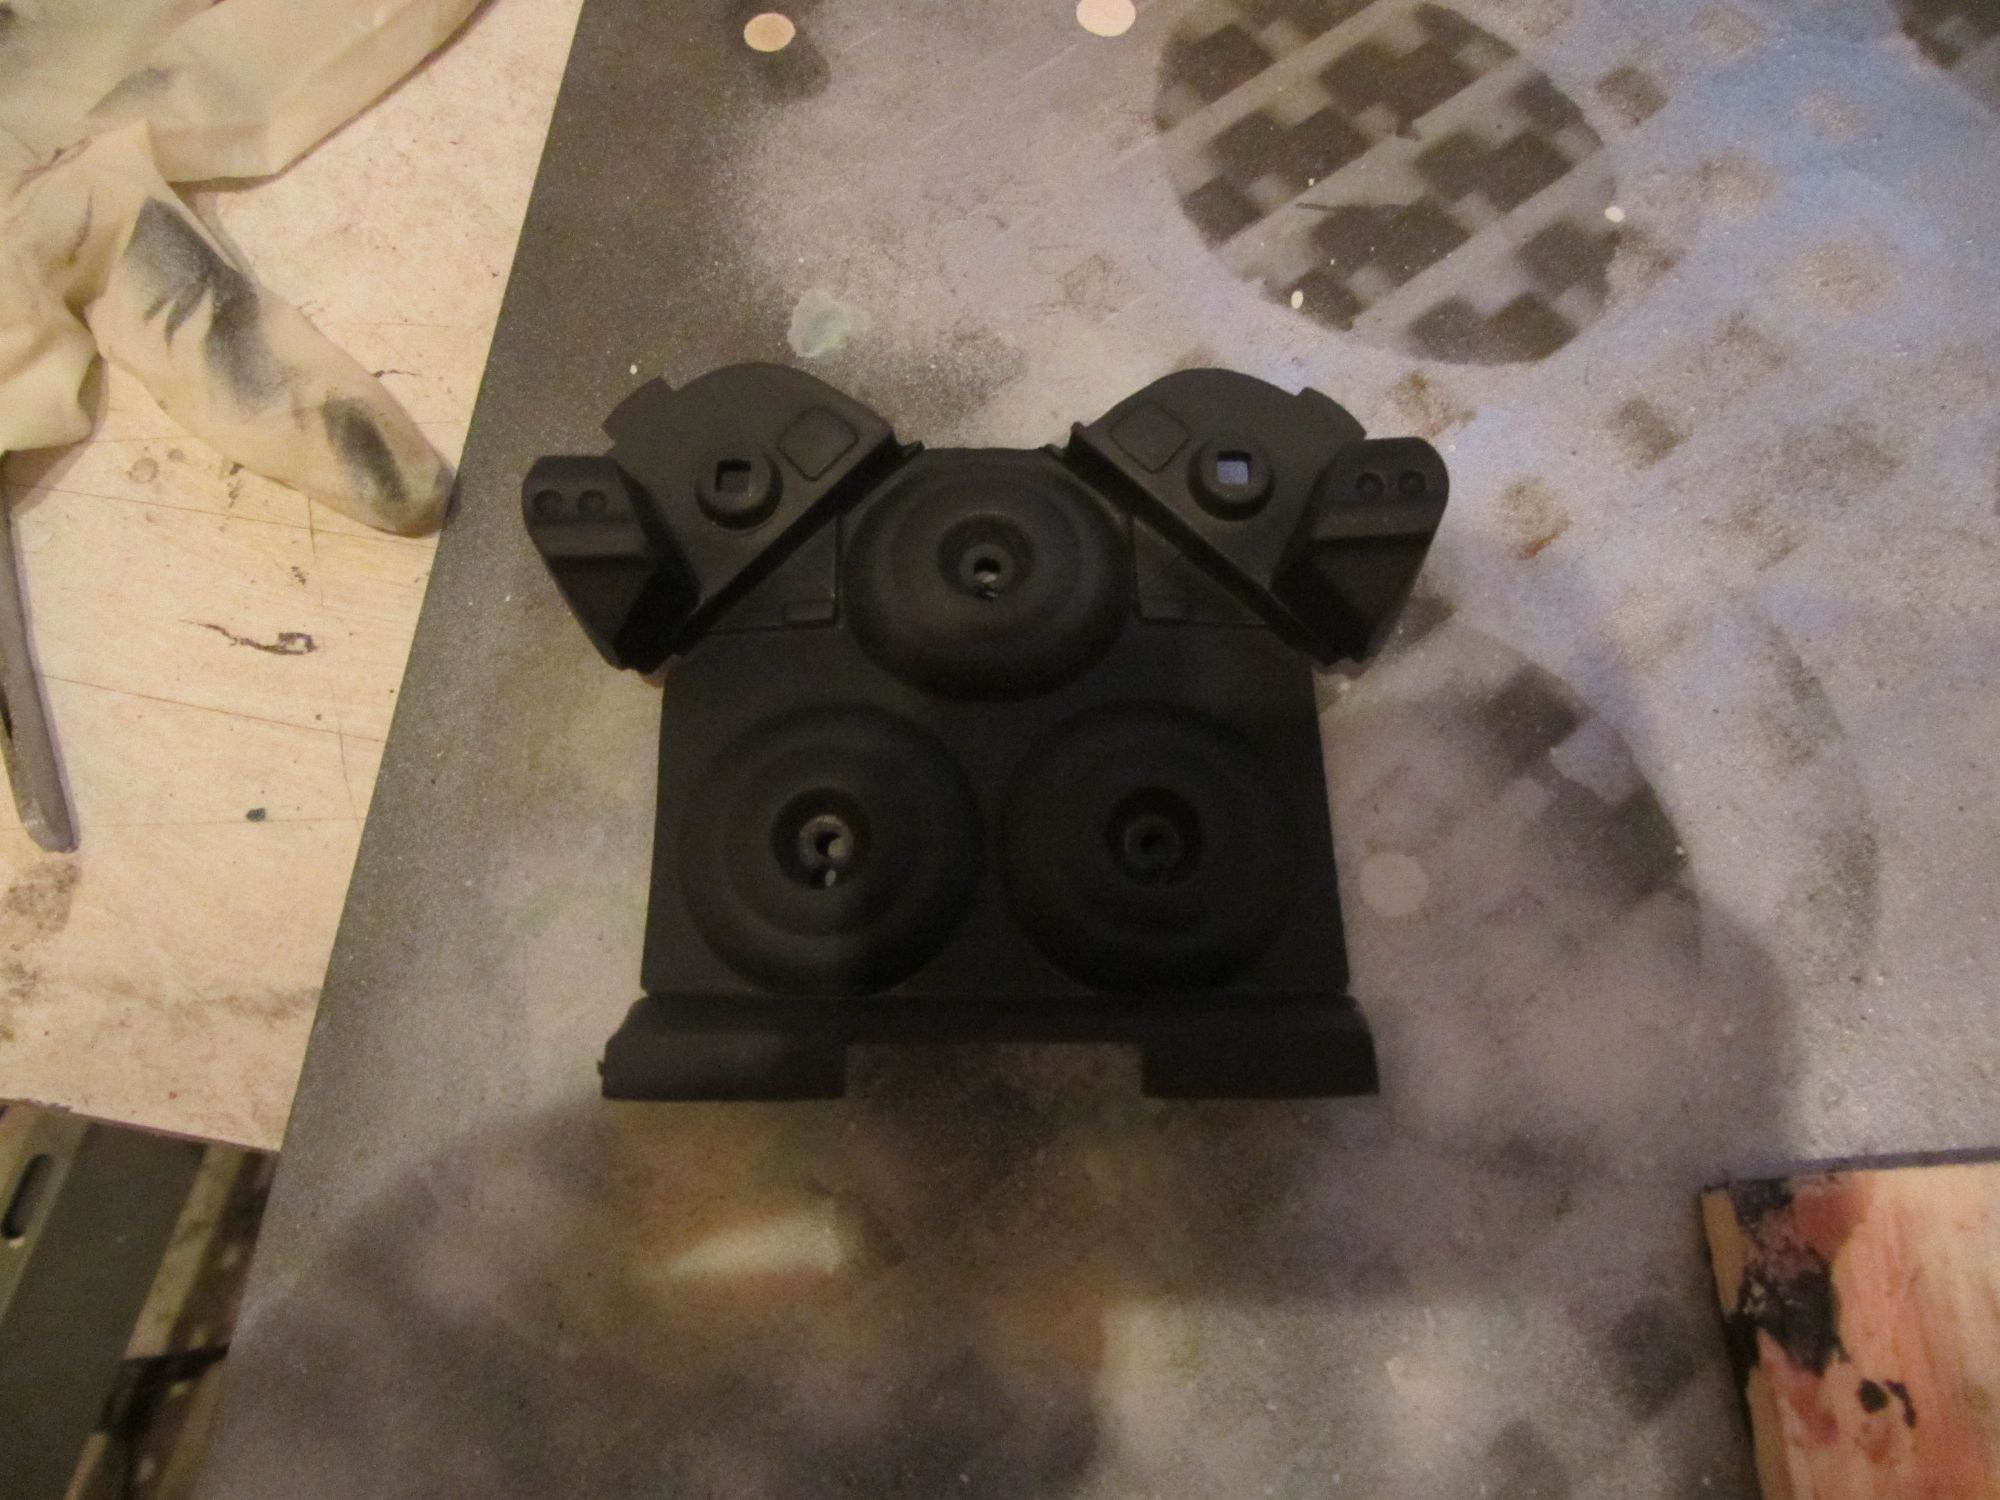
After giving primer to all parts, I returned to the microfine sanding to leave it completely smooth, without roughness andprepared to paint.
I picked car paint we bought in a retail store, it covers a lot and goes very well for the airbrush.
First the white paint as it was almost entirely white (and it is always best to start with light colors), once well covered after two hands with the airbrush (and letting the paint dry), I began masking to paint all black areas.
After confirming that the black has also been well (two hands again), and touched up a few details, and only had to put the decals instead of stickers (the toy was made with stickers). I find decals more authentic as they are thinner and more imperceptible than the stickers.
I used transparent decals of “Testors”, that I still have from when I worked with model trains. The are printed with ink-jet and cut to length, but I used the vinyl cutter and its possibilities, because it would always be better than doing it by hand.
Already printed and cut, I varnished them to settle and adhere the ink to the decal.
The paint scheme and decals, I painted as I wanted to, as there are several different schemes and also the model does not exactly match with the reality. Furthermore, as the toy is mine, what better than having it to my taste, right? And here you have the result of the operation of restoring my Shuttle Columbia nearly 30 years. I hope you liked it.